Landscape Project Part 4: Putting Down Woodchips
Can I just take a minute to jump up and down, we finally made it to woodchips! From the moment we first moved in, three years ago, I wanted to put them down. At this point in our landscape journey, we had the flowerbeds shaped, edged and prepared….so we were definitely ready!
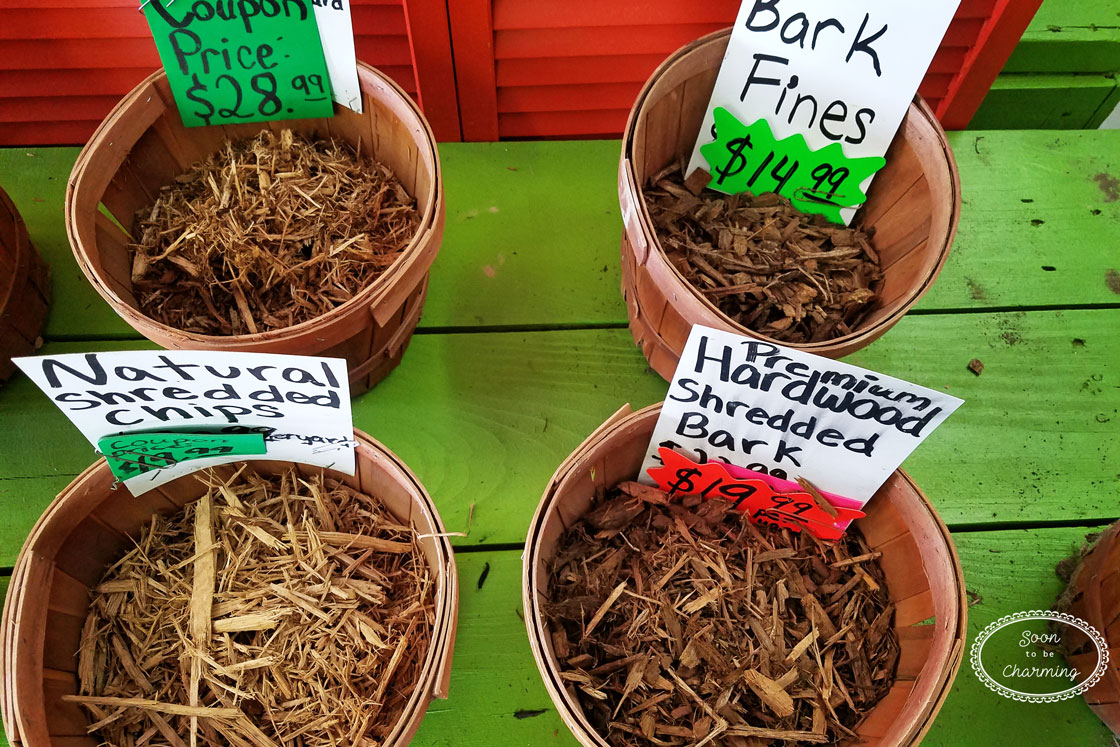
How Much To Order?
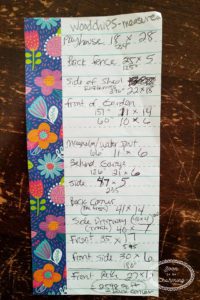
To figure out how many woodchips we needed I went and measured all the flowerbeds. I estimated based on length and width, some of the flowerbeds are curvy so I estimated by measuring the widest spots. My neighbors probably get a good laugh because I am always out in the yard with this huge long tape measure, staring at the ground. Anyways, I made sure to scribble it all down.
Once I was back inside, I looked up how thick the woodchips should be spread. Most articles suggested between 3″- 4″inches deep. With absolutely no woodchips currently down…we figured we better aim for 4″inches deep.
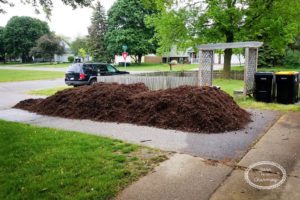
To convert my measurement to cubic yards we found a conversion calculator online. I grabbed another piece of paper and started converting all the measurements into cubic yards. When I was finished, I added them all up and came to a total of 40 cubic yards! That is a lot of woodchips. Keep in mind I rounded everything up…so we realized that the estimate was on the high side.
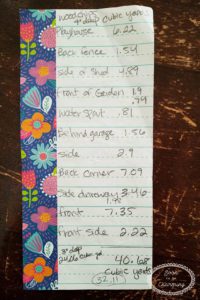
We decided to wait on the back corner under our pine trees, so that lowered our total some. We cut out another area we didn’t want woodchips and ended with a grand total of 24 cubic yards.
Woodchips
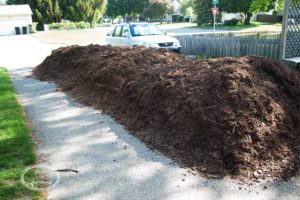
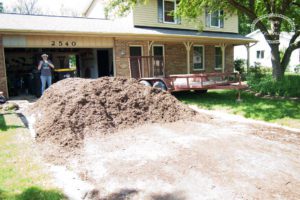
The delivery was scheduled and let me tell you it took three truck loads to deliver the woodchips. I almost passed out when they were all sitting in our driveway! The woodchips went the whole length of our driveway!
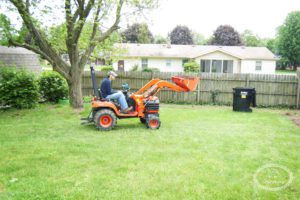
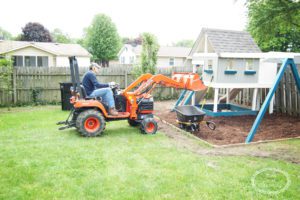
My husband was brilliant and lined up a friends front loader to use! We started in the back corner under the playset. Starting with the bed farthest away from the pile allowed us to utilize the tractor the most. It would have taken forever if we had to push a wheelbarrow!!!!
Then came the spreading!
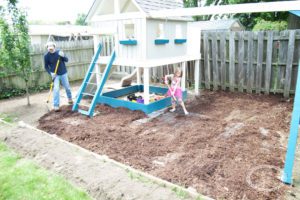
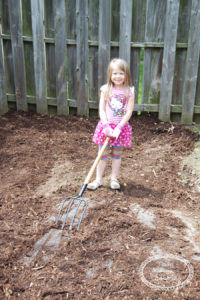
Our big helper!
Little by little we were chipping away at our pile!
The tractor couldn’t go over the retaining wall, so we dumped woodchips in the wheelbarrow and pushed it back into the corners and other small spots.
It took a couple days before we made a big dent in the woodchips. At this point, we were more than half done!!!
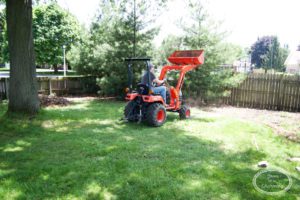
It seemed like we may have received closer to 30 yards, so we decided to finish the back corner under the pine trees! Might as well why we have the front loader.
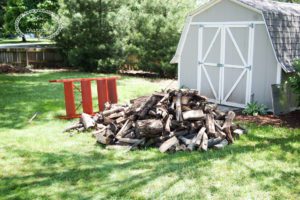
First, we needed to clean out all the brush. A ton of branches were knocked down during a recent storm and we ended up piling it in the back corner. We also had a big pile of leaves that had blown into the corner from last fall.

Our wood pile also needed to be moved. The kids are always moving it around when they shouldn’t be, so we put them to work and had them move the pile in front of our shed.
Finally the back corner was ready for woodchips!
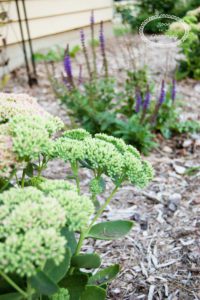
I couldn’t believe how great the flowerbeds looked once the woodchips were all filled in!!
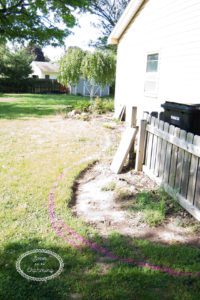
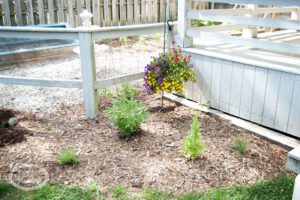
The Side flowerbed
Before
After

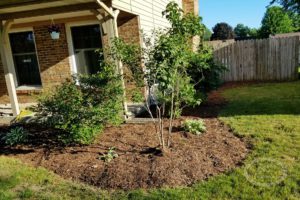
The woodchips really made the plants stand out!
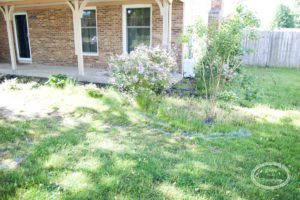
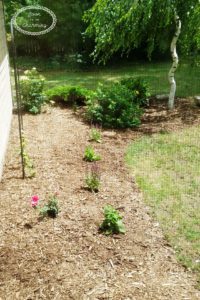
The Front Flowerbed
Before
After
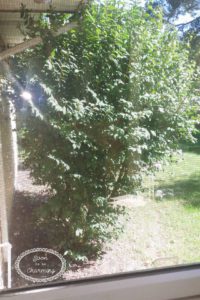
The Herb Garden
Before
After
I love looking out my kitchen window now!
Before
After
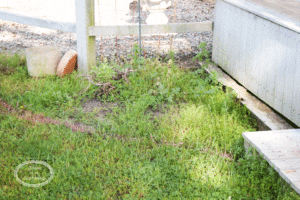
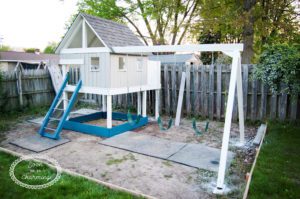
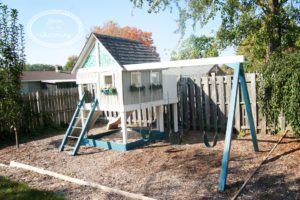
The Playset
Before
After
Missed The Complete Playset Makeover? Click Here
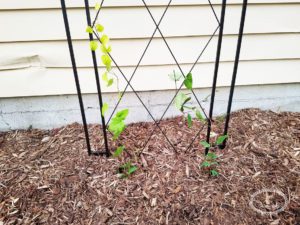
We ended up planting a few perennials. We still have a ways to go, but didn’t want to plant too much until after we re-side our house this summer (well hopefully this summer).

Notice the dent in the siding…my husband was a little too ambitious getting the previous bushes out with the Dingo! Whoops! Good thing we are replacing it soon!
It felt so good to get all the woodchips down! It was a huge project, but so rewarding. I can’t wait for a year or two down the road when we have more plants and everything fills in. It will look fantastic! Thanks so much for checking out this post!
Don’t forget to share it on Pinterest!
Missed out? Click Below To Catch Up!
Landscape Project Part 1: Where to Start?
Landscape Project Part 2: Shaping and Edging The Flowerbeds
Landscape Project Part 3: Preparing the Flowerbeds