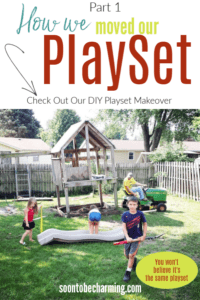
DIY Playset Makeover: Part 1
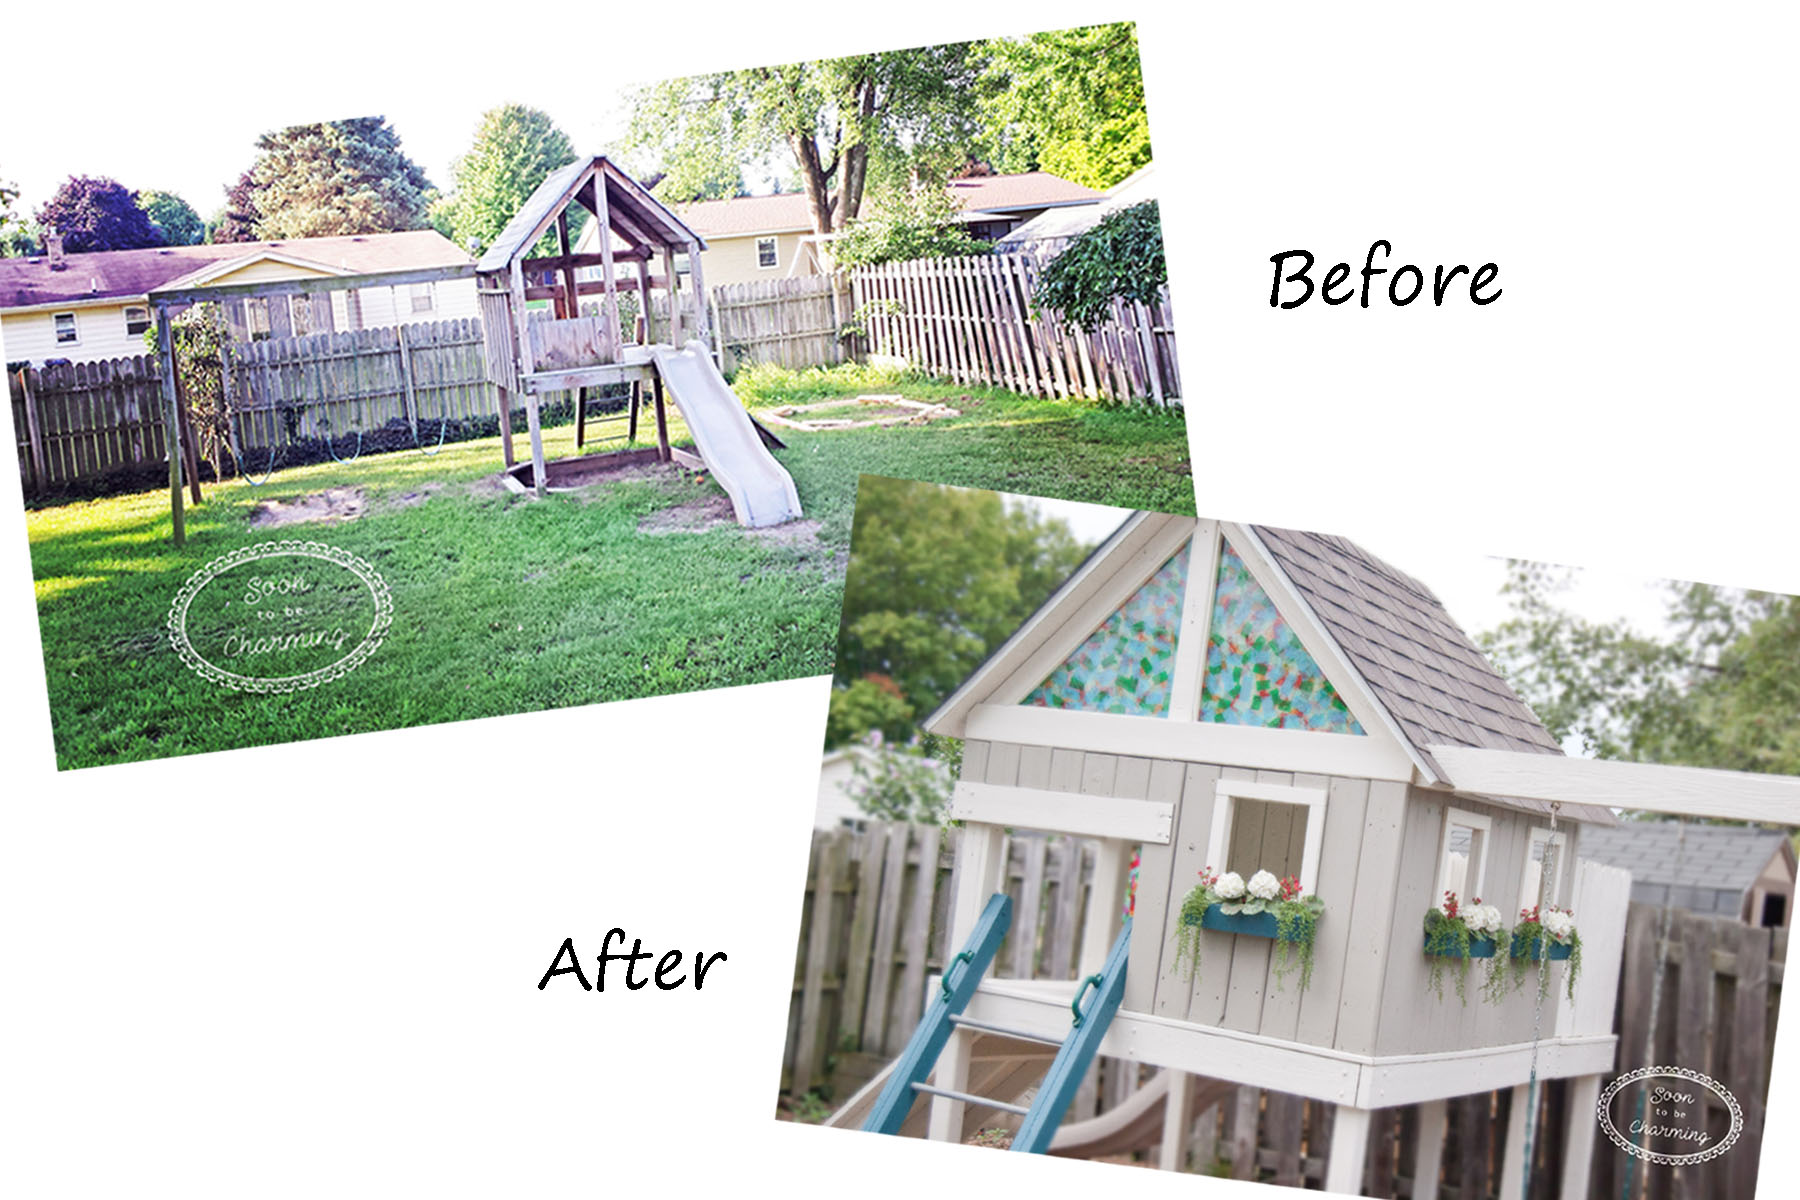
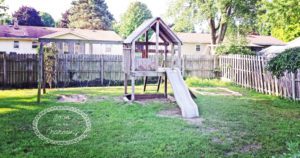
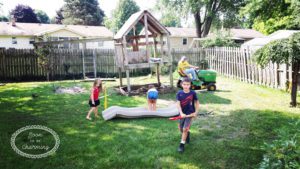
When we moved in, our playset was far from charming. My husband, being a kid at heart, used the swings as much as the kids. With him swinging, we quickly realized that the playset was not anchored to the ground. It would literally rock back and forth…so something needed to be done. From the minute we moved in I wanted to redo the playset; however, making the playset cute didn’t score very high on my husbands to do list. Luckily for me, discovering that the playset rocked turned it into a more necessary project. Can you say hello playset makeover!
This post contains affiliate links, which means if you click on or make a purchase, I may receive a small commission at no extra cost to you. Thank you for your support.
Deciding On A Playset Makeover:
The decision to makeover our playset was based on cost. We wanted to keep the playset budget as small as possible and a new one costs more than we wanted to spend. Plus, renovating the playset will also allow us to make it our own!
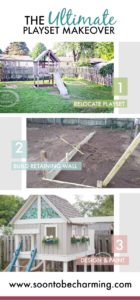
To anchor the playset properly, we needed to move it over and dig new footings. Once the concept of moving it entered our minds…we started thinking much bigger. We determined it would utilize our yard better to move it all the way over to the corner.
I can’t tell you how easy it is during a project to get tunnel vision. It is so easy to forget to step back and look at the function and long-term benefits. We could have easily dug new footings, and anchored the playset where it was standing. However, hindsight we would have kicked ourselves for not moving it out of the middle of the yard. It is worth the extra time to take a step back and think long term during a project.
Prep:
Before any moving can take place, we need to get the new spot prepped. In the picture above, you can see a wooden square lying on the ground. My husband built a temporary frame out of 2 X 4’s. He needed to measure the bottom of the standing playset and make a replicate. This allows us to lay the frame out and make sure we are digging the holes exactly where we want them for the posts. To make digging a little easier, we borrowed a post hole digger.
Footings:
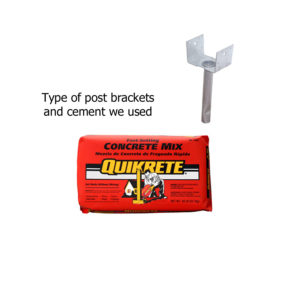
After digging the four holes, the footings need to be poured. Unfortunately, I don’t have many pictures of this process. For the footings, we picked up some quick-setting cement mix and post brackets at our local home improvement store (see below). We mixed the cement up in a container according to directions. Once it was ready, the cement was poured into each hole and the brackets set. It is important to make sure all the brackets are facing the same way, especially if you are trying to slide a pre-existing structure into it. Once all the footings were poured and hardened…we were ready to move the playset.
Moving the Playset:
First off, we need to detach everything that can be detached: ladder, slide, rock wall, and the a-frame at the end of the swings. While we could move the playset a little with the tractor, it wasn’t strong enough to pull it all the way to the corner.
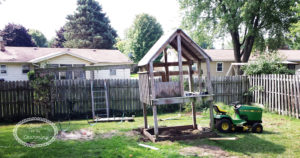
So my husband…well let’s just say he moved the playset to the corner in his own way. It was one of those if you have ever done a project and your husband says, “I got this,” you don’t ask questions. My husband grabbed his vehicle and backed it up to the playset. He bumped one corner backwards and then the other all the way over to the new spot. Not to mention, before he began, he requested I hold a small towel so he could back up and pin it between the back of his car and the playset; he didn’t want it to rub on his bumper. I laughed, I may love him tremendously, but I have learned over the years to use caution when he “needs help.”
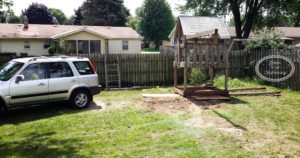
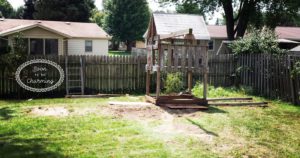
Anyways, back to moving the playset. During this process, he bumped one side further than the other to actually turn the playset around. We want the swinging beam further away from the fence and the ladder pointing towards the yard. I can’t deny that my heart skipped a few beats during this process. However, at the end of the day, my husband moved it across the yard and it was in the spot we wanted!
Securing the Playset:
Finally, we needed to secure the playset into the brackets. The boards were laid down over the new spot, and used like rails. By using the rails, it made the weight of the playset much easier to slide. Once all 4 posts lined up with the brackets, we carefully removed the rails and dropped the playset down into the brackets one at a time. After all the posts were in the brackets, my husband secured them with screws. The playset was now officially moved!

To see more, check out the DIY Playset Makeover Part 2: Building a Retaining Wall Here!
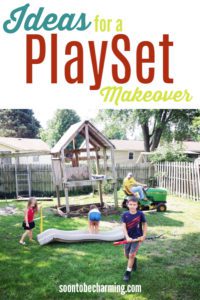
Love it? Share It On Pinterest!
Ready to make some small improvements to your playset? Click on the image to check out these great accessories below or click HERE to see more!

![]()

![]()

![]()
Thanks for checking out my post!


This is SOOOOO helpful!!!!!!! Thanks for posting!
Hi Ashley! You’re welcome, so glad you found it helpful. Good luck with your project!