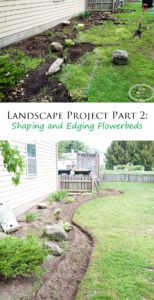
Landscape Project Part 2: Shaping and Edging The Flowerbeds

Removing all the unwanted plants and trimming all the overgrown landscape was a huge task. However, with everything removed and trimmed the flowerbeds looked so much better, even if now they were still filled with dirt, rocks and weeds. We knew we were heading in the right direction. One step at a time! Now to move on to shaping and edging the flowerbeds.
{This post contains affiliate links, which means I may receive a commission if you click a link and/or purchase}
Shaping the Flowerbeds
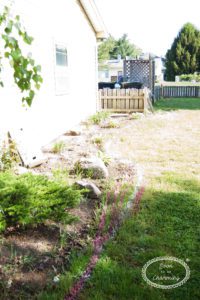
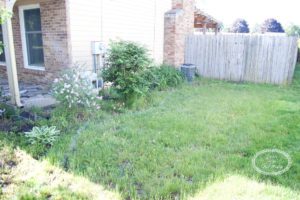
We needed to figure out what type of shape we wanted for our flowerbeds. Some of the beds were easier to decide, the shape just naturally followed the side of the house. We could faintly see where the edge of the flowerbeds used to be and kept that same line, adding just a little more curve to some areas. The end goal when shaping the flowerbeds was to make mowing easier! So while I love curvy landscaping, we stayed with soft curves that a mower could easily follow.
Trouble Spots
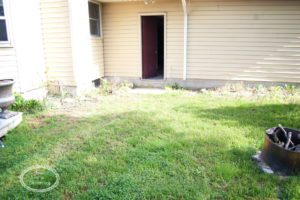
Some areas weren’t so easy. A couple spots that gave us trouble were the front flowerbed by our porch and the spot between our garden and playset. In the front, we had the front flowerbed with the tree and then the flowerbed along the porch. Nothing grew in-between, partly because of the shade and partly because the kids always walked through there to the neighbors house.
I debated about joining the two beds somehow, filling it all in with wood chips. Building a retaining wall around the flowerbed with the tree and having a giant two tiered bed. So many ideas went flying around. We were really stuck as to what would look best.
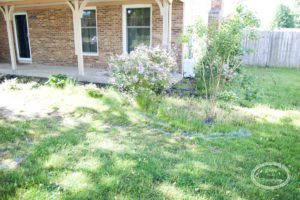
In the end, we decided to keep the flowerbeds separate. The basic thought was joining them would make the beds way too big. We redefined the front flowerbed into a kidney shape and the flowerbed along the porch already had a good shape, it just needed a clean edge. In-between the two beds, we decided to put a flagstone walkway!
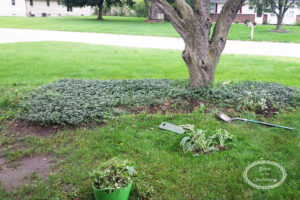
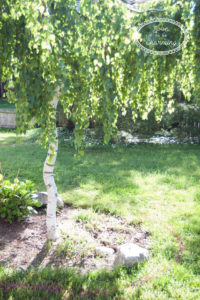
The other trouble area was between the garden and playset. Since we moved the playset to the back corner, we now had a small weeping tree between the garden and the playset. We needed to figure out what to do with that spot, since the riding mower wouldn’t fit.
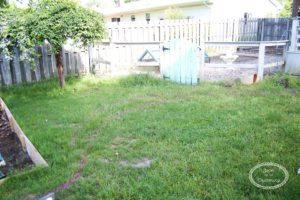
Our solution was to make it all landscaping and create a curving edge the mower could follow. I was a little nervous about this decision, however, I didn’t want to remove the tree…it provides such a cute little nook for the kids to play under!
Finalizing Our Flowerbed Shapes
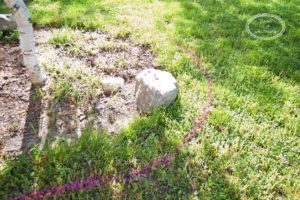
We used a lot of string to visualize the exact lines and shapes we wanted the landscape to have. Once we finalized it, we marked the line with spray paint.

Types of Edging
My husband and I had talked about edging for several months prior to figuring out the shape of our flowerbeds. My struggle with edging is it looks great for the first year, but what about the next year and the next year. It doesn’t take you long to drive down the street and find bricks or landscape rocks falling over.
I love the look of concrete poured edging…but the cost is something to consider and even a landscaper said tree roots can crack the concrete sometimes. There is just a lot to consider. We also looked into aluminum commercial edging. Again, we liked the look….but just weren’t sure. We considered two main factors with edging options, cost and how well it would hold up over the years. Personal style preference also plays a big roll.
Deciding on Edging
To continue looking at options, I spent a lot of time browsing on Pinterest and looking around the neighborhood. I finally landed on… I don’t really like edging, but I like neat clean looking edges. So we decided to dig edges and not add any type of material edging. The biggest concern with this option, is how well the edges would stay looking defined and clean. However, I think with a little touch up each spring, we should be OK (see how we cleaned our edges up two years later).
None of the flowerbeds on our entire lot were defined…so taking a shovel to dig all the edges would take a considerable amount of time.
We decided to rent a commercial grade landscape edger, which worked perfectly!! Side note, make sure your cable lines and other cords are buried deeper than what you are digging. We found out our cable lines weren’t buried deep enough the hard way! Whoops!
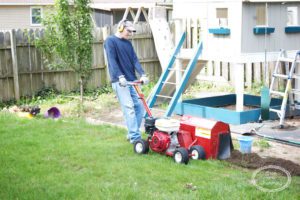
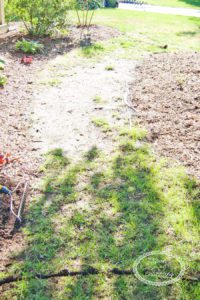
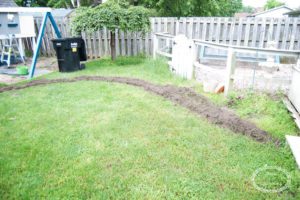
My husband pulled the landscape edger along the spray paint line we put down.
Below is what the edge looked like after the machine was pulled through.
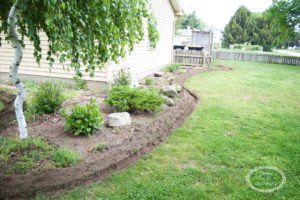
It was so exciting to finally have an edge to our flowerbeds!!!
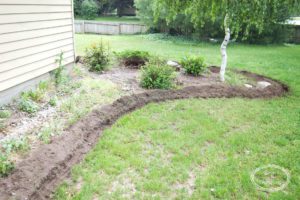
The yard really began to take shape with all the edges cut!! Part 3 will be preparing the flowerbeds and filling them with wood chips. Let me tell you, I about passed out when I saw the 25 yards (which I think ended up being over 30 yards) of wood chips dropped off in our driveway. You won’t want to miss it!! Look for the post next week.

Like this Post on edging? Share it on Pinterest!!
MISSED LANDSCAPE PROJECT PART 1: WHERE TO START? CLICK HERE