How To Remove Popcorn Ceilings
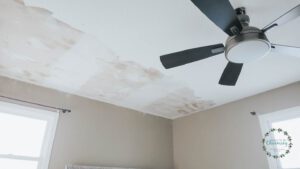
Is it really as easy as they say? That is exactly what I set out to determine. Everywhere I look up in my home, the ceiling is bursting with that famous and very unwelcome popcorn texture. After re-siding our entire house and tackling some huge DIY projects last summer, we promised ourselves that we wouldn’t dive into any huge projects this summer. However, removing popcorn ceilings doesn’t really count as a huge project, does it? Plus its relatively inexpensive! I looked up several videos on how to remove popcorn ceilings which was helpful, but at the end of the day, I just needed to take the leap.

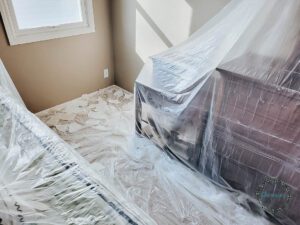
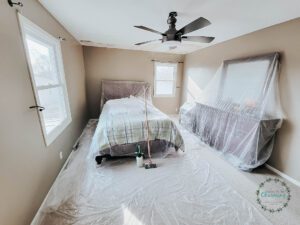
Prep Work To Remove Popcorn Ceilings
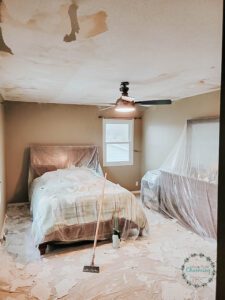
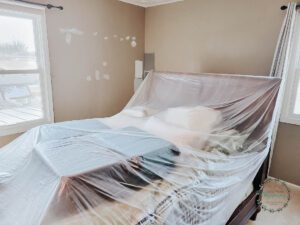
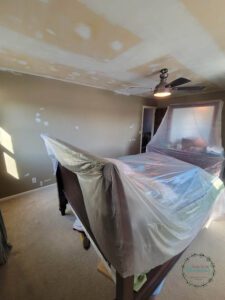
Jumping into a project can be fun, but you definitely do not want to skip the prep on this one. I grabbed several plastic rolls and covered the entire room and all the furniture.

Tools To Remove A Popcorn Ceiling
Wide Scraper (they do have specific popcorn ceiling scrapers)
Gallon Sprayer
Getting Started On Your Popcorn Ceiling
I have to admit, I was definitely a little nervous spraying water on my ceiling. However, with the first scrap I was sold! The key is to use a good mister to saturate the popcorn ceiling.
Just a quick side note…if your ceiling is painted, it will come off in sheets. If you have never painted it before, the popcorn ceiling will come off in crumbles. Both are fine, they are just different based on whether your ceiling is painted or not.
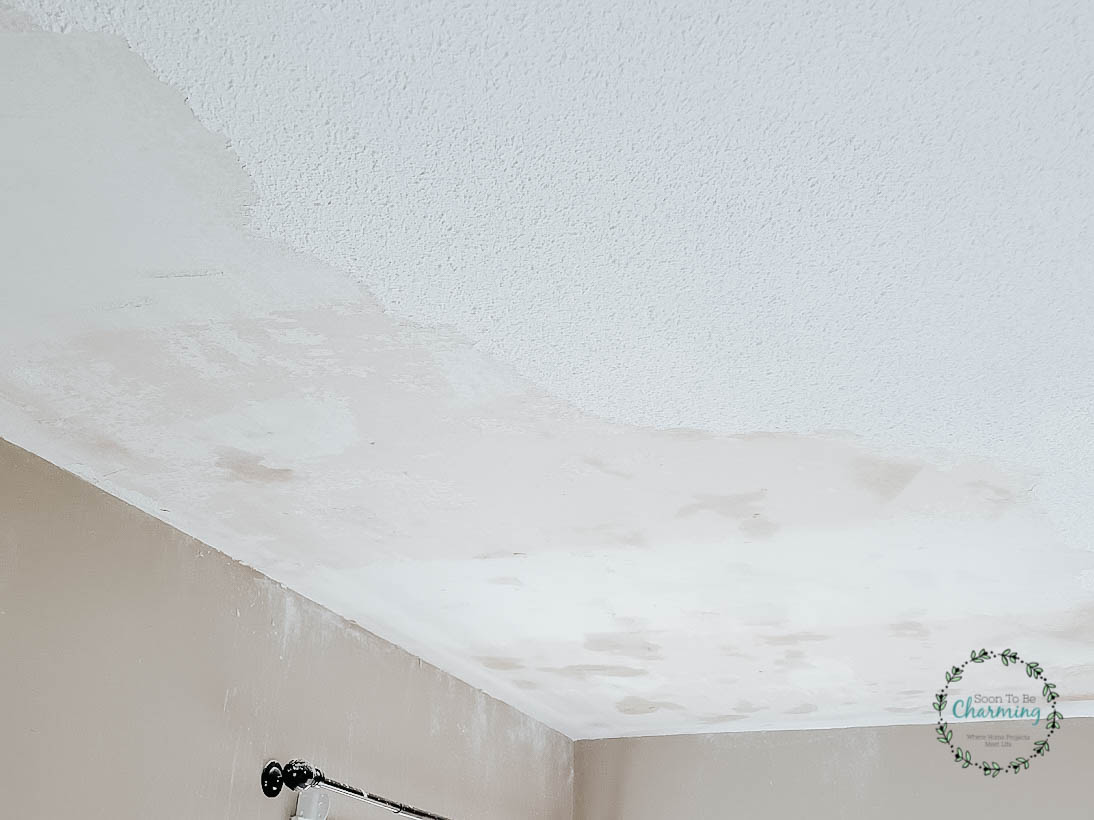
Removing Popcorn Ceilings
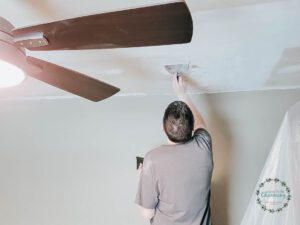
To start, I saturated a large section at a time and then let it sit for a few minutes to soak. Once it soaked, I took a wide scraper (which was taped to an extension pole) and began to scrap the ceiling. Starting off is a little tricky, you want to be careful so you don’t damage the drywall underneath. Keep the blade as parallel to the ceiling as you can manage.

When you begin, your arms feel like they are going to drop…but hang in there! Once you get going it really doesn’t take too long.
One thing guaranteed about this project is it makes a huge mess, so again, don’t skip the prep work!
The excitement of watching the popcorn ceiling disappear also motivates you to keep going when you get tired.

One of the biggest worries or hesitations before starting this project was how would the drywall look underneath. Would it be worth it if we had to do a bunch of repairs? As we moved forward, the drywall underneath looked promising. We didn’t see many spots that needed attention and that was a big relief.
If you are considering this project, the amount of repair is something to keep in mind. Especially if drywall needs to be replaced.
I have a video below to show just how easy the popcorn came off!
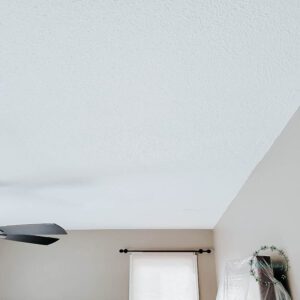
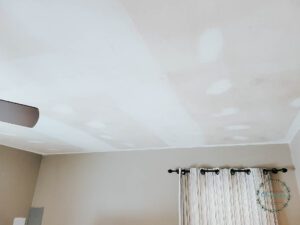
Popcorn Ceiling Removed!
I have to say, with a lot of breaks to rest my arms…the popcorn ceiling was removed in 1 1/2 hours. I am sure if you stayed at it, you could remove it even faster.
With the plastic down, clean up was pretty easy as well!

Drywall Repair
After the popcorn ceiling was removed, we did have to repair a few small spots. However, we were pleasantly surprised how nice the drywall looked underneath. We purchased some drywall mud and patched all the spots and dents.
We also repaired the walls to get ready to paint the entire master bedroom.
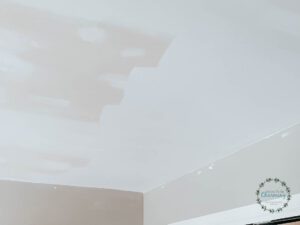
Sanding The Ceiling
Once all the repairs were made, it was time to sand. I highly recommend a vacuum sander. It helps to limit the dust.
It is hard to explain how amazing the ceiling looked after simply sanding them! It instantly updated the room!
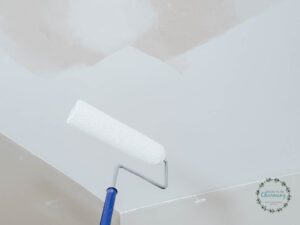
Painting The Ceiling
To finish off our project, we painted the ceiling with two coats of Ceiling paint (it was a paint/primer combo).
To paint the ceiling, I used an extension pole with a standard roller and it covered well.

We also painted the entire room and added a DIY Shiplap to the headboard wall. However, that project is for another post.

The big question when I started this project is whether removing a popcorn ceiling was as easy as people really say? I can now tell you that it is! It is a relatively inexpensive project, just a little labor intensive. However, the change is amazing.
The only problem I have now is anywhere else I look up in my house, I see more and more popcorn ceilings! One room at a time I guess. My goal is to have all of the popcorn removed by the time we redo all of our flooring in the fall. Fingers crossed that I get it done.
Thanks so much for checking out my post. If you enjoyed this, please subscribe to see more great projects!
