Playset Makeover Part 4: Painting and Final Reveal
Playset Prep:
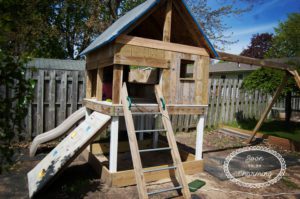
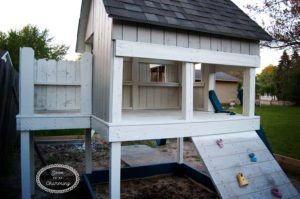
All winter I stared out at the unfinished playset. The anticipation had mounted, so as soon as spring hit I was ready to paint the playset. Prepping the area was the first thing to be done on the playset.
This post contains affiliate links. If you click on one of my affiliate link and make a purchase, I may receive a small commission for referring you. This comes at no additional cost to you.
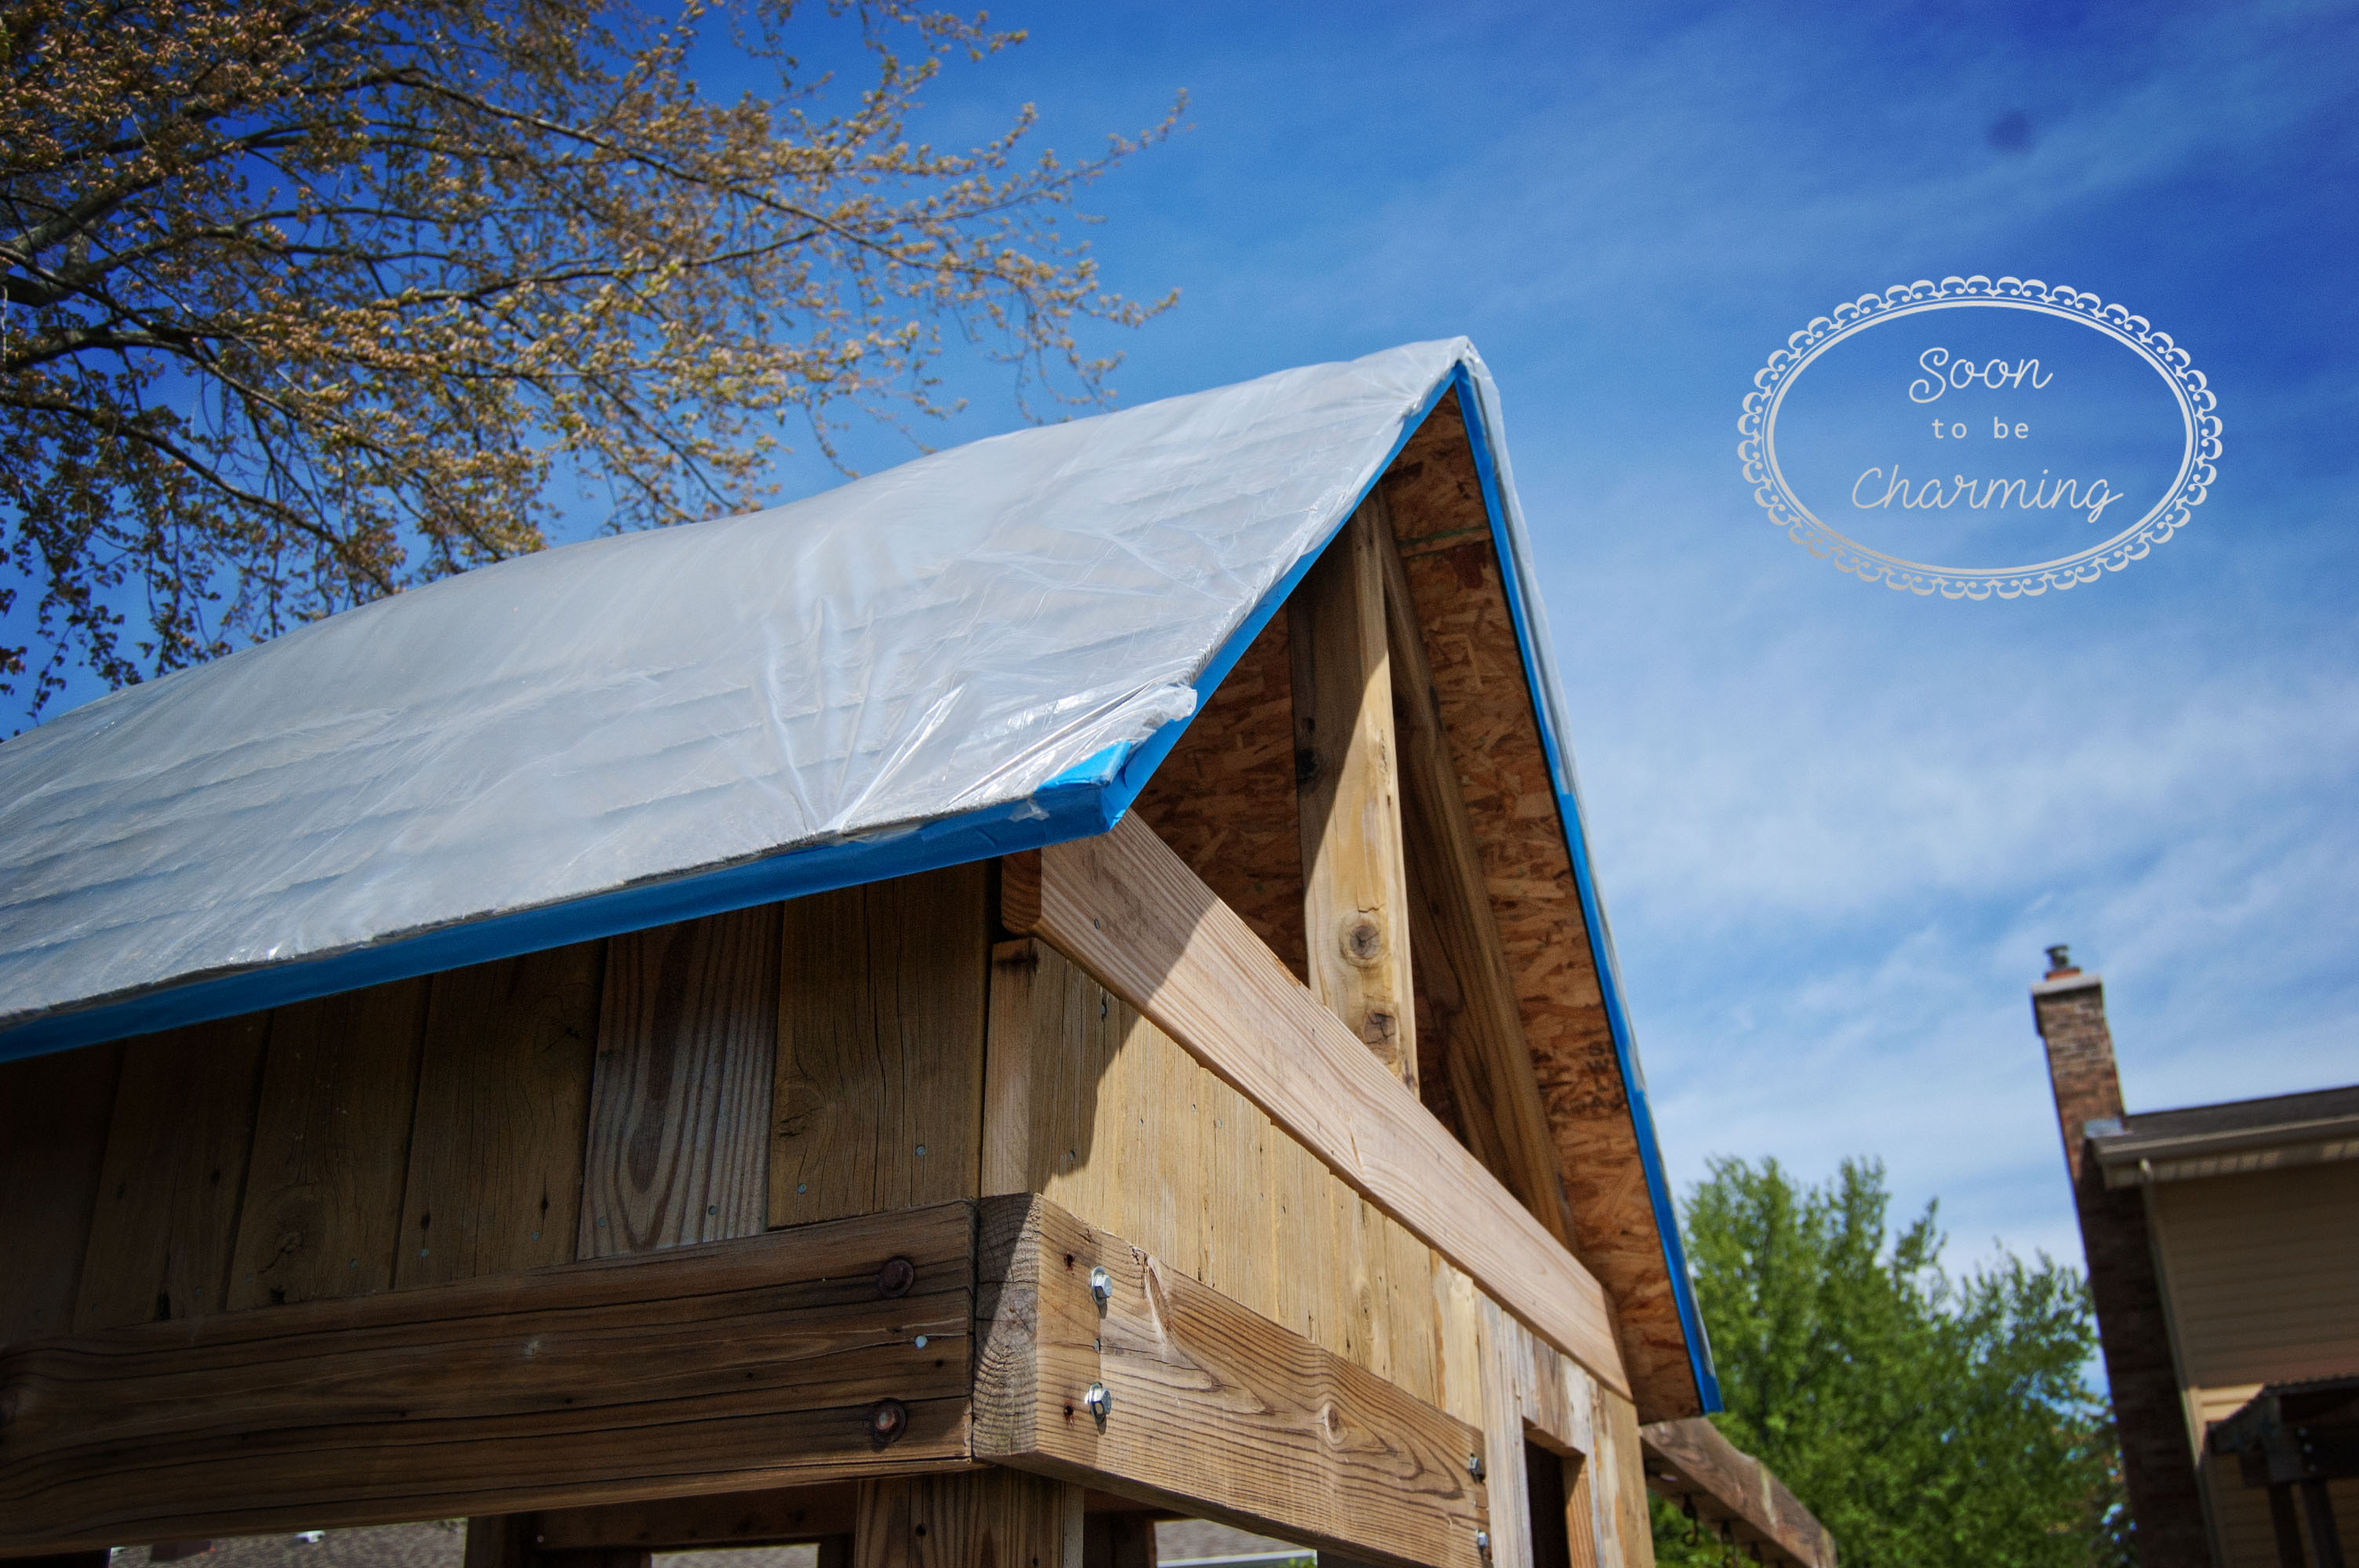
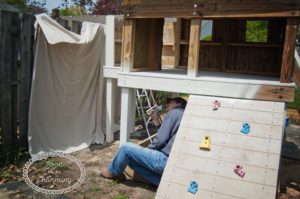
My husband covered the shingles with plastic, and we put a drop cloth on the fence to prevent it from getting covered with over spray.
How to Paint the Playset:
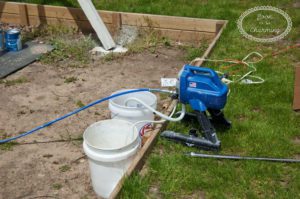
With all of the tight and unconventional spaces, we decided it would be best to use a paint sprayer. My friend had a Graco Magnum X5 paint sprayer that we borrowed and it worked great. Paint sprayers use a lot of paint, but save a lot of time. Especially, when we painted the bottom side of the playset. I can’t deny that it was a little intimidating when I first looked at the paint sprayer, but after reading over the instructions and watching a few tutorials online…it is actually quite easy to use.
Check out the paint sprayer Here
Painting:
We decided on the colors below for paint. Check out Playset Makeover Part 3: Design to see how we picked the colors.
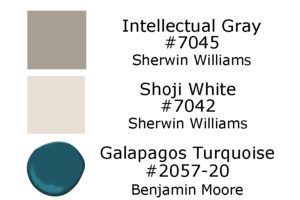
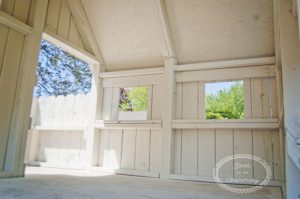
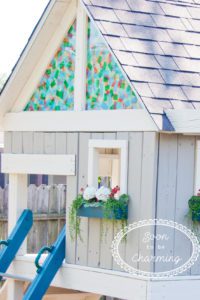
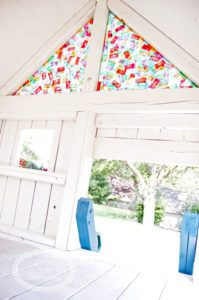
All the trim, the fence pickets around the slide platform and the bottom of the playset were painted Shoji White. The swing beam, the A frame and the inside of the playset were also painted this color.
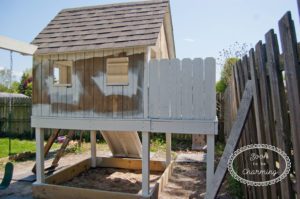
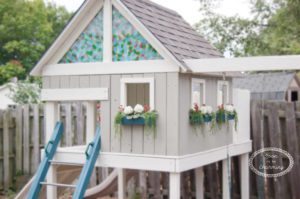
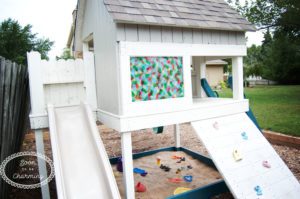
The body was painted Intellectual Gray. The walls of the playset are not very big, so we used paint brushes and rollers on those sections. Lastly, we painted the ladder and sandbox teal.
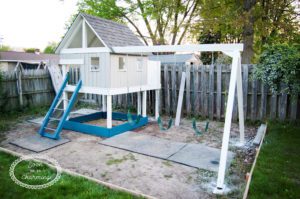
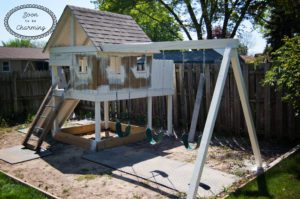
Once the accent pieces were painted, we determined it needed a little more teal to balance the color. The A-frame at the end of the swings was painted teal and that is exactly what it needed.
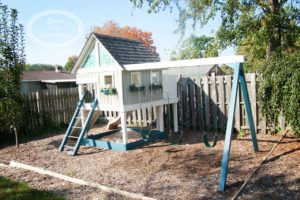
To finish our look, we trimmed out the windows, added flowerboxes my husband built and I purchased flowers at a local craft store. We also mounted the Plexiglas windows I made (click Here for a full tutorial on Colorful Plexiglas Windows ). We placed black rubber mats under the swings, the slide and the ladder to keep those spots from getting muddy or getting big indents under them.
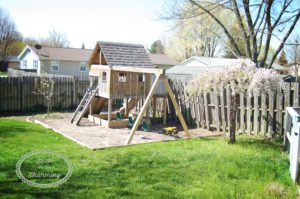
Every time I look into the backyard, I am so excited how it turned out. Here are the final pictures of our project!

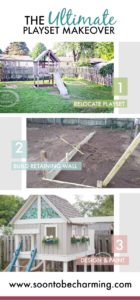
Missed some of the makeover? No worries here it is! Playset Makeover Part 1: Relocating, Playset Makeover Part 2: Building A Retaining Wall, Playset Makeover Part 3: Design.


We’re picking up an old weathered playset tonight and I’m so excited to give it a makeover. I love what you did with yours! Great job!
Thanks Marie! Yes, it’s amazing what you can do with an old playset! Have fun with your project!!
Hi! Did you paint the slide as well? Did you use exterior paint, how it holding up?
Thanks!
Hi Alisa! We did not paint the slide. When we moved into our house, that is the slide that was attached to the original playset. We did use Sherwin Williams exterior paint and it is holding up really well! I live in Michigan…so we get pretty snowy winters also and the paint colors haven’t faded and still look great. Good luck on your project!
What an adorable playset for the kids to play with!! You and Kyle are so creative!!
Thanks Aunt Carol!