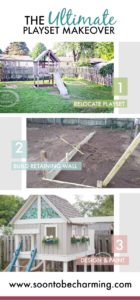
Playset Makeover Part 2: Building a Retaining Wall
Deciding on the Wall:
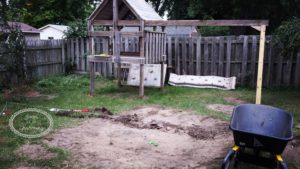
By moving the playset to the corner, we knew the yard slope would be an issue. Even though it was a slight slope, we would need to do something to level the ground out. Our solution was to build a small retaining wall.
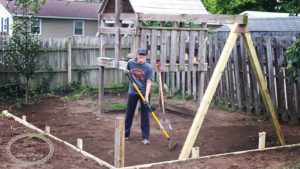
First, we needed to make sure we were on the same page. We looked up several different kinds of retaining walls on the internet. Once we agreed on a style, we figured out where the wall would go. To do this, my husband and I walked around outside to measure different distances. With the location agreed on, we marked the spot on the ground with spray paint.
Removing the Dirt:
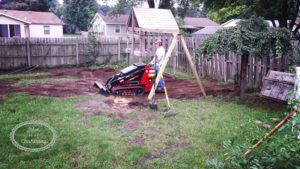
Next, getting the dirt removed. We began by lining the location of the wall out with string and attaching a string level. The string allows us to have a consistent spot to measure from and therefore keeps the depth we are digging level.
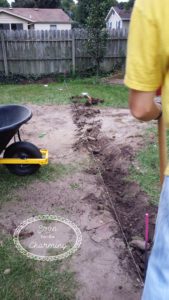
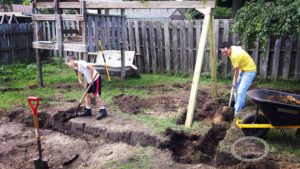
Digging, digging and more digging! My husband and son worked for an entire day and we could see it was going to take several more days to get all the dirt out. We needed some reinforcement. To save time and energy….we decided to rent a Toro Dingo. We were able to get it from a local rental company for under $200 and it was totally worth it. Without it we would have been digging for weeks. Not to mention the size was perfect to get into all the tight spaces between the playset and the fence.
I was relieved things were moving along quicker but I’m not going to lie, when we started digging out all the dirt with the Dingo…I cringed a little inside. All I could think of was what in the world did we get ourselves into! We had finally hit the stage of no return. I guess what good DIY project doesn’t have at least one of those moments, right?
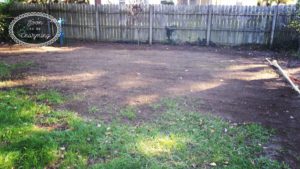
Piles of Dirt:
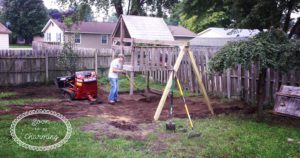
The dirt was all out and in a huge pile on the other side of our yard. Now what do we do with all that dirt? For us, it was an easy decision. Our yard slopes slightly downward, so we used a lot of the extra dirt to level off the back of our yard. The Dingo made it easy to dump piles along the back of our fence. Wanting to get the wall going, we left the piles of dirt to rake out later.
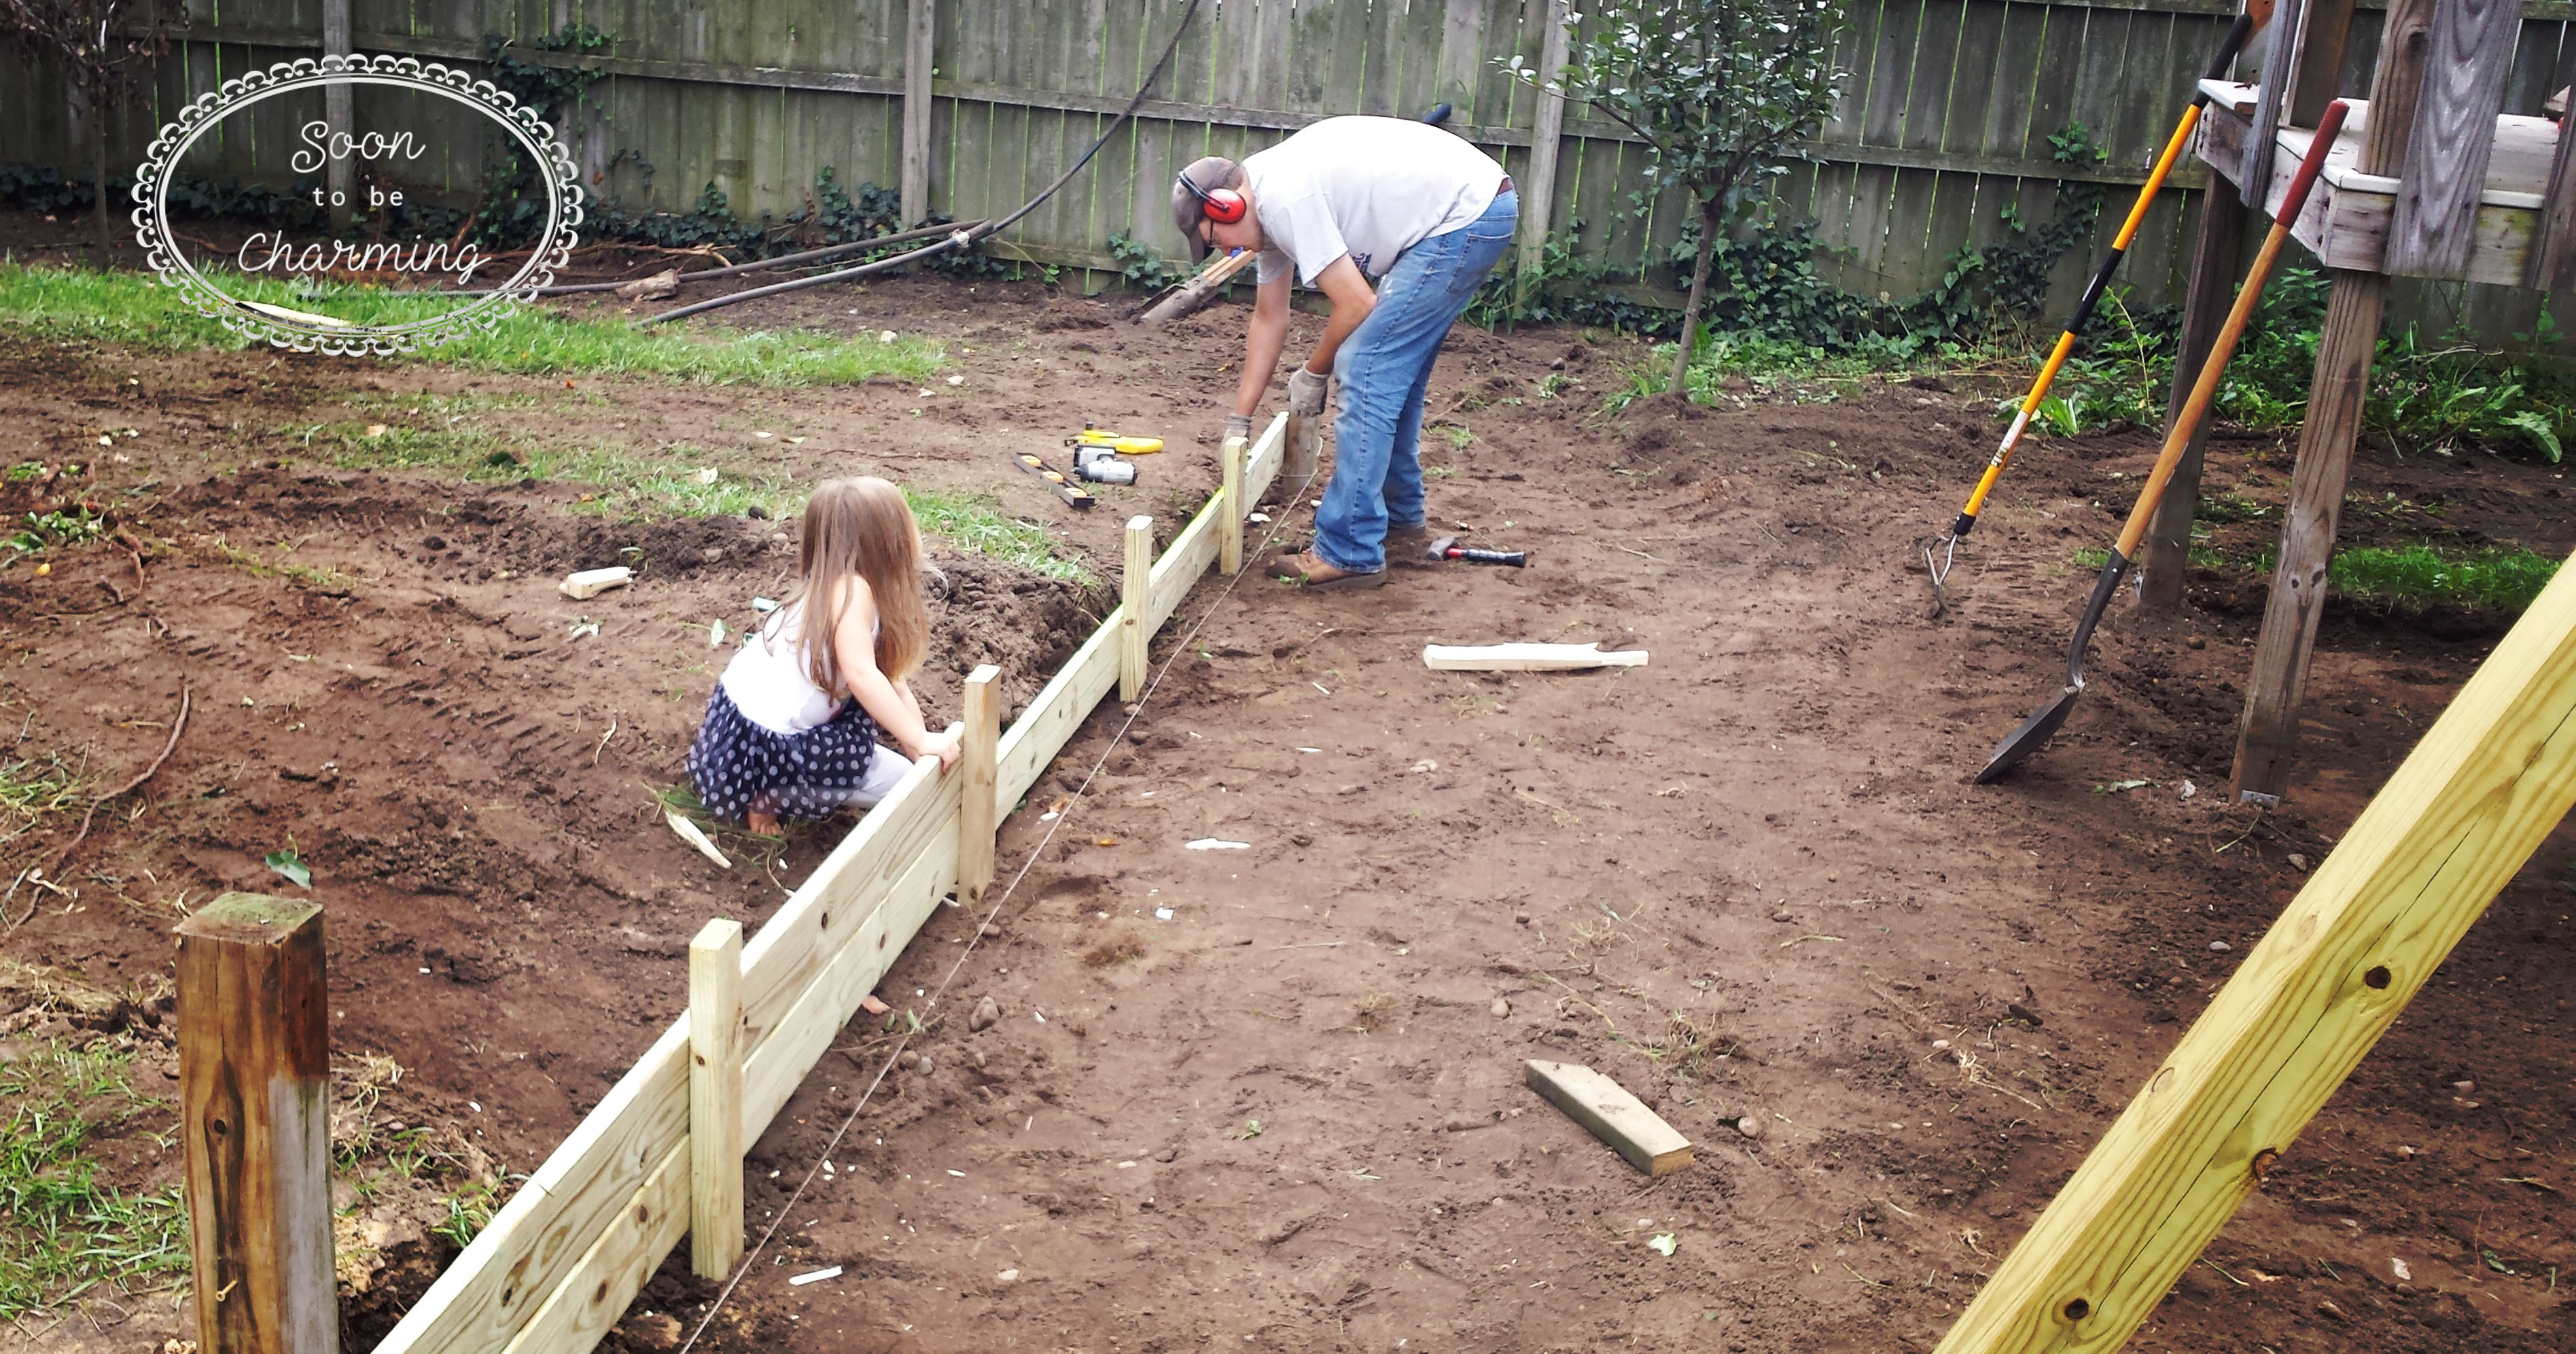
Building the Wall:
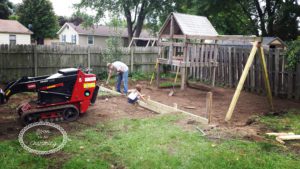
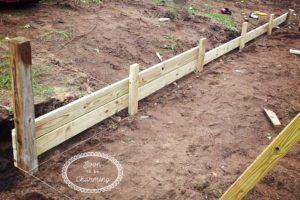
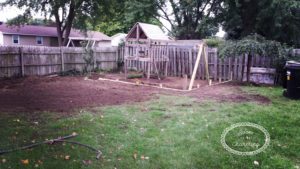
Finally, it was time to build the wall. For the retaining wall, we did a simple L design. My husband used 4×4 pressure treated posts for the corner and ends, and then 2×4 pressure treated boards as stakes spaced out evenly along the wall. All the posts were put 2 feet into the ground and the wall was made from 5/4 pressure treated deck boards. We only went two boards deep and then leveled off to one board towards the back of our yard. The wall itself was very easy to build and went very quickly…thanks to my hubby.
It really started to take shape with the retaining wall in! We had a few things left to do, we needed to rake the dirt smooth around the playset, needed to trim all the boards even with the retaining wall….and let’s not forget the yard! My yard was well, dirt. The goal now was to get grass seed down, especially since it was fall. I really didn’t want a dirt yard come spring.
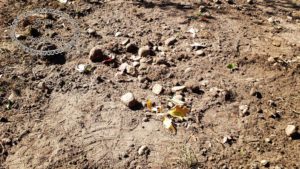
By and large the dirt we removed by the playset was very rocky. It made getting it smooth for grass seed a little difficult. We started by getting the piles spread out. Then we used a garden rake and removed as many of the rocks as possible. With a little extra work, we finally managed to get it smooth enough.
Grass:
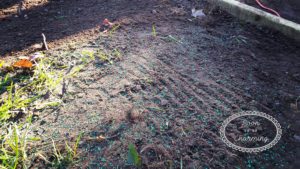
Lastly, it was time for grass seed. To put the grass seed down, we put grooves in the dirt with a rake. Then we threw the grass seed out and cared for the seed according to directions. Within weeks the grass began to fill in! I was really starting to feel optimistic; it was all coming together.
Stay tuned for Playset Makeover Part 3: Design! If you missed Playset Makeover Part 1: Relocating click Here


Building a retaining wall can significantly improve the safety and aesthetics of a play area. What other landscape features would you add to a playset area?