DIY Kids Fall Sun Catcher
I love craft time with the kids. Kids artwork, little projects, notes hanging up, all add something special to a home. You may laugh if you know me, because yes at times some of the kids “projects” end up at the back of the Christmas tree so to say (or sometimes literally), but that’s why I love this project even more. Not only is it fun to make this sun catcher with the kids, the sun catchers are so pretty to look when finished!
{This post contains affiliate links, which means if you click on or make a purchase, I may receive a small commission at no further cost to you}
Supplies you will need:
-card stock
-clear contact paper
-tissue paper
-scissors
-tape
-pencil
Pick Your Shape
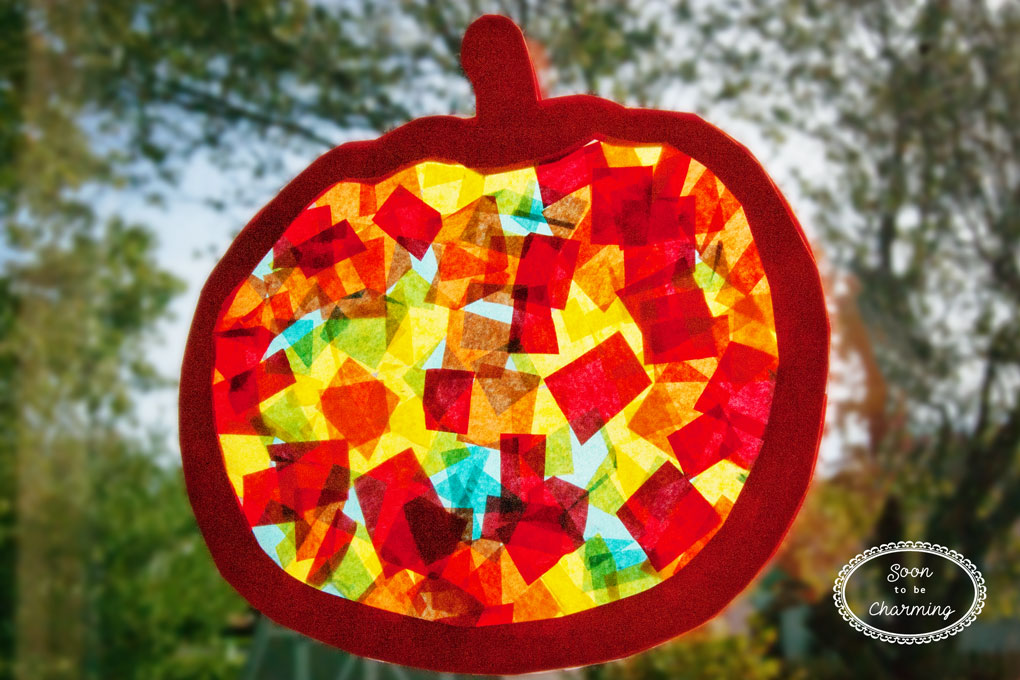
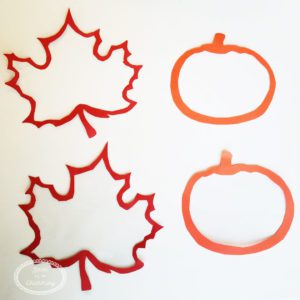
The first thing is to decide what shape you want. I found a couple different fall shapes, then let my kids pick which one they wanted to do. We ended up with two pumpkins and one leaf.

Pick Your Paper
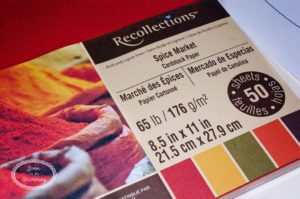
Next we picked out what color card stock we wanted the outline to be. To go with the fall shapes, we chose fall colors.
Trace and Cut
First, I printed the shape for our sun catchers on white printer paper. Then cut them out to make a template. With the template, I traced two of each shape on the colored paper. One for the front and one for the back.
You can create a word document by adding two copies of the shape and then print them out directly onto the colored paper if you want. Both accomplish the same goal, so chose whichever is easier for you.
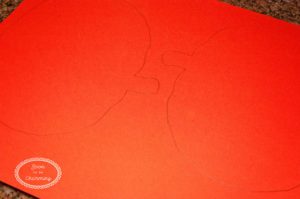
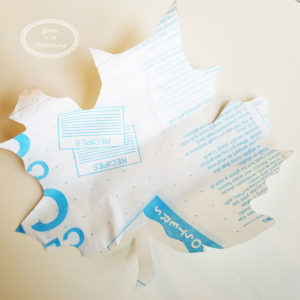
Once the shapes were traced on card stock, I cut them all out. I also cut out the middle to create frames.
Now it is time to grab the contact paper. Trace each shape twice on the contact paper and then cut them out.
Construction
Peel the coating off one shape of your contact paper and place it on a frame.
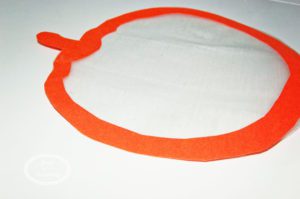
The contact paper in the middle of the frame (facing up) should be sticky.
Tissue Paper
Now for the fun part, adding color.

I cut pieces of tissue paper into small squares. The smaller your shape, the smaller the squares you will want to use.

My daughters loved cutting little squares too.

Then we started putting the pieces onto the contact paper.

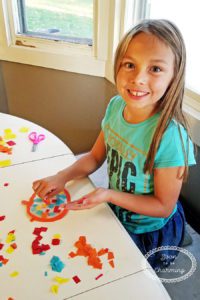
We continued until the entire center was filled with tissue paper. It is totally fine to overlap the tissue pieces to get all the spaces filled in.
Just a quick side note: I chose not to do a Jack-O-lantern face because I wanted to keep it more fall looking, rather than Halloween. However, you could easily add a face before you put the tissue paper on…or tape a face on top of the contact paper.

Want to see what’s going up on the wall where the Blue Tape is? Click Here
Finishing Your Sun Catcher
Once all the tissue paper is on, add the second layer of contact paper on top. This will seal it shut and keep the tissue paper from falling off.

You may need to trim the outside just a little bit, if it doesn’t line up perfectly.
Lastly, tape the remaining frame on top.

I ran out of double sided tape…but that would be my first choice to tape the frames together!

It is now ready to hang on the window!!

This project is so fun for kids and once finished, one that everyone can enjoy! Thanks so much for checking out my post!

Pin It For Later!