How To Make A Thanksgiving Tree
Why make a Thanksgiving Tree? Sometimes it feels like the world around us jumps from Halloween to Christmas, that Thanksgiving merely exists to launch black Friday sales. So how do we prepare our hearts with gratitude and how do we teach our kids to be thankful. As my kids continue to get older, my oldest being 9 and my youngest 4, this has weighed heavily on my heart. How to raise thankful, grateful kids in a world where it’s all me, me, me.
My faith in God is at the center of why I believe it is so important to be thankful. Scripture says in Psalm 100:4, “Enter his gates with thanksgiving and his courts with praise; give thanks to him and praise his name.”
As parents, my husband and I truly desire to emulate that in our hearts and want our children’s hearts to reflect that also. To help us, I have always loved the idea of a thanksgiving tree. A thanksgiving tree is where each day in November you write something down that you are thankful for and put it on the tree. We have done it before, by making a huge tree out of construction paper…but this year, we built something new and I can’t wait to share it with you.
This post contains affiliate links which means if you click on or make a purchase, I may receive a small commission at no extra cost to you. Thank you for your support!

Making Our Thanksgiving Tree
The Frame
I started by sorting through our pile of pallet boards (check out Creating a Mudroom Part 2: Pallet Wall to see what we did to prepare the pallet wood). The goal was to find four boards to make the frame.
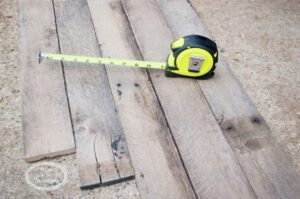
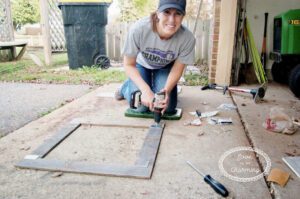
Once I picked out the boards, I had my husband cut them to size.

To figure out what size worked best in the space, I put blue painters tape on the wall. With the tape on the wall to help, the size that looked right was 25 X 25 inches. I laid it out on the ground, just to get a visual.

Next, I needed to secure the frame. At first I tried L shaped corner brackets, but thought it was a little too wiggly. I replaced them with flat metal brackets and liked that much better.
The Wire
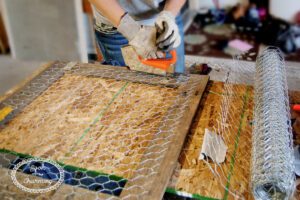
In the middle of the frame I wanted chicken wire. So I bought 1″ mesh chicken wire and rolled it out on the backside of the frame. I stapled two of the sides and then trimmed the wire.
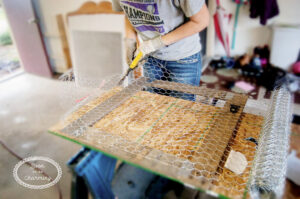
TIP: My husband helped me staple the chicken wire down to the plywood first, this keeps it from rolling up on you constantly.
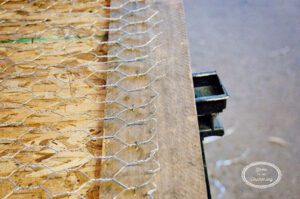
Once the wire was trimmed, I stapled the two remaining sides.
The edge of the wire is sharp, so I took the needle nose pliers and folded them over.
I mounted a saw tooth picture hanger on the back to mount it on the wall.

The Tree
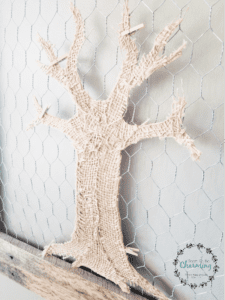
Now that the frame was completed, I wanted to make a tree to place in the middle of it. I found a great tree template at www.firstpalette.com, click HERE to see the template. I printed it onto brown card stock.
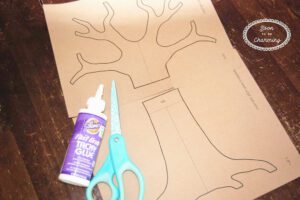
Then cut it out.
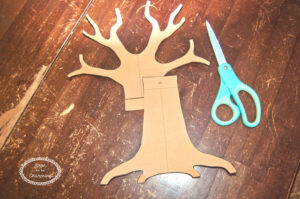
To add texture, I cut strips of burlap and glued them on.
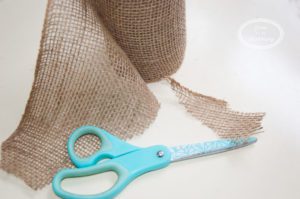

It was the perfect touch to make the tree stand out. I just had to wait a little bit to let the tacky glue dry.

The tree was ready to put on the frame.

The Leaves
For the leaves, it took me a little while to decide what I wanted to use. I knew it would be the easiest to write on paper leaves, but I didn’t want to be cutting for days. I had thought about getting a leaf punch, but wasn’t sure I wanted to spend the money. Finally I broke down, grabbed a coupon and went to the store. I knew the thanksgiving tree was something we would do every year, so we would definitely use the punch a lot. With coupon, it cost me just over $10….not bad at all.

What I didn’t anticipate is the pure joy of popping those leaves out! Ok, I know I am a nerd…but I was totally giddy. I punched almost 100 leaves out in maybe 10 minutes. It was so fun! I completely love my leaf punch!

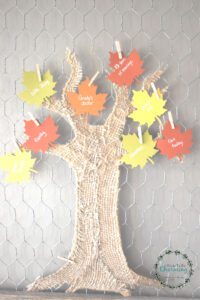
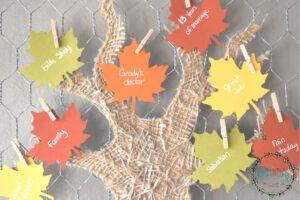
The leaves are what we will grab each day and write what we are thankful for. We have 5 members in our family and there are 30 days in November, so I will need 150 leaves. Instead of one leaf per family member, you could also do one leaf altogether as a family each day. Choose the option that works best for you.
To put them up on the tree, I bought miniature clothespins.

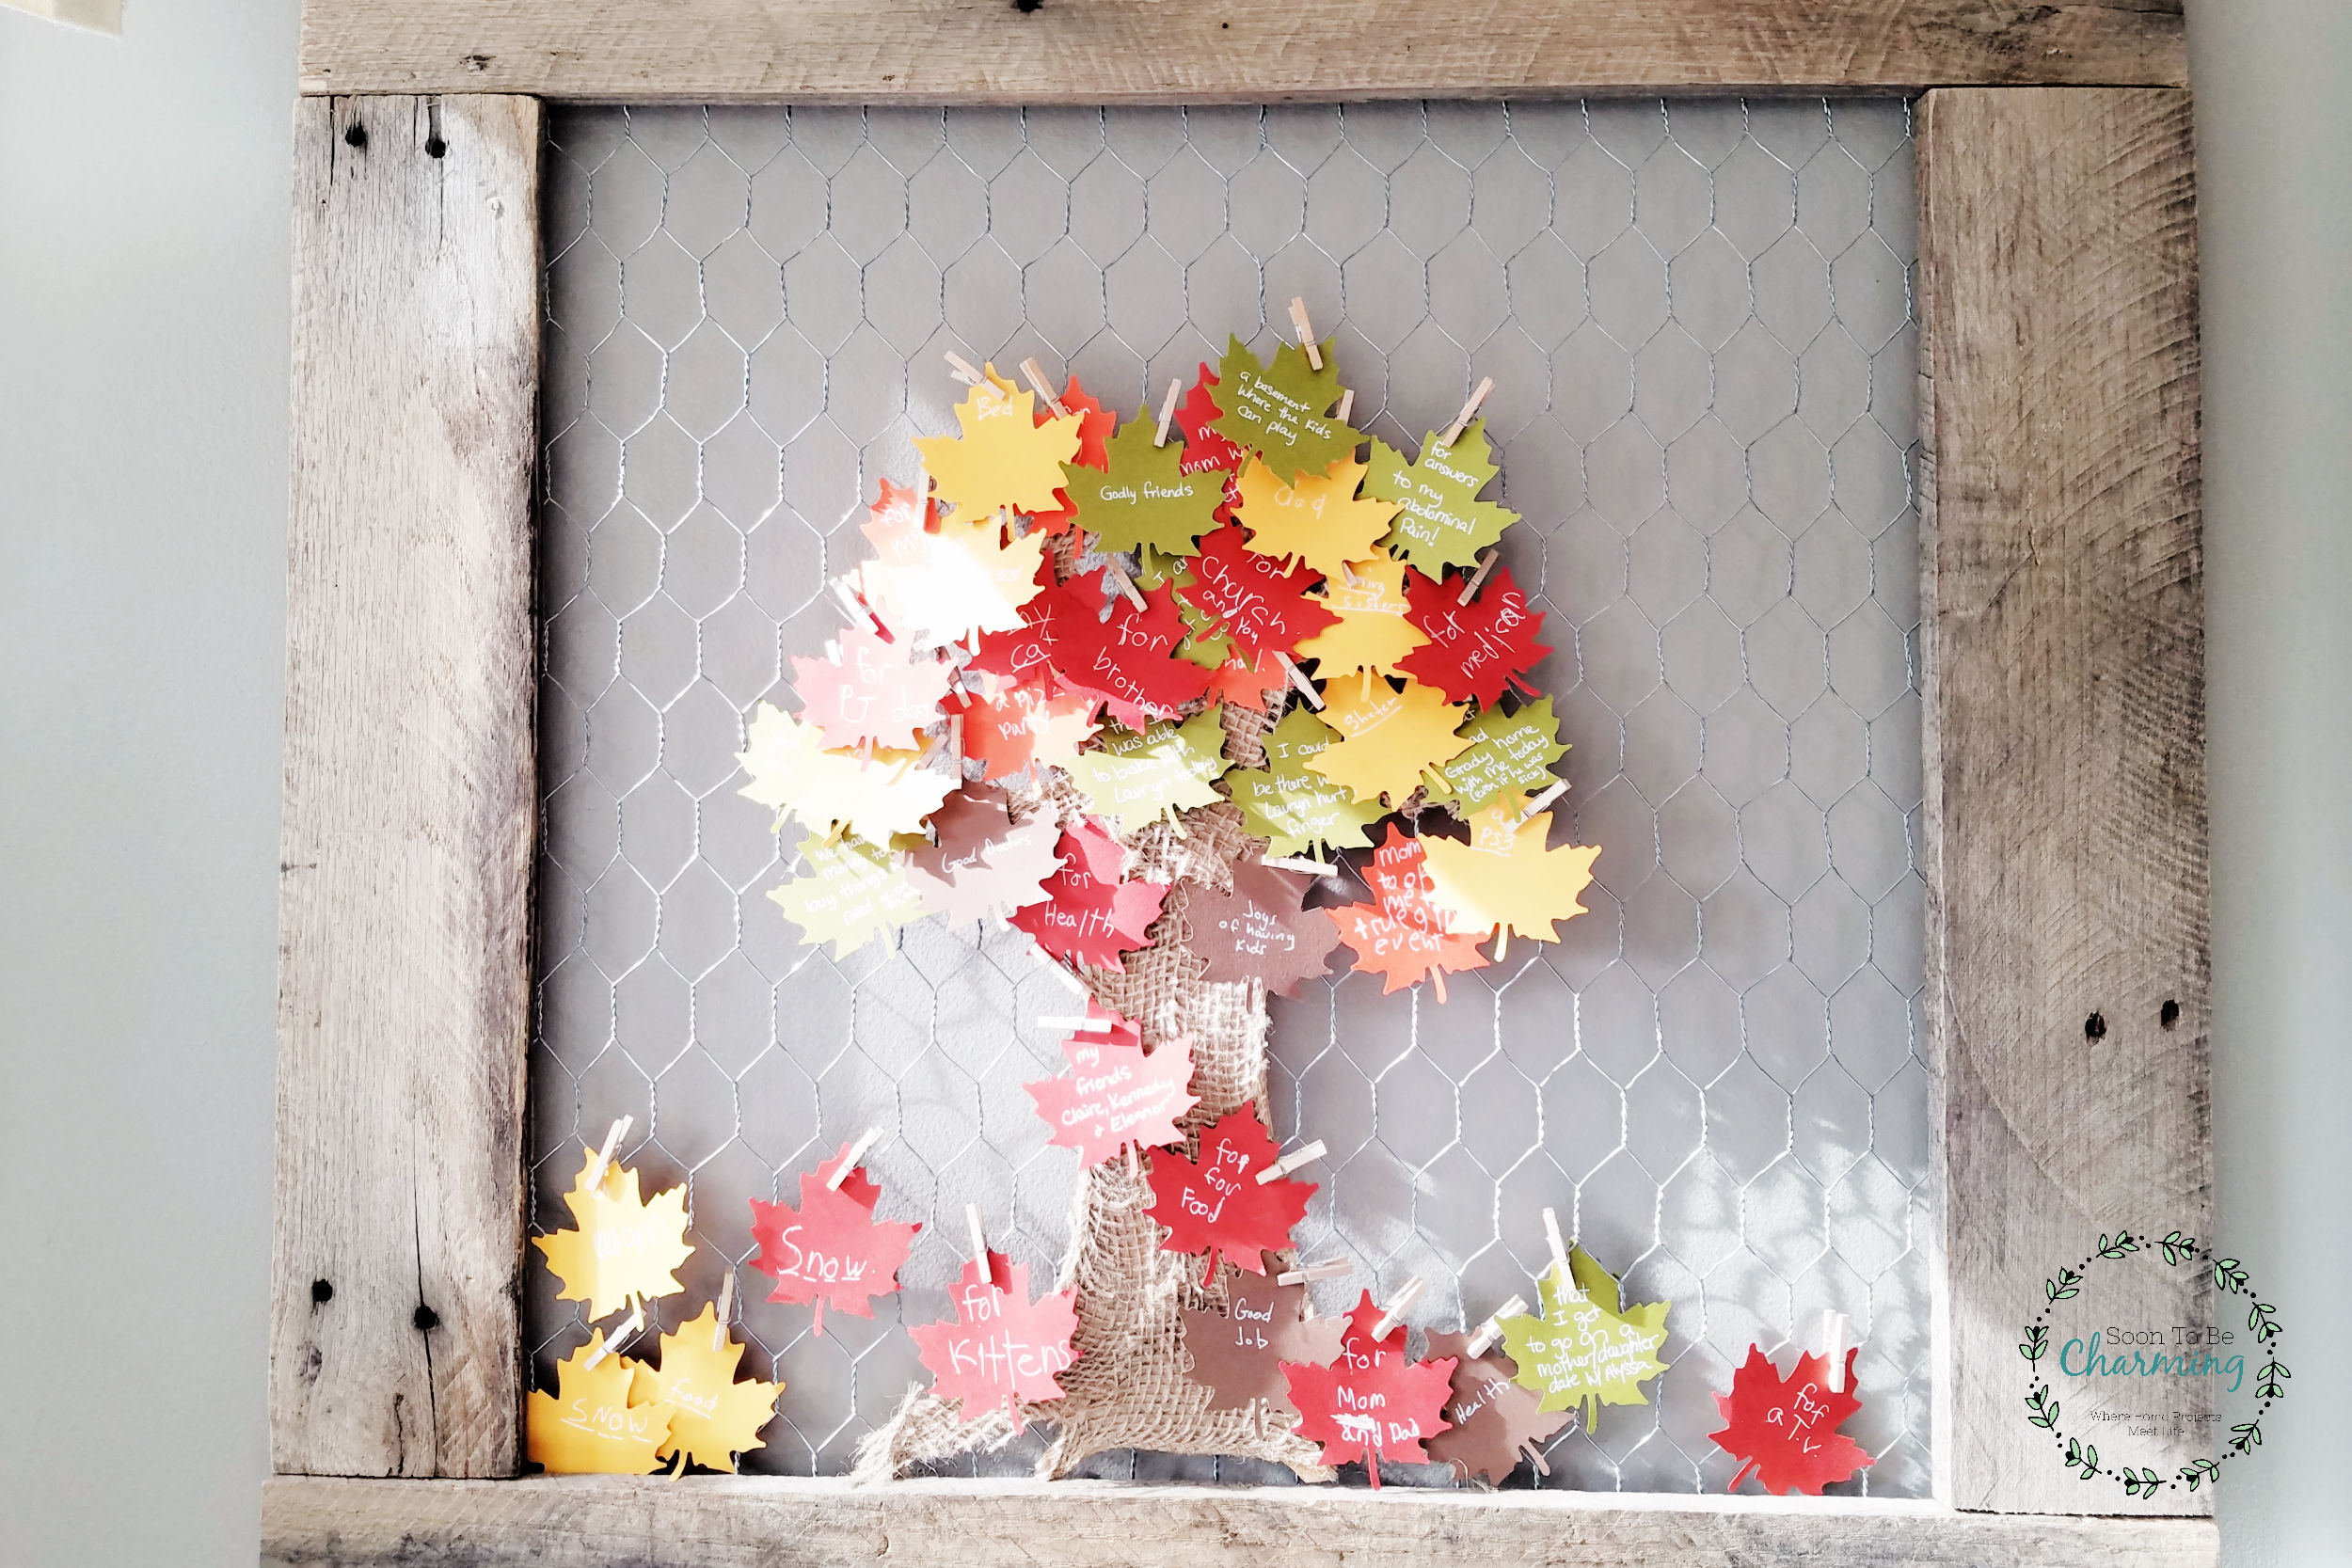
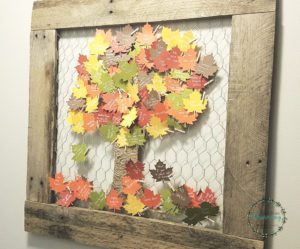
I put a few up on the board just to show you what it looks like. At the end of November, I will have to update the post with a final picture of all our leaves!
I have been planning this project for a while and just the other day it dawned on me. We will begin our Thanksgiving Tree on November 1st, and it is also the day my son goes in for his 16th surgery. There are many hard days following my sons’ surgeries, from a lack of sleep, to the exhaustion of just helping him do everyday things that he can no longer do on crutches.
In all honesty, those are probably not the days that we will be bubbling over with thanksgiving. However, that is when we need it the most. It will be so good to stop each day, put a leaf on the tree and reflect on what we have to be thankful…even when the days will be difficult post surgery.

I truly pray you will have time to reflect on all the blessings in your life and how much you have to be thankful for! Leave a comment below, I would love to hear what your traditions are around Thanksgiving and what you do with your kids to help mold a heart of thankfulness!
UPDATE: Here is a picture of the tree on Thanksgiving!
And here is our tree last year!

Want a Thanksgiving Tree, but don’t have the time? Check out these links to make it easier.

![]()

![]()

![]()

![]()
Thanks so much for checking out my post!

Pin For Later!
Wow I love this project. When my son was young I organized a party for his school. We did this on a huge scale so every student could participate.
Thanks so much Christine! We made a giant one before when the kids were little! I cut out construction paper with the kids and taped it up on the wall…it was really fun! I never thought about doing it for a school party, what a great idea! Thanks again for your comment!