DIY Fall Wreath
Recently I was wandering through a craft store, with a gift card, trying to narrow down what I was going to buy. While walking past the floral section, it finally clicked. I have always wanted to make a fall wreath. My mom is very crafty and makes beautiful flower arrangements. I had watched her enough times, I knew I could do this (or at least I was going to try and fail with a lot of confidence).
What Type of Wreath
With the intention of making a wreath a long time ago, I had already figured out what type was my favorite. I love the grapevine wreaths. Since my youngest daughter was with me, and she is my little design assistant, we walked around the store and picked out all the flowers together. I liked green, burnt orange, and white. My daughter found a deep purple that looked pretty, so we grabbed that also. The cart was now filled with my wreath and several flowers. Lastly, we needed floral wire to secure everything and headed to the checkout.
Making the Wreath
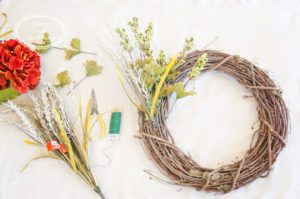
Step 1 Prep
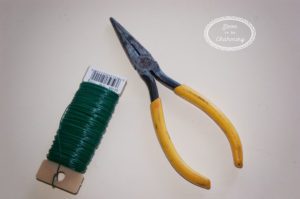
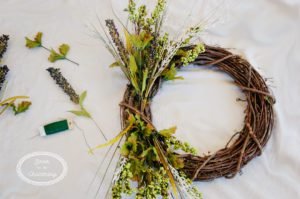
To begin I laid the wreath out, along with all the flowers. I also grabbed my floral wire and needle nose pliers.
Step 2 Placing the flowers
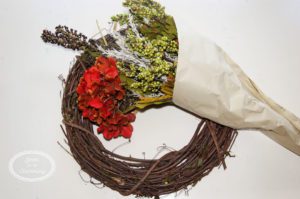
I figured out what flowers I wanted in the background and started placing them on the wreath first. One by one I continued placing more flowers on the wreath. Initially I would put the flowers in loosely, then make any adjustments I needed. Lastly, I would put some wire around the flowers to secure them in place.
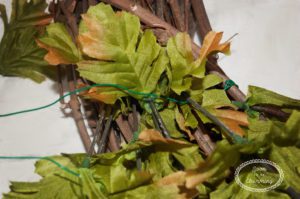
As I continued placing flowers on the wreath, I thought about the overall shape. I like flowers that curve around the wreath, so that is how I placed them.
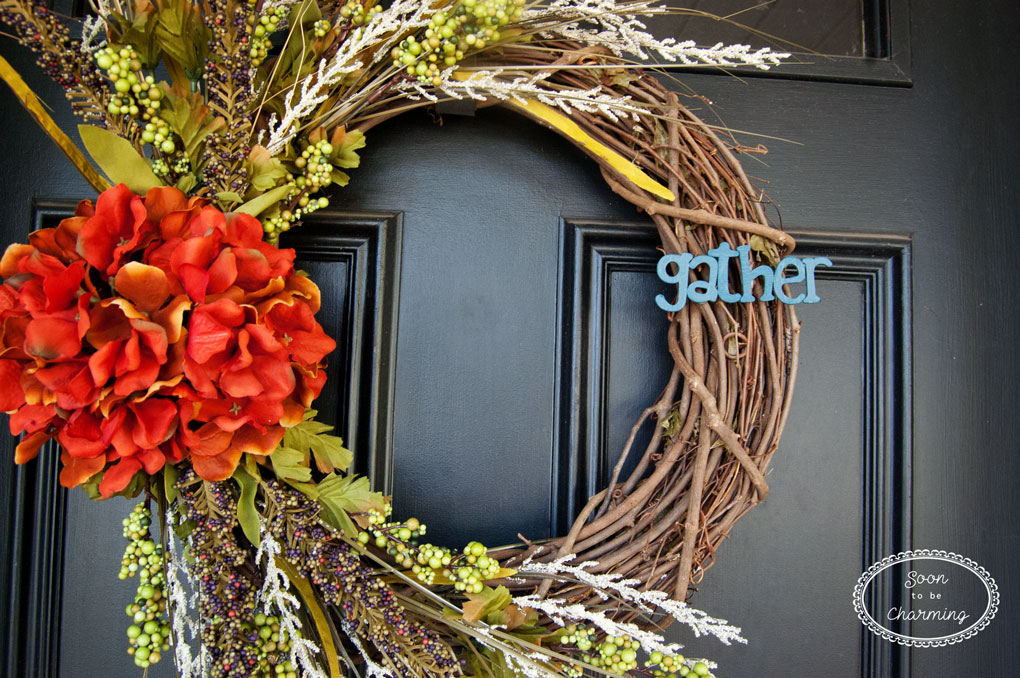
Once I had enough flowers on the wreath, I placed an orange hydrangea in the center to cover the wire. The contrast of the burnt orange really stands out against the grapevine wreath and green flowers.
Step 3 Letters
As I was getting all the flowers placed on the wreath, I remembered I had some craft letters downstairs. I love word décor, so thought it would be perfect to pick out some letters to add on the wreath.
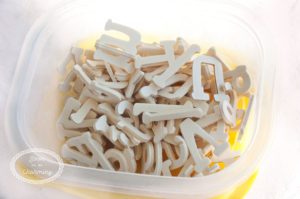
The tough part was deciding what word. Fall or welcome came to mind, but in the end I landed on the word gather. I love the idea of gathering together and of course, I painted them my favorite color…teal.

Once the paint was dry, I used some tacky glue. It was much easier to put on the wreath with all the letters glued together. To secure the word to the wreath, I added a dab of hot glue.

My wreath was now done!

Step 4 Add more fall décor
Why stop with just a wreath, right? I had a crate sitting around from IKEA just waiting to be painted.

My porch needed a pop of color to match the wreath, so I grabbed the teal paint again.

I even used my husbands ice cream maker to put my mum in! Guess he will learn not to keep things setting on my shelves for long periods of time. I either get rid of them or use them.

My wreath was so easy to make and I am really happy with how it turned out. Adding a few extra touches helped tie the whole look together. I mean nothing says fall like Mum’s and pumpkins, it was the perfect way to finish off the porch.

Thanks for checking out my post!

I love the finished product of your wreath–very cute! Your front door fall decor all looks great!!!
Thanks so much Renae!
Love love love it!!
Thanks Angela!!
So cute!
Thanks Elizabeth!