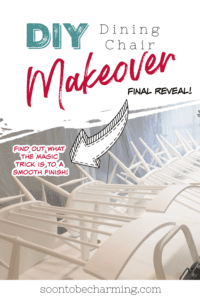
Dining Chair Makeover Final Reveal
It is finally time for our dining chair makeover reveal! It has been a long project, but definitely worth it! I do love diving into a project and learning, but there comes a point in every project where you just need to get it finished and we definitely hit that point with this one. Everything had been pretty smooth, but time consuming for the first couple steps of the project…but then we hit a snag that delayed our final reveal. I’ll walk you through what happened, how we fixed it and what we learned so you don’t make the same mistake!
The painting process definitely surprised us a little, there was more to discuss than we originally thought. With paint, one of our biggest concerns was the wear and tear. We want our chairs to last!
We wanted to find the best paint, so we researched different types of paint and how it would wear over time. Then we researched polyurethane, things like how to best apply it, and noticed a lot of concern about yellowing. We found out that it really can affect your finish. Especially with our paint being an off white color, we didn’t want the polyurethane to cause any yellowing to the finish. So let’s just say, we learned a lot about Polyurethane!
Before we move forward to the final reveal, let’s recap for a moment! Here is our dining chair journey:
Step 1: Chairs Purchased
We purchased the chairs on craigslist.
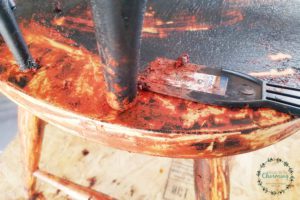
Step 2: Chairs Stripped
Check out the post on removing paint Here!
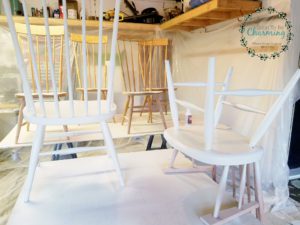
Step 3: Chairs Sanded, Repaired and Wiped Down
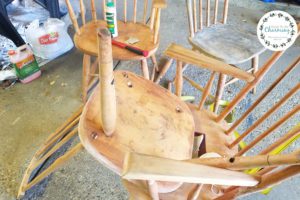
Now we are ready for paint!!
Step 4: Getting Ready For Paint and Polyurethane
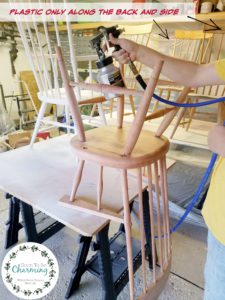
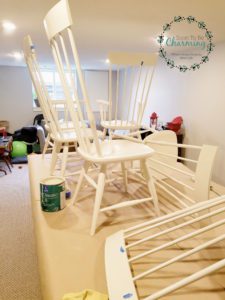
To paint the chairs, especially with a million spindles, the best way is to use a paint sprayer. We used a low volume, low pressure Central Pneumatic sprayer. We borrowed it from my parents, but it was purchased at Harbor Freight for less than $25 dollars. You will need an air compressor to run the spray gun, plus don’t forget a mask for protection. When spraying paint always research and follow instructions for proper ventilation!
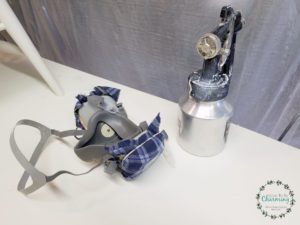
Using a sprayer allows you to get the smoothest finish possible. If you are like me, I didn’t know much about paint sprayers before I began this project…so I definitely learned a lot. My husband is more familiar with it and actually handled most of the painting for our project.
If you are the one spraying and need more information, here is a helpful article explaining all the different types of paint spray guns.
It is common to use a HVLP spray gun for the base coats and a LVLP spray gun for clear coats. However, you can use the same gun for both types of coats if you choose. Just remember the lower the pressure, the less chance of the finish running…which is very important with polyurethanes.
If you are painting white furniture or light colored furniture, you will want to choose a water based polyurethane. For our project, we chose Varthane water based polyurethane. Oil based polyurethanes can yellow over time (which is why you would need to avoid it when covering a white painted surface).
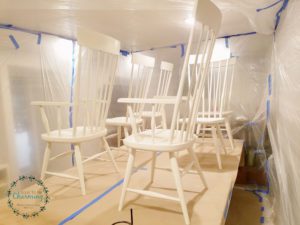
DIY Paint Booth
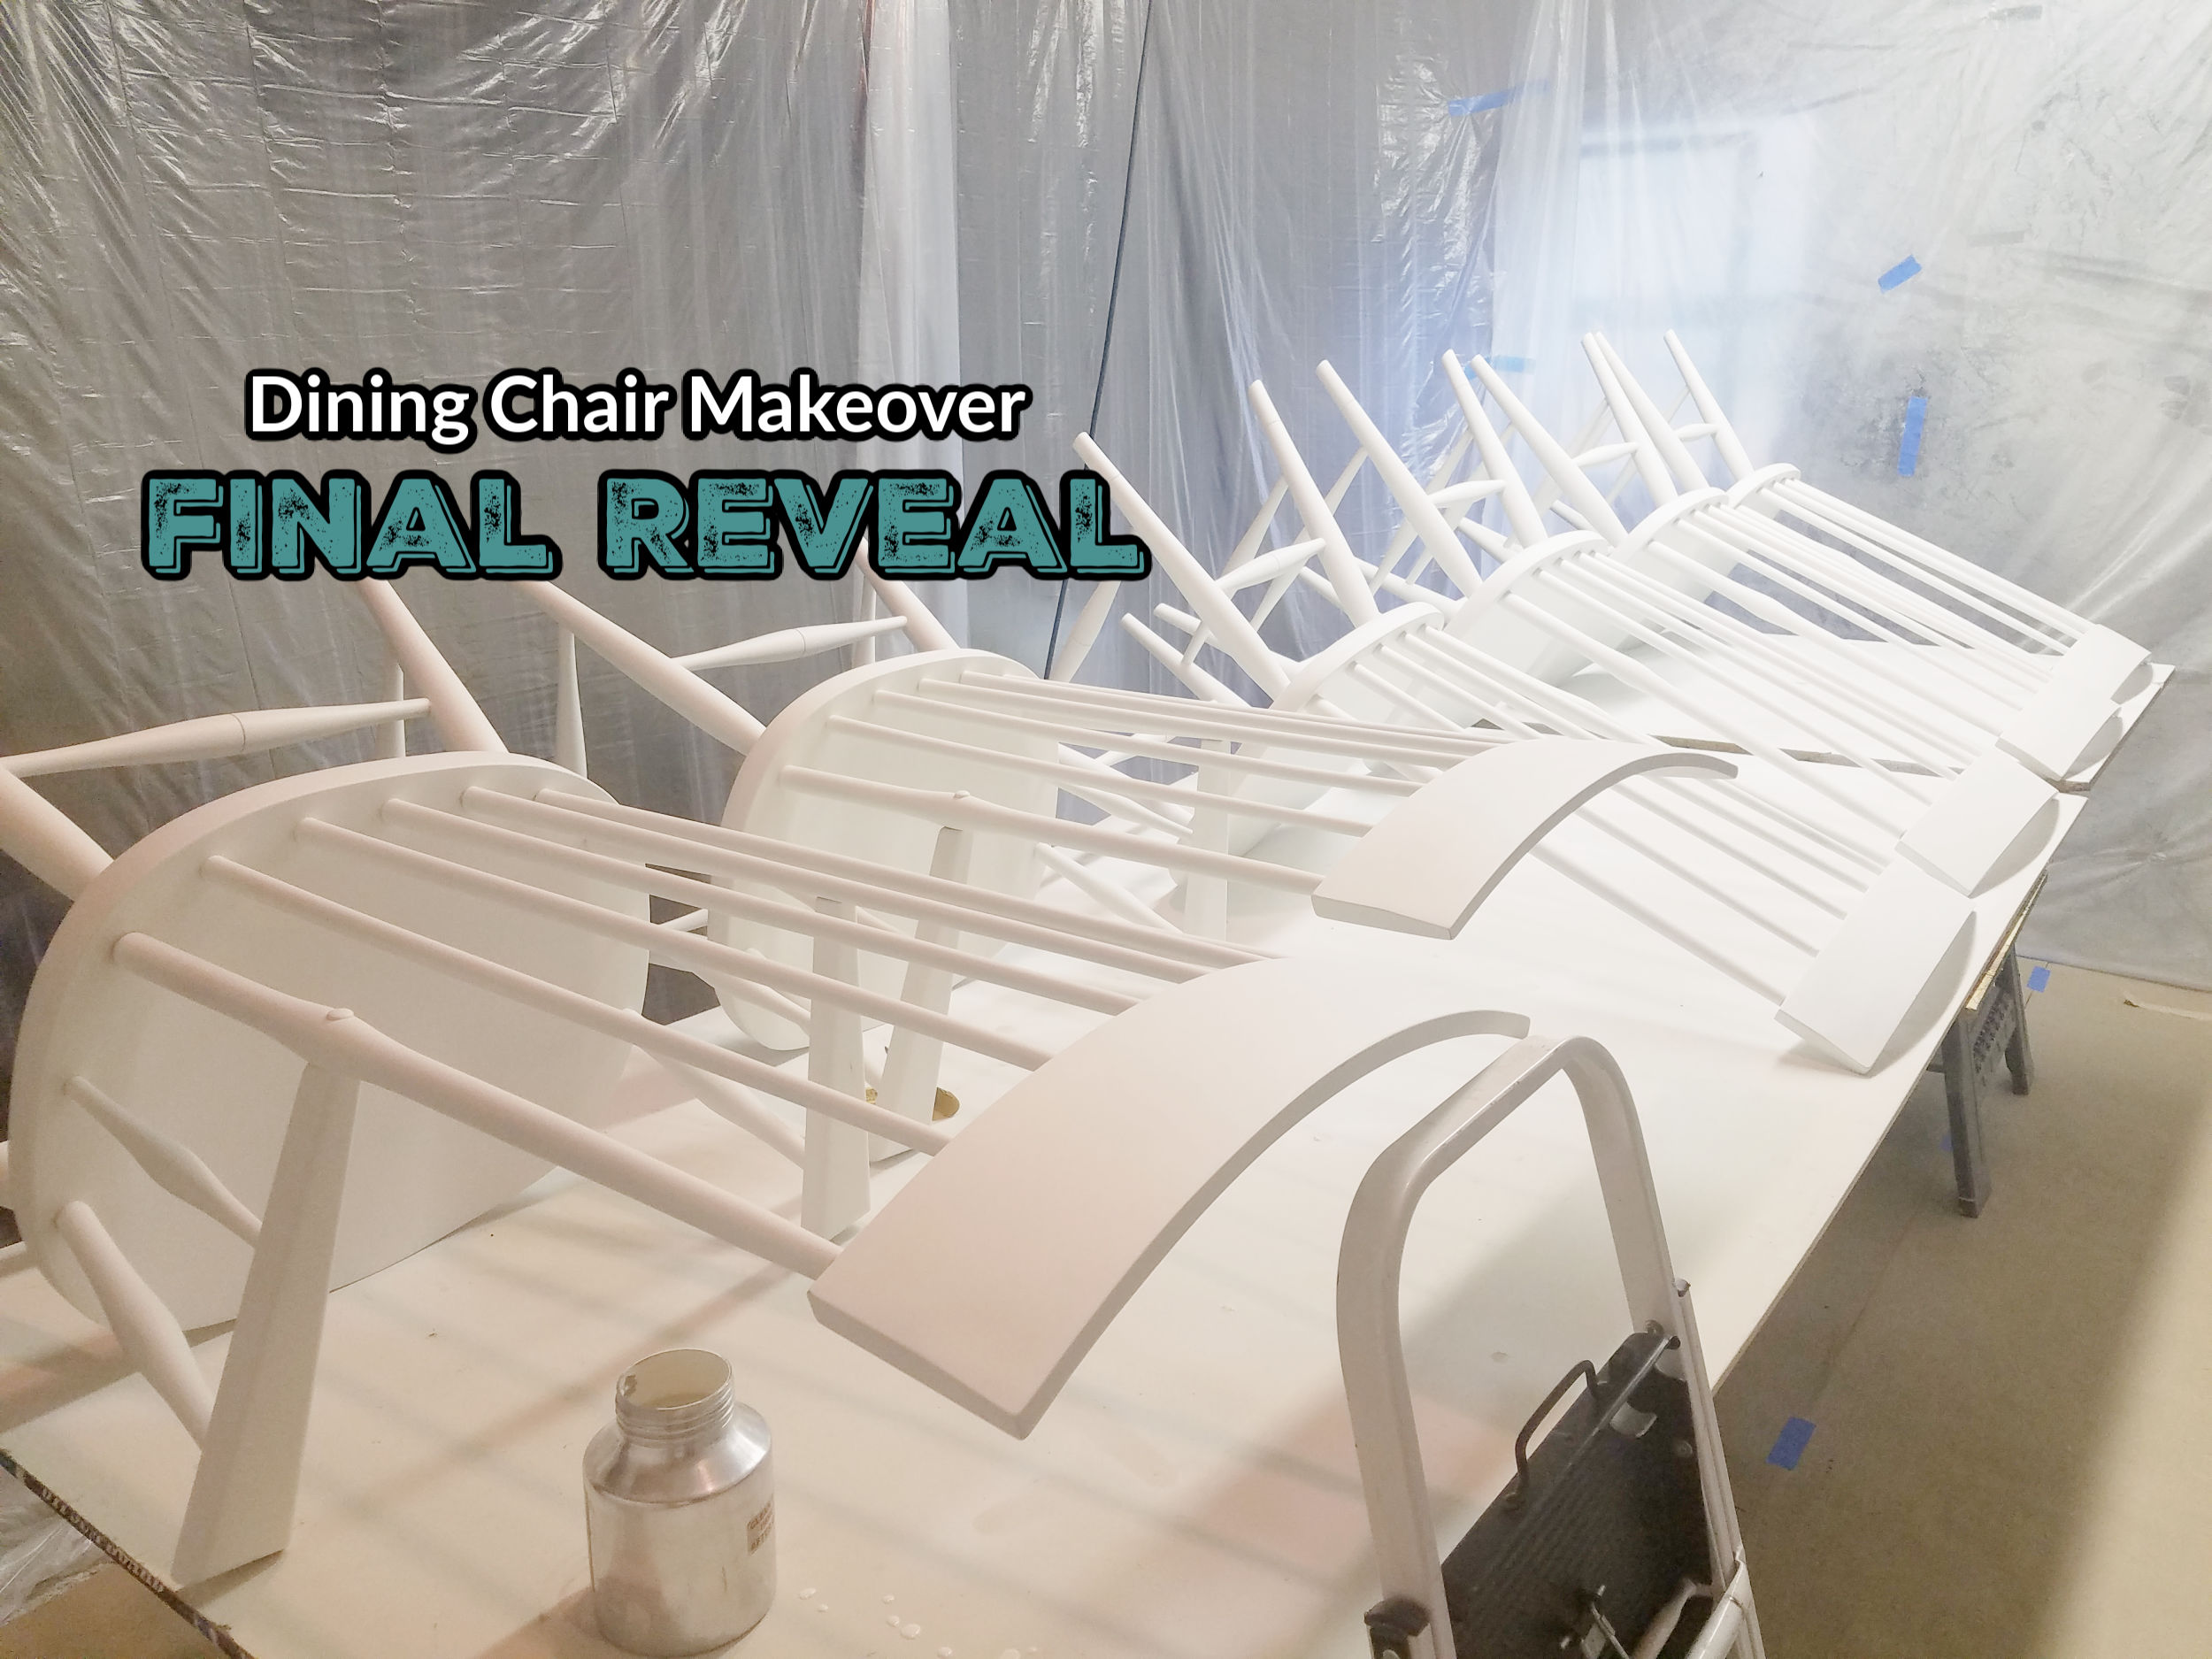
We created a paint booth with several plastic drop cloths in our garage. When painting chairs, especially with as many spindles as these chairs have, you will have a lot of overspray. In the beginning, we set up our tent with two plastic sheets…but after spraying a couples chairs, we decided to create an entire enclosed tent.
Here is our full tent!
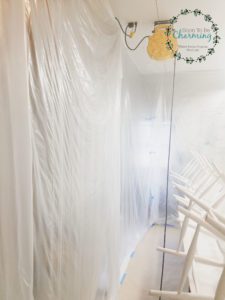
To keep the plastic from falling or ripping, we used washers and screwed them into the studs.
Painting The Dining Chairs
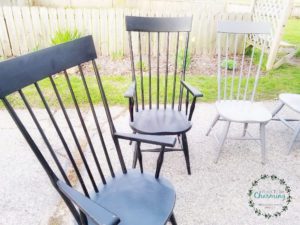
We chose to paint the chairs Shoji White by Sherwin Williams. It is a beautiful off white color and happens to be the same color as the trim in our house. With all white chairs, we will then build a dining table and stain it a walnut color to contrast the chairs. I can’t wait for that project…but it won’t happen until next summer! One step at a time.
Dining chairs will definitely see a lot of wear and tear, so we sprayed 1 coat of primer and 3 coats of base paint.
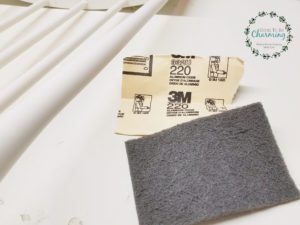
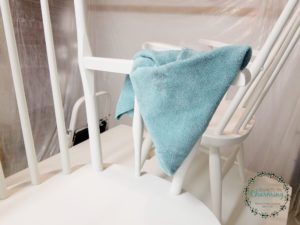
In between each coat, we lightly sanded and then wiped the chairs down to remove the sanding dust.
More spraying!
Spraying The Polyurethane
After we did all of our research, as I mentioned above, we chose Varathane Water Based Polyurethane. We needed a water base so the finish didn’t yellow and nothing beats spraying to get a smooth surface. We also bought a gravity fed sprayer to apply all the coats of polyurethane.
Our chairs were in great shape, they looked smooth, 3 coats of poly and we were almost done…or so we thought.
Our Process Halts
After 3 coats of polyurethane, we noticed the finish wasn’t perfectly smooth. Now I say perfectly, because it was smooth…but just not glossy smooth like a chair you would buy in a store. Initially, we thought that our sprayer was allowing too much air when spraying which would make the finish too much like a mist and maybe that was why it wasn’t perfectly smooth.
We adjusted the settings and thought we’ll put on one more coat. This is where the problem happened. The fourth coat was too thick and if you have ever done poly before you know you want several thin coats! Once it dried, we had small runs on several of the chairs.
To remove the runs, we had to sand them, which led to small chips of the paint coming off. It felt like we were starting our own book of If You Give A Mouse a Cookie! One thing led to the next, and before we knew it, we added on 4 weeks of fooling around trying to fix these runs (most of the time was spent trying to figure out what to do next).
*We marked the spots that we sanded with blue tape, so we would know where to touch them up.

We touched up the areas where the paint had been sanded off and now we needed to recoat them with polyurethane.
Snow In November
The newest problem now was we had ran out of warm weather. It was too cold to spray outside.
We decided to put a coat of poly on using a foam brush. The finish was terrible in comparison to the spraying, it just wasn’t nearly as smooth! So we sanded that down and tried the Aerosol cans of Varathane. This process was better, but still not as smooth as the paint sprayer.
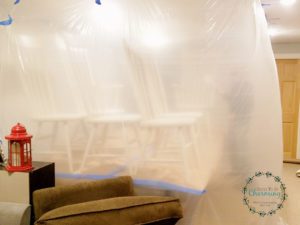
At this point, we so wanted to be done…but we had so many incredibly smooth coats on those chairs, we just couldn’t end with something not as smooth. The last coat is what you feel! So I did what any crazy DIY person would do, I turned our basement into a paint booth. We had to spray the chairs one more time to finish them!
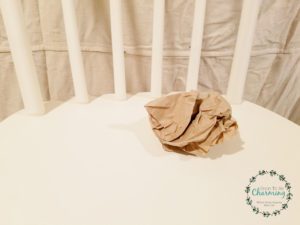
The Magic Tip
Oh and by this point, we had found an incredible tip on how to buff out the polyurethane finish by using a brown paper bag. So if we would have just done that after the third coat of varnish…we would have been done with no issues! Quick tear, ok moving on. Plus now I can tell you from personal experience that spraying is much smoother than foam brushes or aerosol.
If all else fails the brown paper bags could help you hyperventilate when your project goes awry! Just kidding.
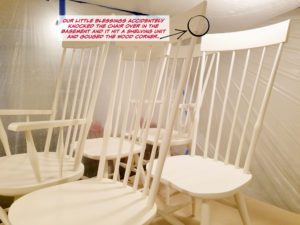
Building A Paint Tent In Our Basement
Since this was a very temporary tent, I used painters tape to hold it up! It held for a good 4 or 5 days, even with the cats rubbing against it.
Final Coat!!!
The finish is still not perfectly smooth in a few spots were we tried other methods…but I took a brown paper bag and rubbed or buffed each chair to help smooth it out a little more. I am amazed at how well it works! Just wad the bag up and rub it in a circular motion. Especially, where we hadn’t fooled with touch ups…it really made it smooth!
I used a new paper bag on each chair.
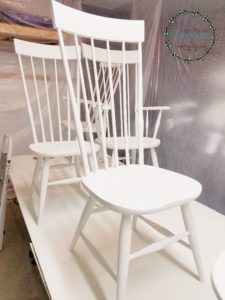
Welcome To The Dining Room
Moving the chairs to the dining room was a momentous occasion! Please disregard our beautiful brown shag carpet and old dining table…both need to be replaced! But just take in those beautiful chairs!

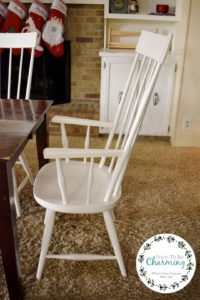
I am sitting in one of these chairs as I write this exciting and long overdue post.
Besides maybe the delay at the end, this project was tedious, but definitely doable. My ending notes would be to buy a spray gun, spray thin coats and definitely use a brown paper bag to smooth your finish!
Thanks so much for checking out my post! I hope you enjoyed the final reveal of our dining room chair makeover!
