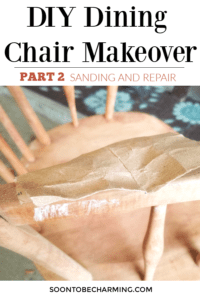
Dining Chairs Makeover: Sanding and Repair
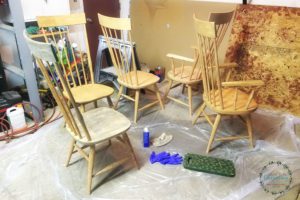
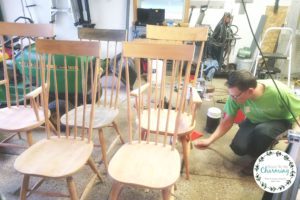
What a beautiful site! We finally stripped all 6 dining chairs and are ready for sanding and repair! If you missed the first post on removing paint, you can check it out HERE! This stage of sanding and repair was much cleaner than stripping paint. We were very successful at getting most of the paint off, which made our task of sanding much easier. If you leave a lot of paint on the chairs, it will gum up the sandpaper and may cause more issues. So before you move on to sanding, try to get your chairs or furniture as clean as possible!
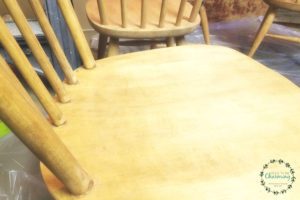
Someone must have tested some black stain at one point, as you may notice one chair is darker than the rest. The paint on the chair was stripped clean, but the entire chair is still tinted. Thankfully, we were planning on painting the chairs anyways!
This post contains affiliate links, which means if you click on or make a purchase I may receive a small commission at no extra cost to you. I only include products I use or love and always appreciate your support!
Sanding
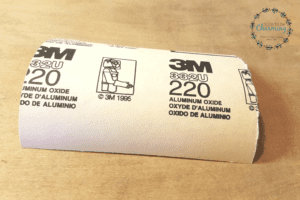
My husband and I started with a 150 grit. We sanded down every chair and then went back and re-sanded the chairs with 220.
Keep in mind, especially with antique chairs…leaving a few knicks here and there adds character. So don’t feel pressured to smooth them out perfectly.
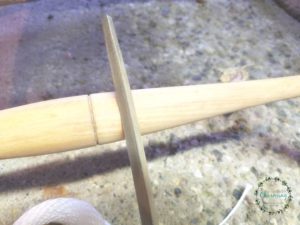
A triangle file worked great to sand out the narrow details. We wanted to be careful not to lose the detail by rounding out the edges too much.
We also found this gem on the back of the arm chairs!
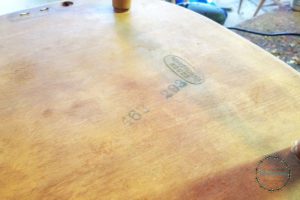
The arm chairs were made by the Pennsylvania Chair Company. If you are interested in finding out more about this company…HERE is an article I found recently about the history of the company.
Then we used an air compressor to blow off all the sanding dust.
Now To Repair The Dining Chairs
When you purchase used or antique chairs, you may have to do a few repairs. Overall, the chairs were sturdy and in good shape. Just a few chairs squeaked or rocked a little, so we wanted to fix the legs before moving on.
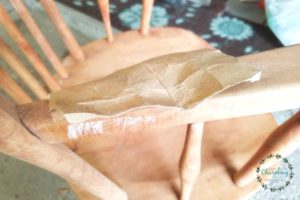
My husband removed the legs that needed to be fixed.
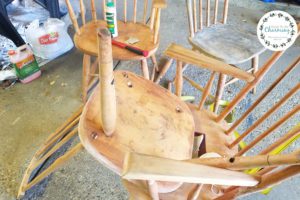
He cleaned out the joints and then glued the leg back into position.
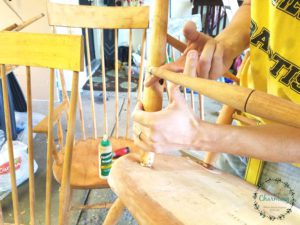
We secured the freshly glued leg with a strap to hold it tightly into place until it had time to dry. The strap was left on overnight.
Once all the chairs are sturdy, you are ready to move on.
Help Me Share This Project!
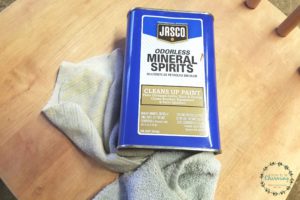
Time For Mineral Spirits
It is finally time to get the chairs cleaned and ready for painting! Use mineral spirits for this step. I grabbed an old rag and poured on the mineral spirits. I wiped every chair down and it’s amazing how well mineral spirits work to remove any debris or dust left on the chairs.
After all the chairs are wiped down, give them a day to dry before doing anything else.
Now wipe your hands on that beautiful clean, smooth wood! This is a glorious step after all the hard work!
The next stage will be painting the chairs and the final reveal! My husband and I will be finishing up the chairs this week and we can’t wait to share it with you!
Thanks for checking out my post.
