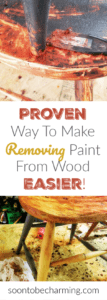
Dining Chair Makeover: Removing Paint
It’s finally happening, I am already done removing the paint from my wood chairs. I can’t believe our dining chair makeover is almost finished (make sure to catch all 3 parts…you won’t want to miss it)!
You see my dining chairs have been a thorn in my side for several years now. I bought the set almost 15 years ago, it was the first thing I bought for my first house and so while I absolutely loved them in the beginning…the set is just not functional for our family anymore. The first problem is it only has 4 chairs and we have 5 in our family.
So how have we been getting by you ask? With a folding chair! I cringe at the thought that a folding chair has been ingrained into my kids childhood memories. When my son referred to it as his “special chair,” that was my breaking point…insert laugh or tear, the choice is up to you! I have wanted to do both.

It started out as an innocent solution, our youngest grew out of her high chair, so we put the booster seat on a folding chair. The next thing we know, three years later we still have a folding chair sitting at our table! So in our defense, we addressed the issue several times but weren’t quite sure what direction we wanted to go in. Big projects like siding our house and replacing the windows, come before getting a new dining room set. So we considered getting a bench to put along one side, or getting two end chairs with arms. We just couldn’t decide!
I Found Chairs On Craigslist, Perfect For Our Dining Chair Makeover!
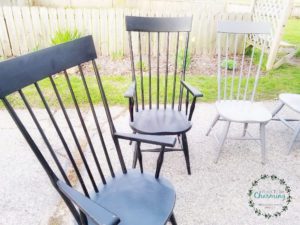
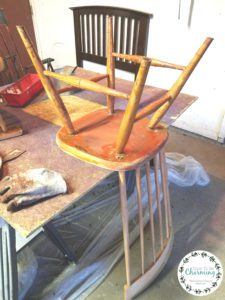
The last thing I wanted to do was refinish dining chairs. I figured the spindles would be a nightmare, but then I found a deal I couldn’t pass up. 6 windsor style chairs for $200, 2 black arm chairs and 4 gray side chairs (armless).
I loved the chairs and thought they would look great in our home, so we went and picked them up. OK…getting them in the car was another story, but after a few tries, we made it!

My husband and I have refinished things before, a childhood dresser (made into a TV stand), our kitchen island, old windows…so the thought of refinishing the chairs wasn’t overwhelming, I just knew the process would take a while because we bought chairs that pretty much had as many spindles as a chair possibly could! Oh joy!
Removing The Paint
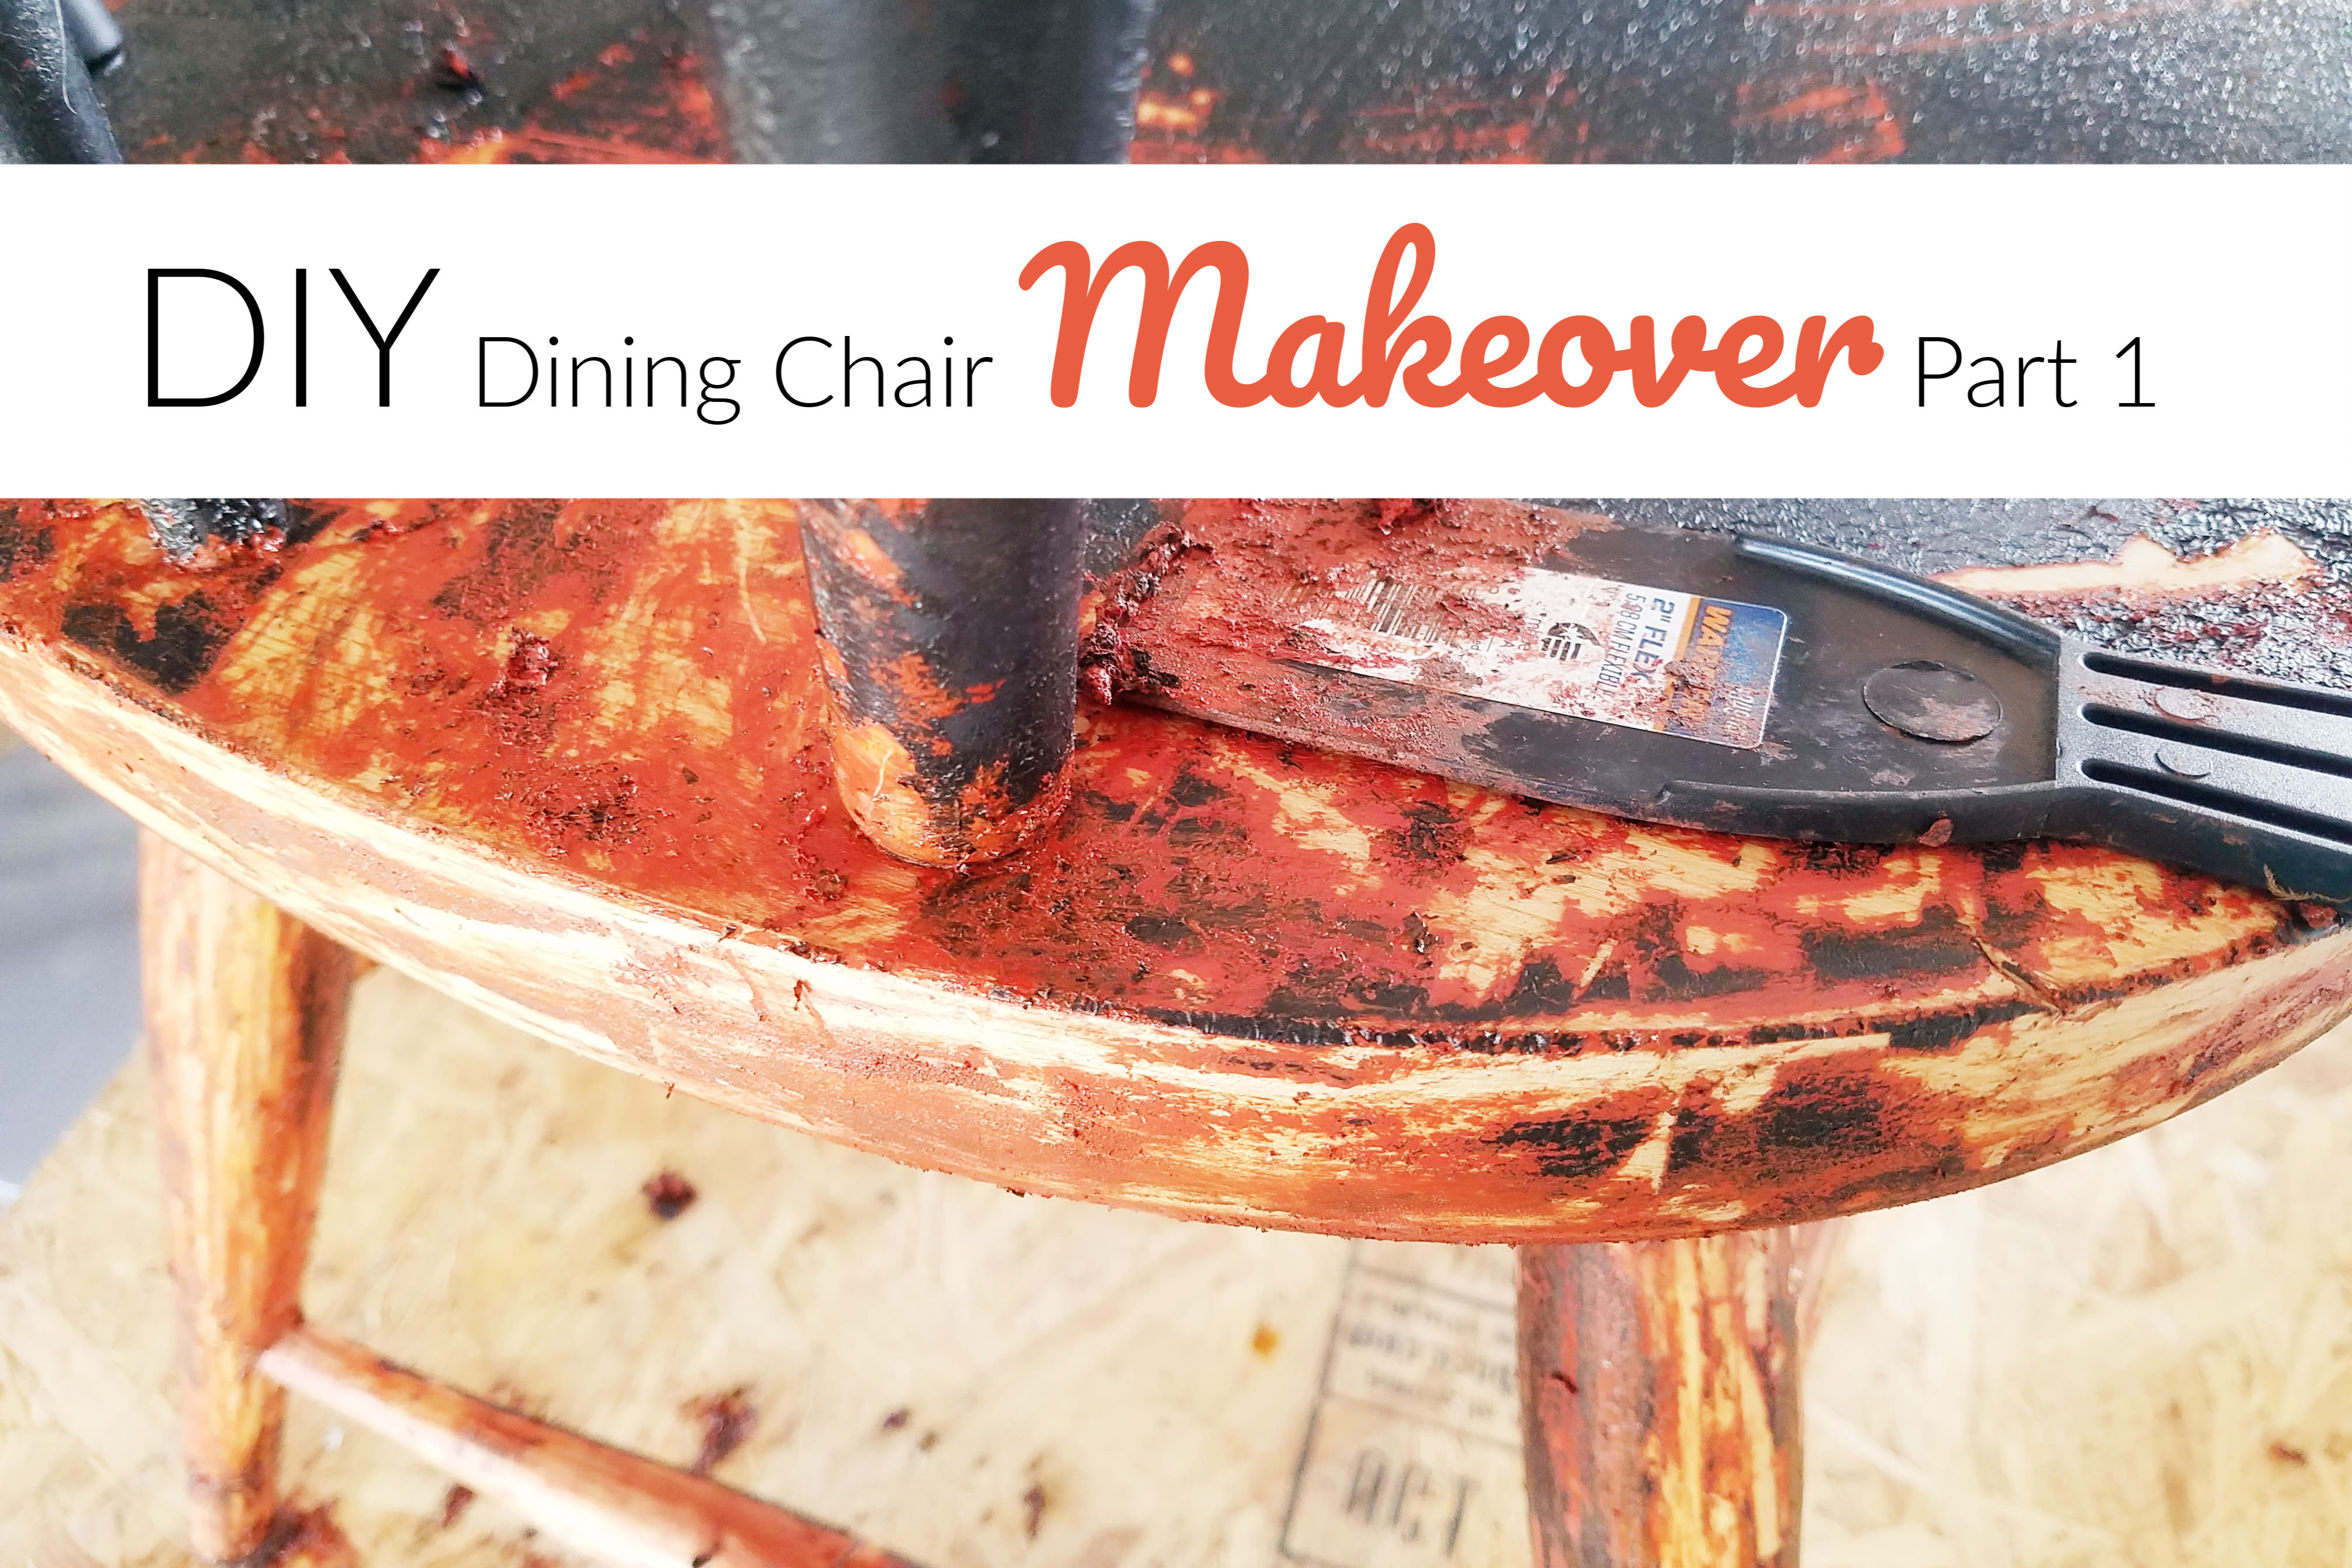
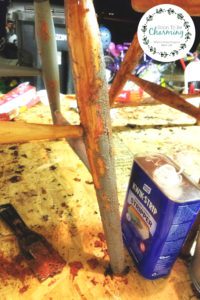
Ok, let’s dig into the process. To begin, we (my hubby and I) put some plywood up on a pair of sawhorses. I ran to Lowes to get some paint stripper. If you haven’t done a lot of refinishing…standing in the aisle at the hardware store can be difficult. What paint stripper do I choose?
In all of our refinishing projects before, we had never stripped paint…so this was all new to me too. I grabbed some KwikStrip, 4 plastic scrapers (only use plastic scrapers with wood), a small metal bucket and 2 brushes. I wanted to have enough tools for my husband and I both to work on the chairs at the same time.
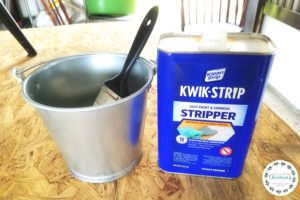
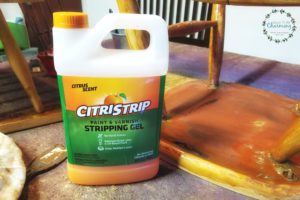
Once we ran out of Kwik Strip, we bought Citristrip! It worked just as well with less chemicals.
It’s Not Hard, A Dining Chair Makeover Is Just Time Consuming
Let the paint stripper do the work! The key to stripping paint is really to let the paint stripper do all the work. If you have to scrape really hard, you need to apply more stripper.
It definitely took me a little bit to get the hang of it. In the beginning, I put it on too thin. I could see it bubbling which is exciting, but it was still really hard to scrape.

Here is what helped remove the paint from the wood:
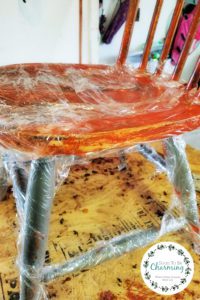
- Apply a lot of paint stripper. Don’t stroke on thin amounts, put glops of paint stripper on your furniture.
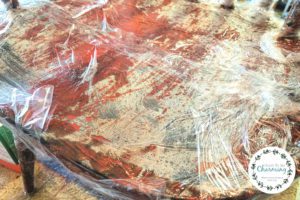
Proven Way To Make Removing Paint From Wood Easier is Saran Wrap
- Once you apply a lot of stripper, wrap your furniture with saran wrap! This keeps the stripper from drying out and allows it to penetrate through the paint. I found this tip from the blog A Ray Of Sunlight and it helped a ton! She uses it all the time when refinishing furniture and after trying it myself, it really does work!
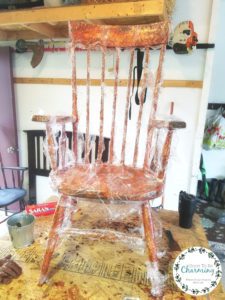
- Let it sit overnight once your wrap your furniture in saran wrap.
- If you get to your piece of furniture the next day and it looks all dried up…don’t worry. Apply more paint stripper, it will soften up and should come off easily.
- Add more layers of paint stripper. If you have stubborn spots of paint that do not come off after the first application…use more paint stripper. Let it sit for 5-10 minutes and then try scaping again (I only wrapped it with saran wrap the first time).
Find Your Happy Zone
- When the paint gets really goopy and soft, this is your happy zone. You want your paint to look like this in order to easily remove it from the wood. It is really messy, just warning you!
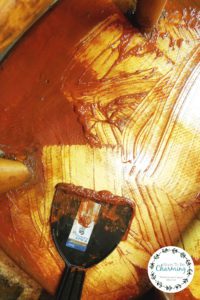
- It is helpful to use rags to wipe off the goop as well. Scrape as much as you can, then use a rag to wipe off the remainder. This will allow you to see if there are spots of paint that need more paint stripper applied.
- Do a happy dance when you see wood!
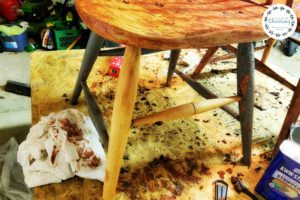
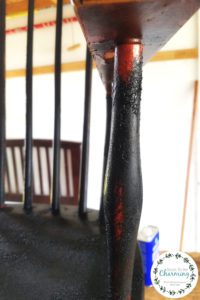
- Apply, scrape, apply, scrape, apply, scrape until you have all the paint removed! Flip the chair over to get a better angle to scrape if needed.
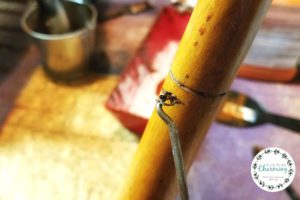
- Use dental floss or a small hook to get the paint out of any small details your chair might have.
Once one chair is done, take a breath and then dive right into the next! In the beginning it may seem like it will never get done…but let me tell you, the sight of clean wood is something beautiful to behold! Keep plugging away, you’ll get there!
Next week, I’ll post part 2! Stay tuned, you won’t want to miss the reveal! Thanks for checking out my post.