Organizing Tips For Outdoor Christmas Lights
We have all been there, you pull out the tub of Christmas lights and everything is tangled. However, that is not the only struggle! I hate having extension cords laying everywhere on the ground, so I try to be as efficient with my cords as possible. Last year when I put the lights away, I felt confident that I would remember where I used each extension cord. Can you relate? This year however, as I pulled them out, I realized I might have been a little over confident with that assumption! Then my brilliant sister-in-law shared her idea to create a diagram. No more wondering where each cord went. Take time to figure out a good system, then either create a diagram or write it down directly on the cord. Do this before you store your outdoor Christmas lights this year and you will be so happy come next Christmas!
Step 1: Extension Cord Layout
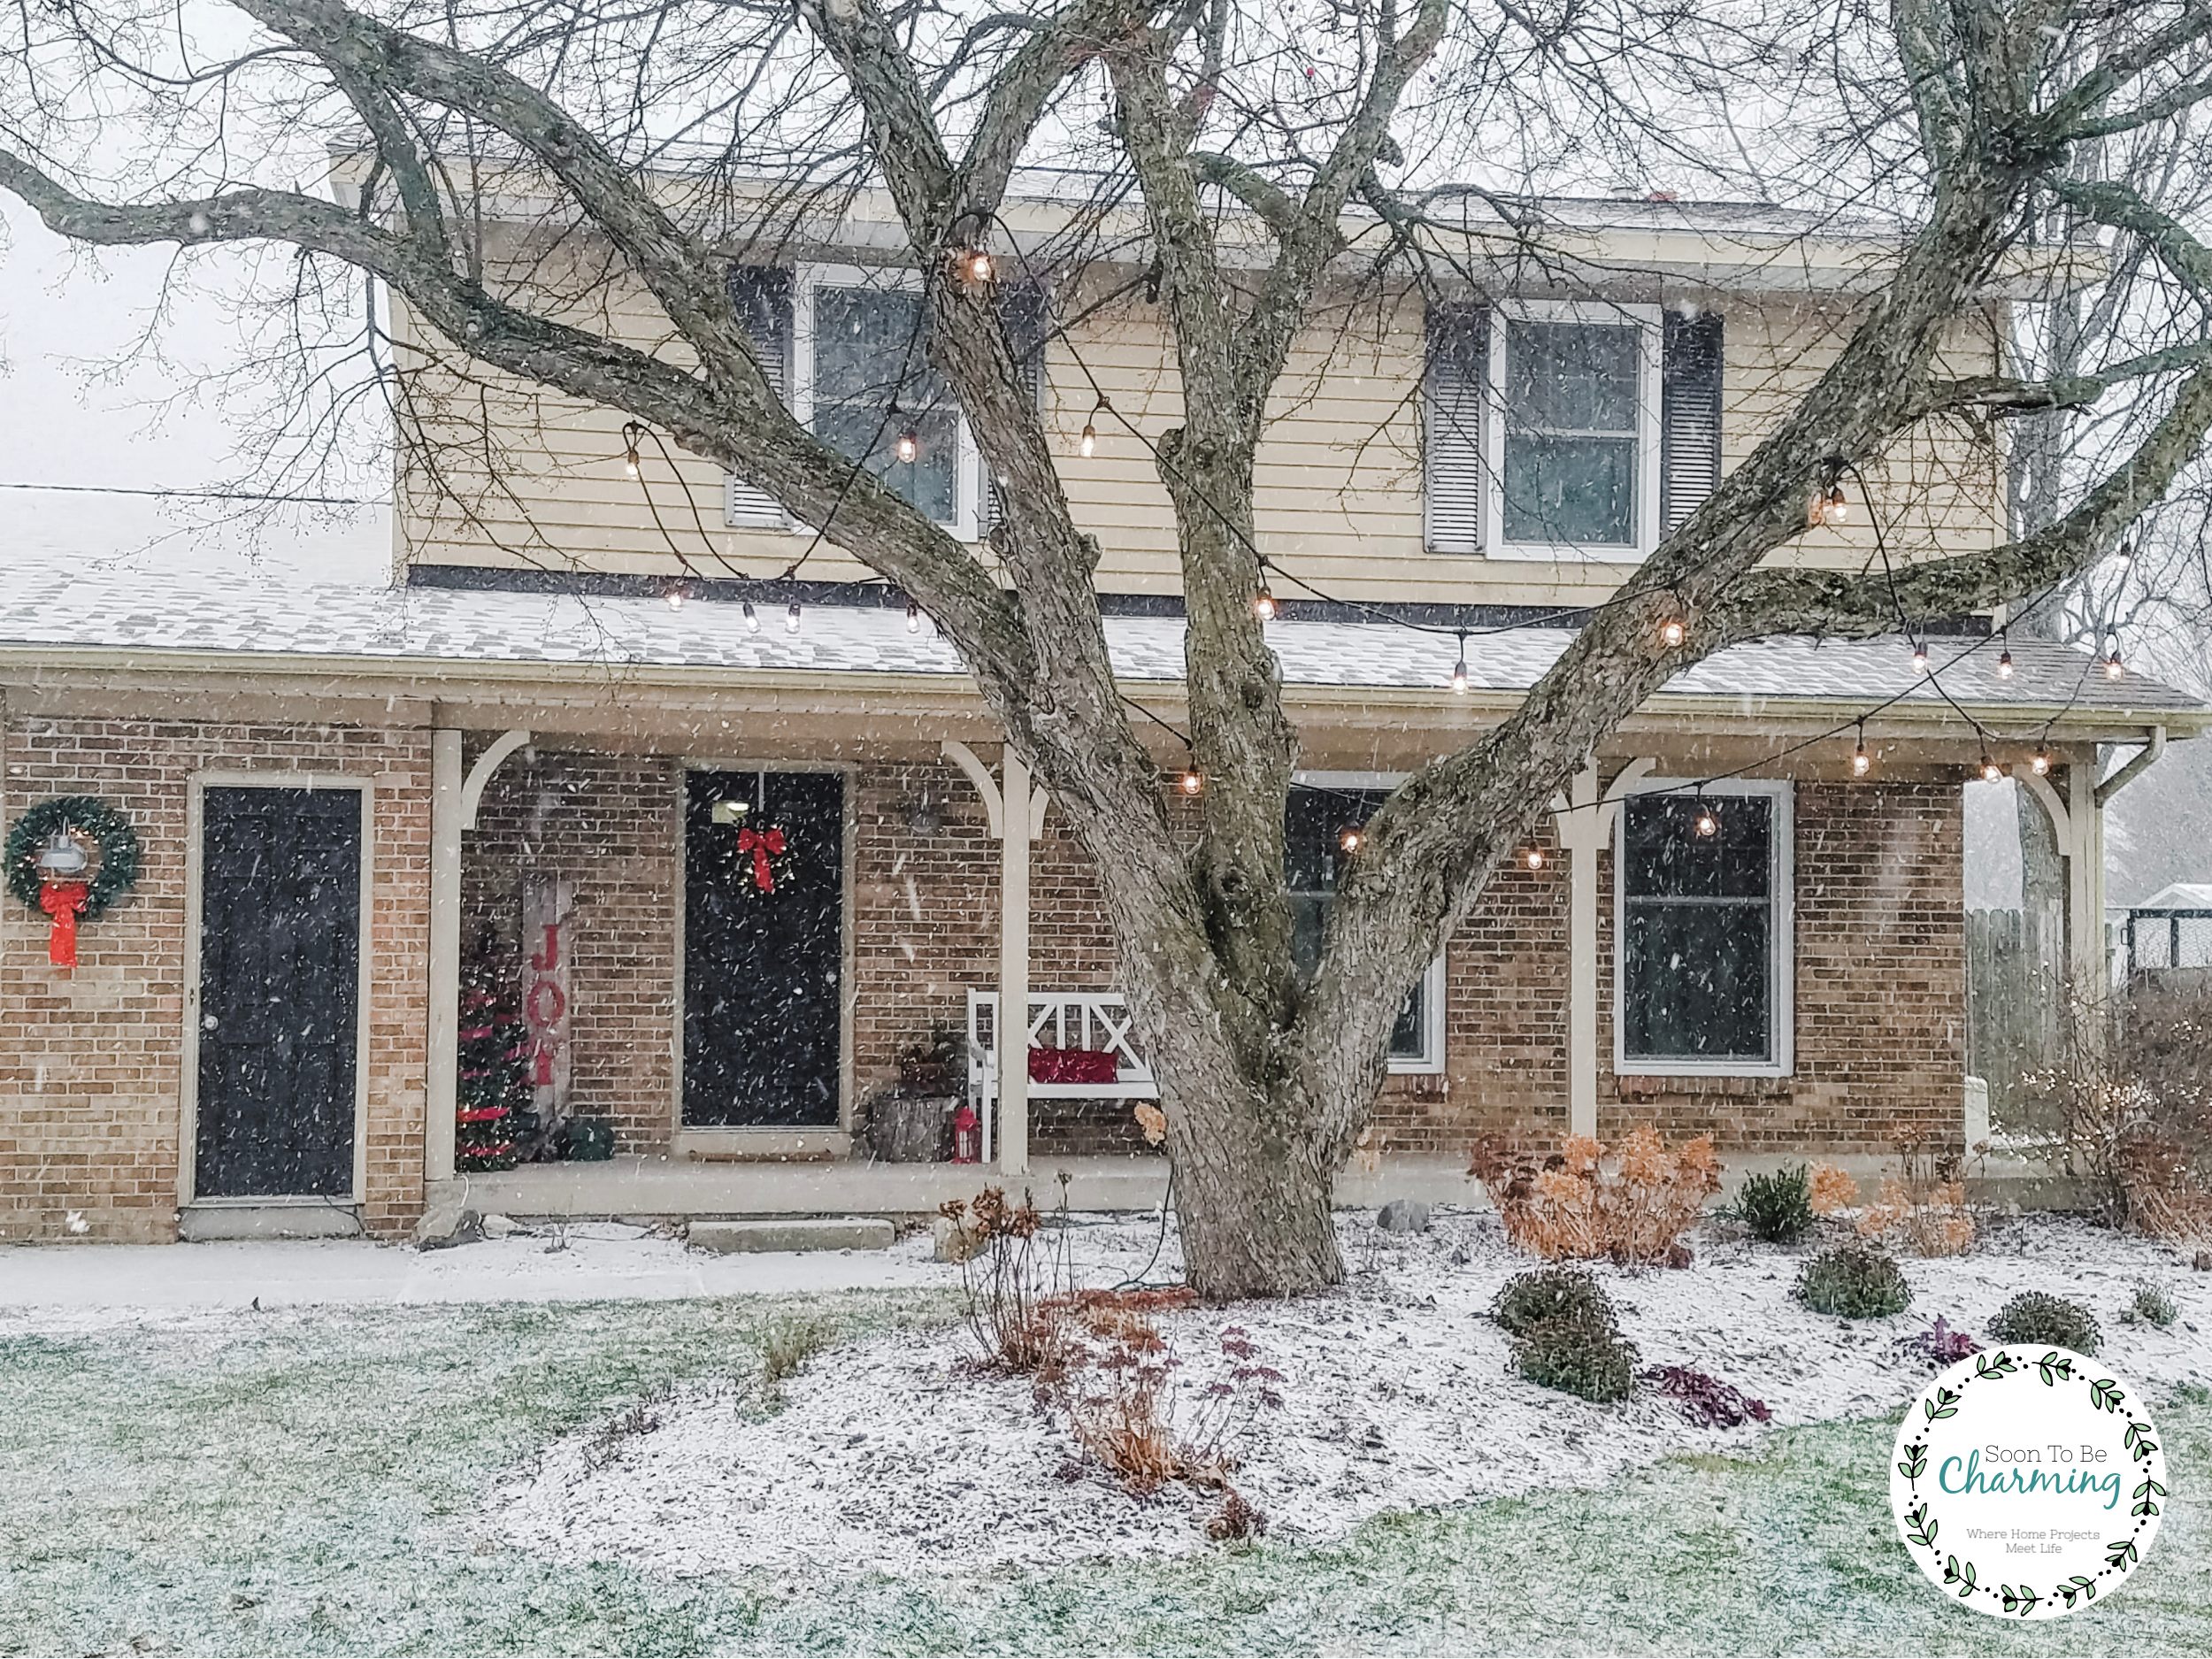
At this point, you have your outdoor Christmas lights up! Make sure you are happy with how everything is laid out. If not, this may entail getting a few new cords. I did this last year and it helped a lot! Now I have just what I need.
This is an important step to do before you create a diagram or write numbers on the extension cords. You want to make sure everything looks the way you want it to, without a lot of extra cord hanging around.
Step 2: Label Christmas Light Extension Cords
Once you have your cords laid out the best way possible, begin at your first plug. Write 1 on your extension cord plug and two on the other end which is called the connector end.
Next, label all the plugs that go into the number 2 connector with a 2 as well.
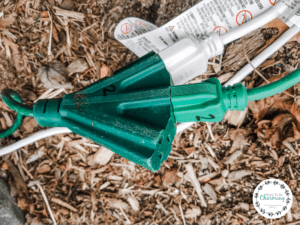
From all the plugs labeled two you can label the connector ends 3 and 4. In my case, one of the extension cords goes up onto the porch and since it is not connected to another extension cord, I did not label it. I could label it porch, which I might do before I take them down.
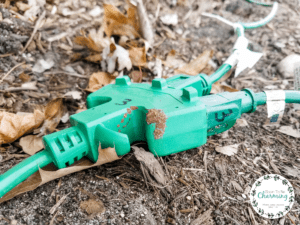
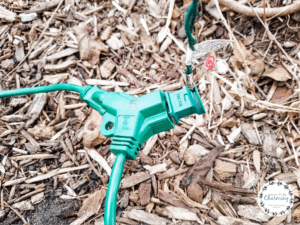
From the three way plug labeled 3, I had two plugs connected and so I labeled the connector ends 4 and 5. The extension cord labeled 4 goes up to my front tree and the extension cord labeled 5 goes along my porch to the bushes on the corner of my porch.
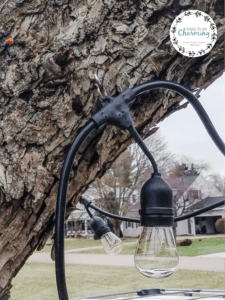
The connector cord 4 goes up the tree to the front string lights. See the picture below for a great tip on hanging lights on a tree! Use hooks and split key rings.
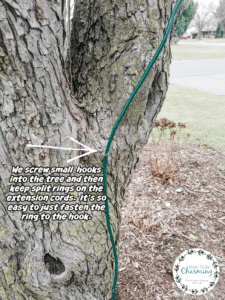
It takes about 5 minutes to hang the lights, no more throwing the lights over branches!
Here is cord 5!
Step 3: Christmas Light Cord Diagram
In addition to labeling the cords, you can draw out a diagram as well. I created this diagram for you to see how the cords are all laid out at my house.
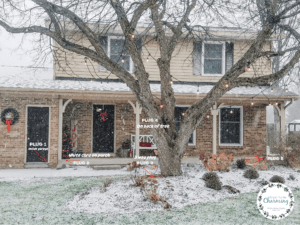
With a little bit of snow, hopefully the cords won’t be visible (I need to tuck the one cord behind the tree further)!
Labeling and Creating a Diagram For Christmas Light Extension Cords
This really is a helpful way to quickly put Christmas lights up! No more guessing what you did last year. So before you take everything down this year, make sure you have the right length of extension cords and grab a sharpie!
Your diagram could be a simple as a hand drawing, just make sure to place it with the Christmas lights so you can find it next year!
I hope you enjoyed these tips, thanks so much for checking out my post! If you would love to see more CLICK HERE to subscribe and gain access to the Soon To Be Charming Free Printable Library.

The best option for powering up lights in the bushes and trees is an outdoor extension cord with various outlets. You can also run this cord through the side of your route walk to use it. You can use a small plant to conceal the cable while it is lying by the side of your walkway so that it does not provide a tripping hazard.