How To Refinish A Wood Bench

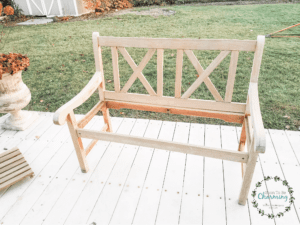
I had a little extra cash from a few tennis lessons I had taught and thought to myself, “I really need some new clothes, I think I’m going to go on a mini shopping trip.” The next thing I know I’m handing my money over for an old bench I somehow found on marketplace while searching for kids bikes! OK, in my defense it was only $40 dollars (not all my clothes money) and the potential was just screaming out! Every porch deserves a bench and I had just found mine. If you have never refinished furniture before, here is how to refinish a wood bench!
One of the first decisions you need to make is whether you want to strip or sand your piece of furniture. Making this decision may partly be determined on how much paint is on your piece. I have done both before. My husband and I stripped our dining room chairs and while it was extremely messy, we loved the clean result of getting down to the bare wood. Check out our dining chair makeover HERE. Oh man, I have to admit I love sliding my hand over smooth wood, especially after all the effort that goes into stripping it. It just feels so rewarding!
With my bench, since most of the finish was already worn off, I decided just to sand it.
How To Refinish A Wood Bench
Step 1- Power Washing
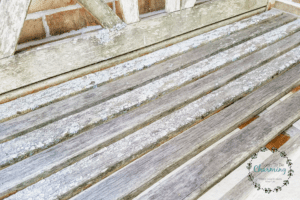
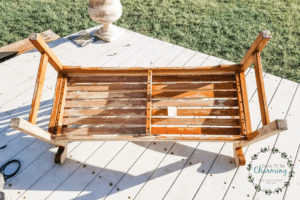
The bench was in rough shape. It had sat outside and weathered, based on how it looked, for a long time. The first step was to power wash the bench and start with a clean surface.
It already looked much better!
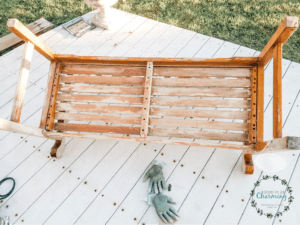
Step 2- Sanding Phase 1
You want to start with a low grit sandpaper. I started with 60 to try to remove as much of the old finish as possible. Most of it was gone, but where there was some left, I needed to smooth out the ridges.
*I did start with a palm sander, but it wasn’t very helpful because there were so many spots it couldn’t get. I decided to continue sanding the rest by hand.
Half of the bottom done.
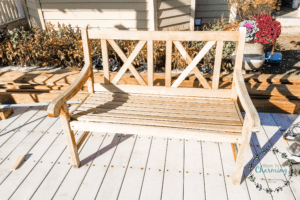
The entire bottom done with 60 grit.
![]()
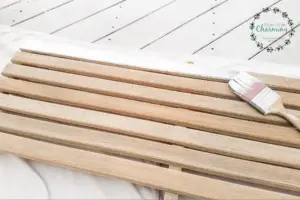
Step 3- Sanding Phase 2
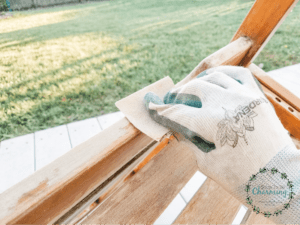
The second time sanding the bench, I used 100 grit sandpaper. I propped the bench up on it’s side to make the sanding easier!
Step 4- Sanding Phase 3
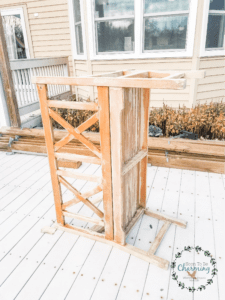
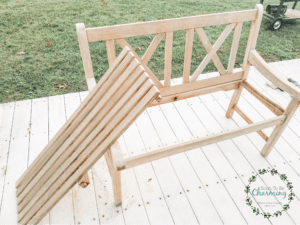
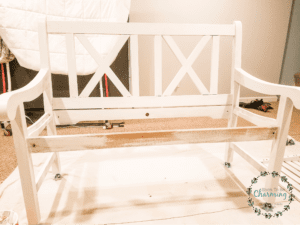
I finished a third and final sanding with a 220 grit. By this point I also removed the seat to sand the ends and to get into all the little nooks and crannies that the seat kept me from sanding.
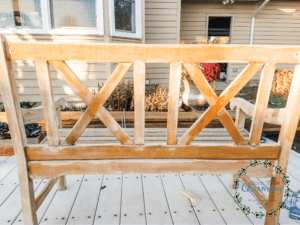
Step 5- Mineral Spirits
The sanding was done! Now to clean the surface and get it ready to paint. I took a rag and mineral spirits to wipe the entire bench and seat down.
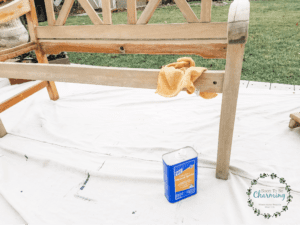
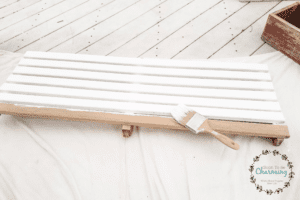
Wiped down, now the bench is ready to paint!
Step 6- Paint
I used an outdoor paint from Sherwin Williams, SW6168 Moderne White. We just painted our pergola this color as well, that post will be coming soon! Next spring we will paint the house trim the same Moderne White and replace the siding DIY style…so don’t miss that!
For those interested in the color, it is not a pure white, it has just a glimmer of off white in it.
No turning back now!
After a very rare week of 70 degree weather during November in Michigan, the temperature dropped and I had to paint the rest of the bench inside.
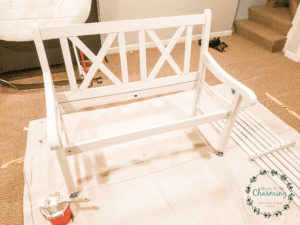
I painted three coats of paint on the bench. Time to move the bench onto the porch!
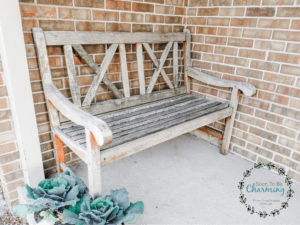
Here is a quick glimpse back at the before!
And here is the after!
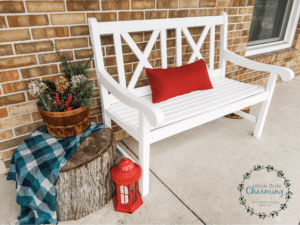
I absolutely love how it turned out! The porch is a gathering place and now I have a place to sit and enjoy my morning coffee (when it’s warm). I may even sit out there and look at the Christmas lights, with a warm blanket!
This project was really quite easy, just a little time consuming, but definitely doable! So keep an eye out on marketplace for a great bench and make it your next DIY project.

Thanks so much for checking out my post and please help me out by sharing this post on Pinterest!
Until the next project!
