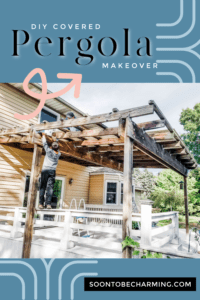
DIY Covered Pergola Makeover
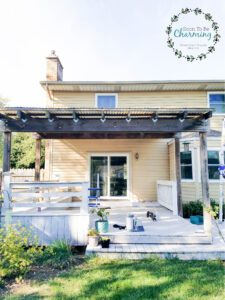
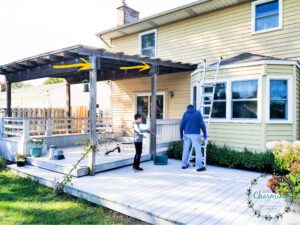
It’s finally happening! I have loved our covered pergola from day 1, however, I love the shade it provides not how it looks. The roof had corrugated fiberglass panels and the fibers yellowed and trapped dirt over the years. Let’s just say, it desperately needed to be replaced. From the moment I first moved in, I had envisioned a beautiful white pergola, outdoor curtains, soft cushions and pillows lining the long wrap around bench and an outdoor rug pulling everything together. However, the pergola makeover was definitely not on the priority list.
I mean does a roof really need to come before a beautiful rug and pillows…ha, don’t answer that. I get it, the pergola was functional, just not aesthetically pleasing. So we managed for several years enjoying the shade. However, it is time! Our siding project is coming this summer and before that happens it’s time to pretty up the pergola. DIY covered pergola makeover here we go! I mean even my husband agrees it would stand out like a sore thumb if we didn’t do something.
We decided to break the makeover up into two parts. Mainly because we had enough time to get the pergola rebuilt (the right way) and painted before the cold weather hit, but not time to work on it any further than that. Come spring or early summer, we will be finishing the makeover by adding a metal roof.
I will also be covering this project over several posts, because I had almost 70 pictures and we are only halfway through! Make sure to subscribe, so you don’t miss out on any of the stages of the pergola remodel!

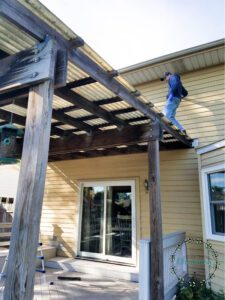
DIY Pergola Makeover Step 1: Removing the Roof
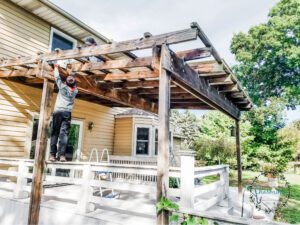
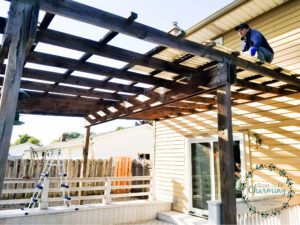
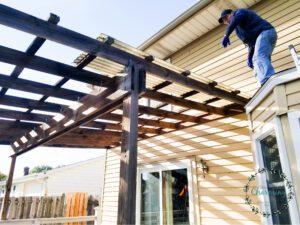
You know something is bad when it looks better with just removing it. No painting, no improvement, just the simple removal of the item and things already look better! That’s how I felt when we finally removed that nasty pergola roof!
Remember to be very careful with fiberglass. Make sure to always wear gloves when removing these type of panels.
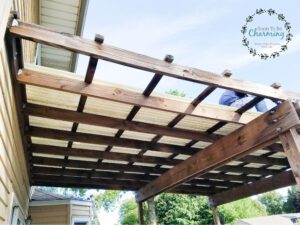
It is a little tricky walking on a pergola roof. My husband had to keep his weight on the beams and cross beams, the panels themselves would not hold him.
He started on the west side and worked his way back towards a little bump out roof we have. This came in handy for getting up and down from the pergola.
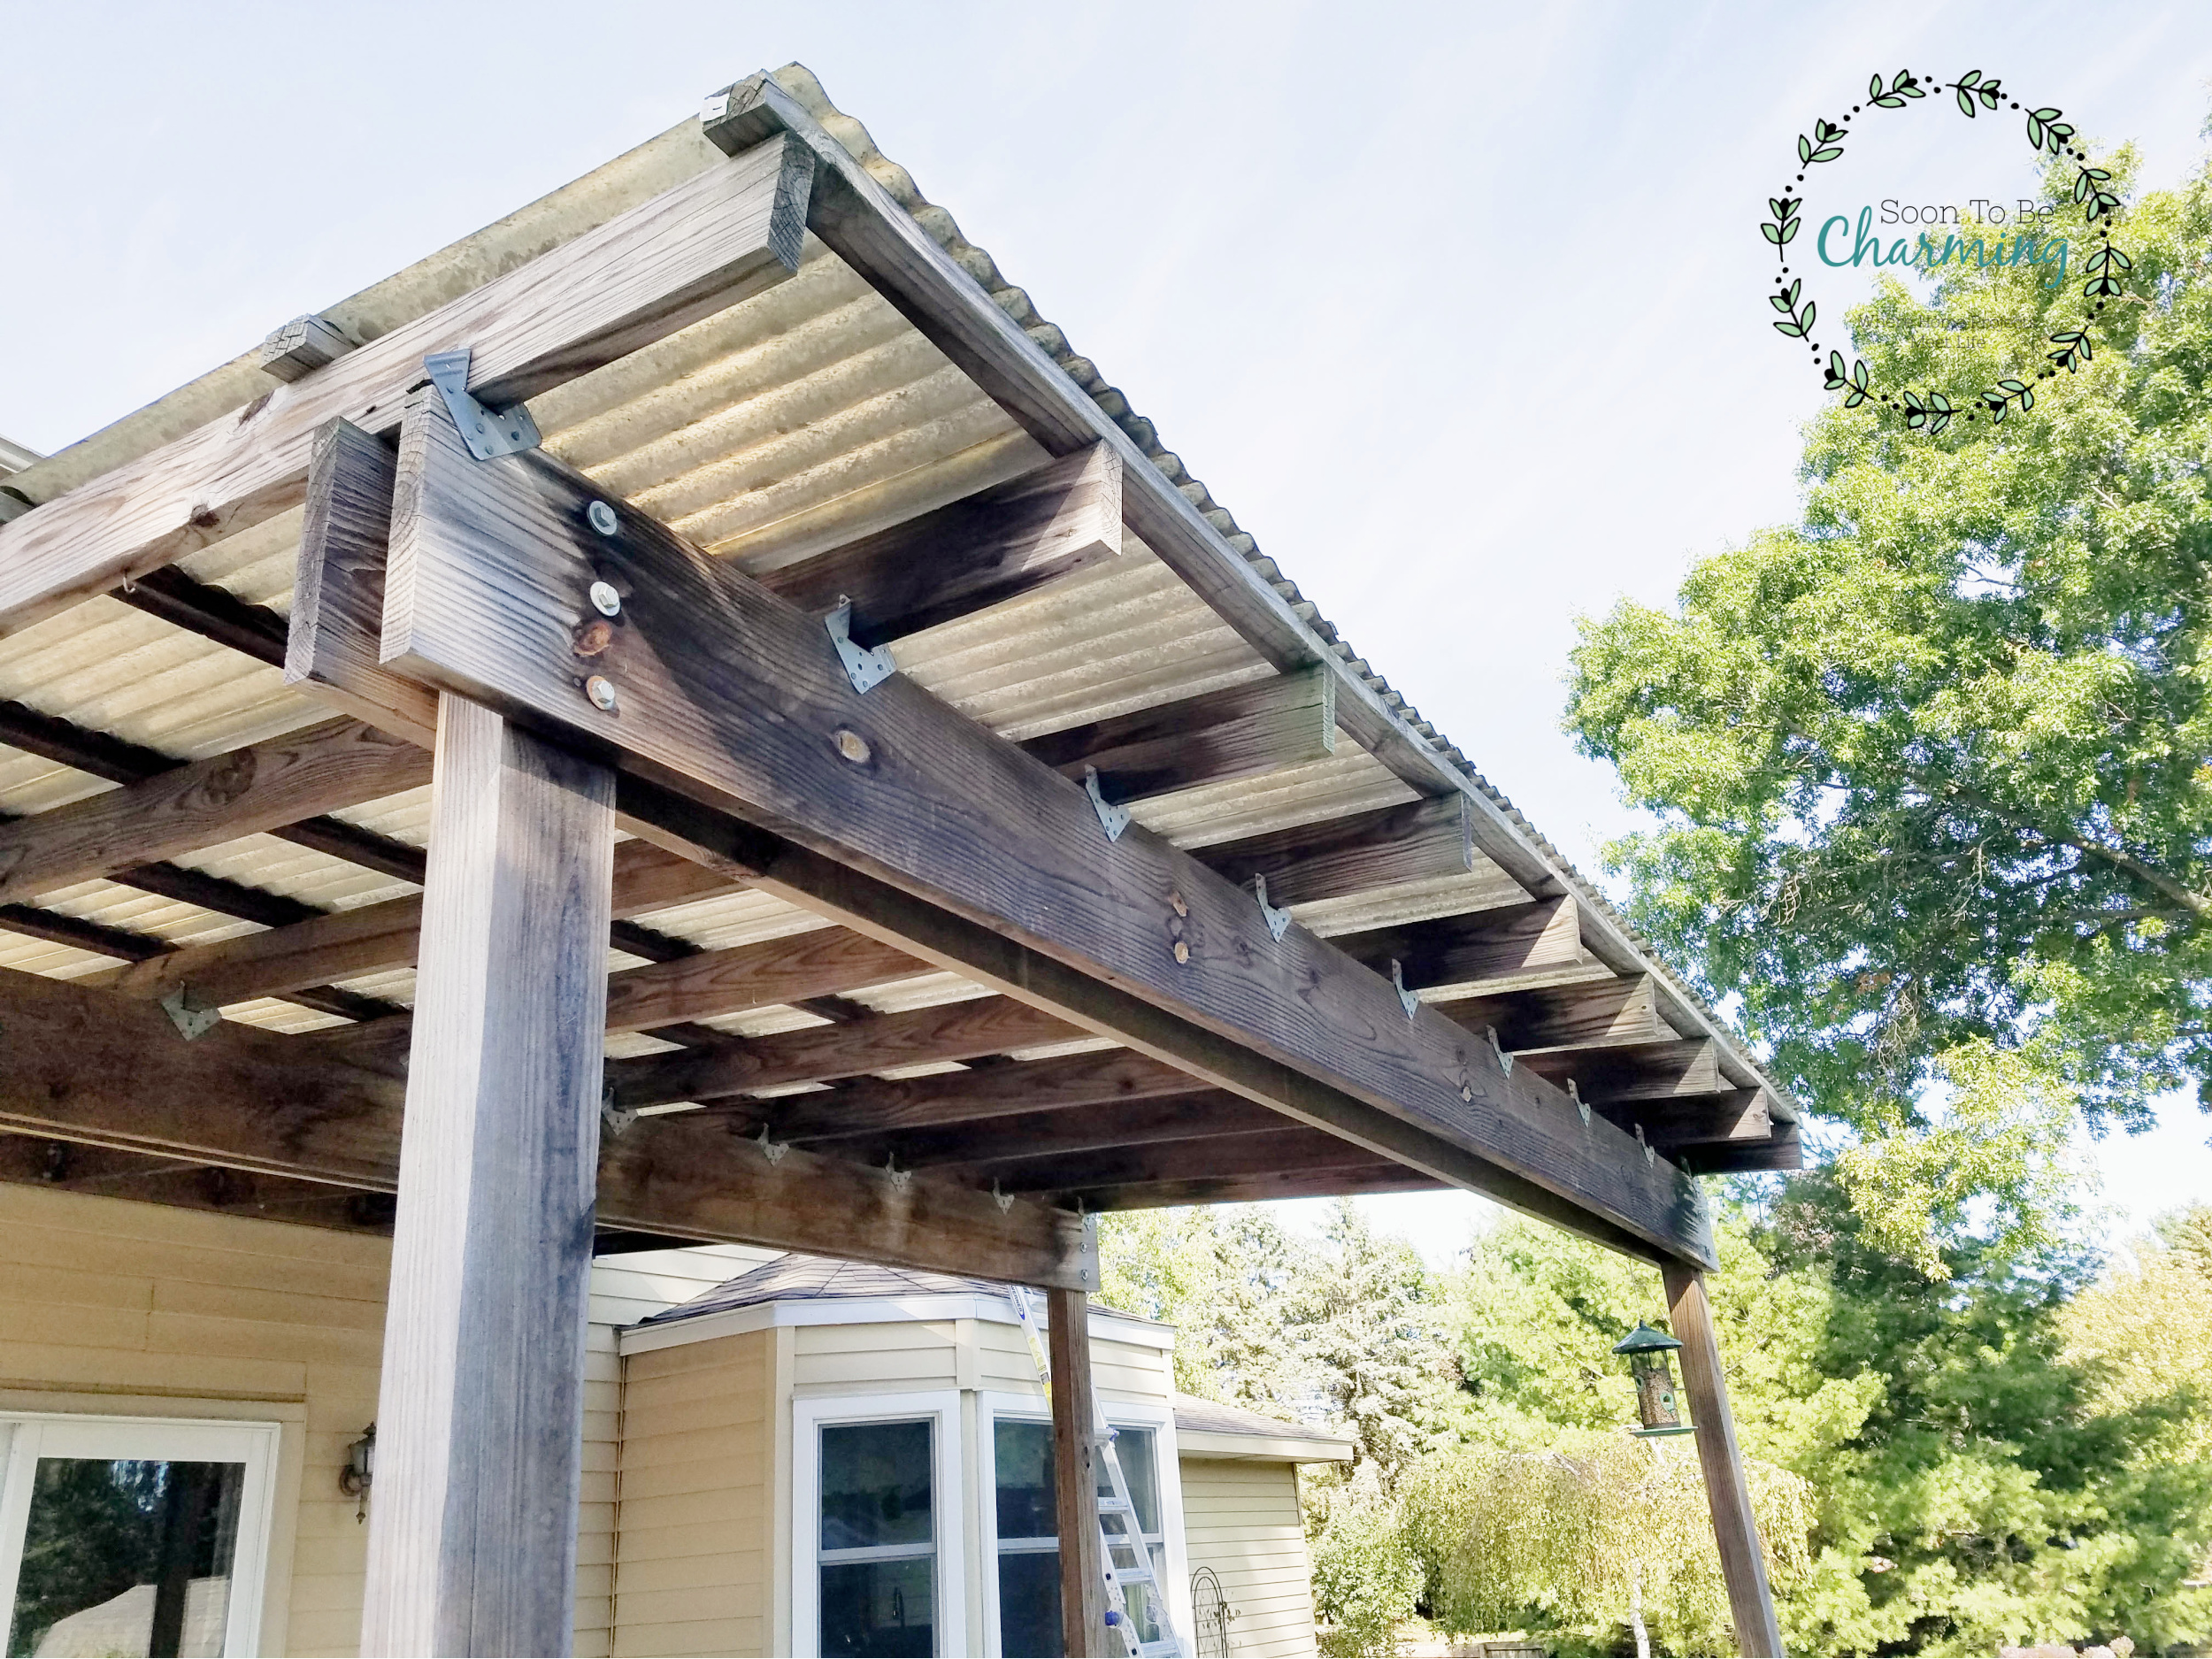
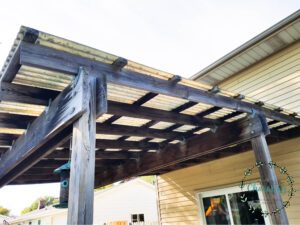
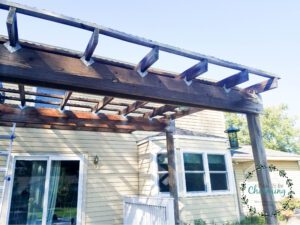
Here is a close up of the pergola underneath.
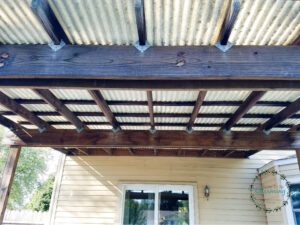
Pergola Beams and Support Posts
Another thing we discussed before pulling the panels down is the fact that the beams were not originally put up the right way. The cross beams are screwed to the outside of the posts. The proper way is to have the support posts bearing the weight of the cross beams.
Here is another picture, you can see the cross beams just hang out past the support posts. Plus they didn’t hang over evenly. Drives me crazy!
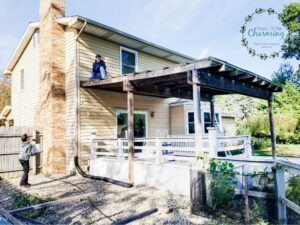
Initially, our goal was to just paint the pergola. However, once we removed the fiberglass panels and really saw how the pergola was originally built…we just couldn’t leave it that way.
I’m getting ahead of myself just a little, but you will be amazed how much better a few improvements make on the overall look of the pergola. For now, let’s get back to the fiberglass panels!
First panel removed! Oh what a glorious day! Some woman love a nice piece of jewelry…this girl, man just remove a fiberglass panel and I’m in love.
Making progress. My son helped as well, he had a bucket to put all the screws in as my husband removed the panels.
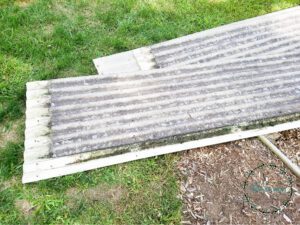
Fiberglass Panels
The biggest issue with fiberglass panels is you can’t just clean them. Ok, don’t quote me on how exactly this works…but the basic idea is each of the fibers traps dirt. So over time, the panels look dirty and there is nothing you can do about it. I so desperately just wanted to scrub them, but it wouldn’t do any good.
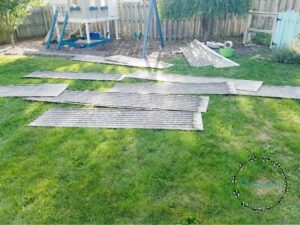
Take a look at the panels once they were on the ground! So gross.
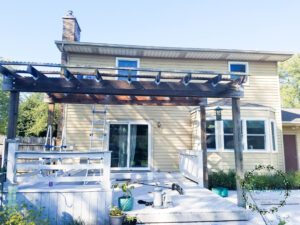
The pergola looked so much cleaner just with the panels off.
Almost there!
Yay! Finally finished, the corrugated fiberglass panels are removed.
I was actually really surprised how much shade it did provide. Even during the winter, with the covered roof gone, the light coming into our dining room is so bright I can barely keep the curtains open. I really miss having the covered pergola! I can’t wait to finish it up come spring.
Coming Up With The Pergola Makeover
In the next post, we’ll remove the closure strips, power wash the pergola and begin restructuring it so the weight is properly loaded! Make sure to subscribe so you don’t miss it!
As always, thanks for checking out my post and I would love your help by sharing it on Pinterest or Facebook! Thanks!
