How To Make A Halloween Mystery Box
Caramel apples, pumpkin doughnuts, candy…Halloween is always so much fun! Traditionally, we are the hub for our family on Halloween. It just so happens we live in a neighborhood that works great for trick or treating. I absolutely love gathering with family and walking around with the kids all dressed up in costumes, it has provided so many great memories! Along with having family over, it seems like I always sign up to help plan the school Halloween party as well. One of the classroom favorites at our school is the Halloween mystery boxes, so I wanted to share this simple guide so you can make it for your next party. Here is how to make a Halloween mystery box!
This post contains affiliate links, which means if you click on or make a purchase, I may receive a small commission at no extra cost to you.
Supplies Needed
2 long boxes
Wrapping paper or Paint
Felt
Scissors
Duct Tape
Food and Dishes For Inside the Mystery Box
Mystery Sheets (printable below)
Getting Started On Your Halloween Mystery Box
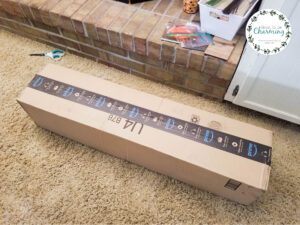
Most of us have amazon boxes laying around. I found two even sized boxes and tapped them together. The side of the box on the carpet used to be the top of the box, but I cut off the tabs. Then placed the open side of the box on the ground.
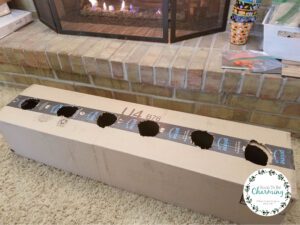
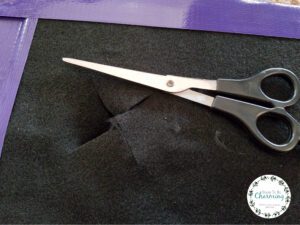
Next I cut holes into the box. You can cut as many holes as you want to have.
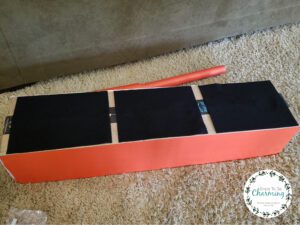
For my mystery box, I chose to cover the box with wrapping paper from the dollar store. You could just as easily spray paint it. I did use a spray adhesive to glue the paper to the box. Click HERE or on the image to buy from Amazon.

It worked really well, except for one small thing. Since it was cheap wrapping paper, it was very thin and in some spots if I sprayed too much adhesive it made a dark spot. So if you do use thin paper, just make sure to spray thin and evenly!

Covering The Mystery Holes
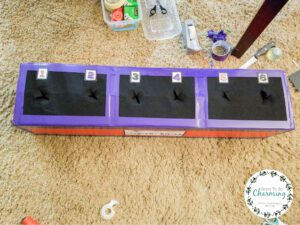
After I covered all the sides with wrapping paper, I put the felt squares on the top of the box.
Each felt square covered two holes. I bought them at Hobby Lobby and they were very inexpensive.
Next I used purple duct tape to tape the felt down and to cover all the edges. Again it was from the dollar store and honestly next time I might use a nicer tape. It didn’t go on very well…but at the end of the day it accomplished what I needed.
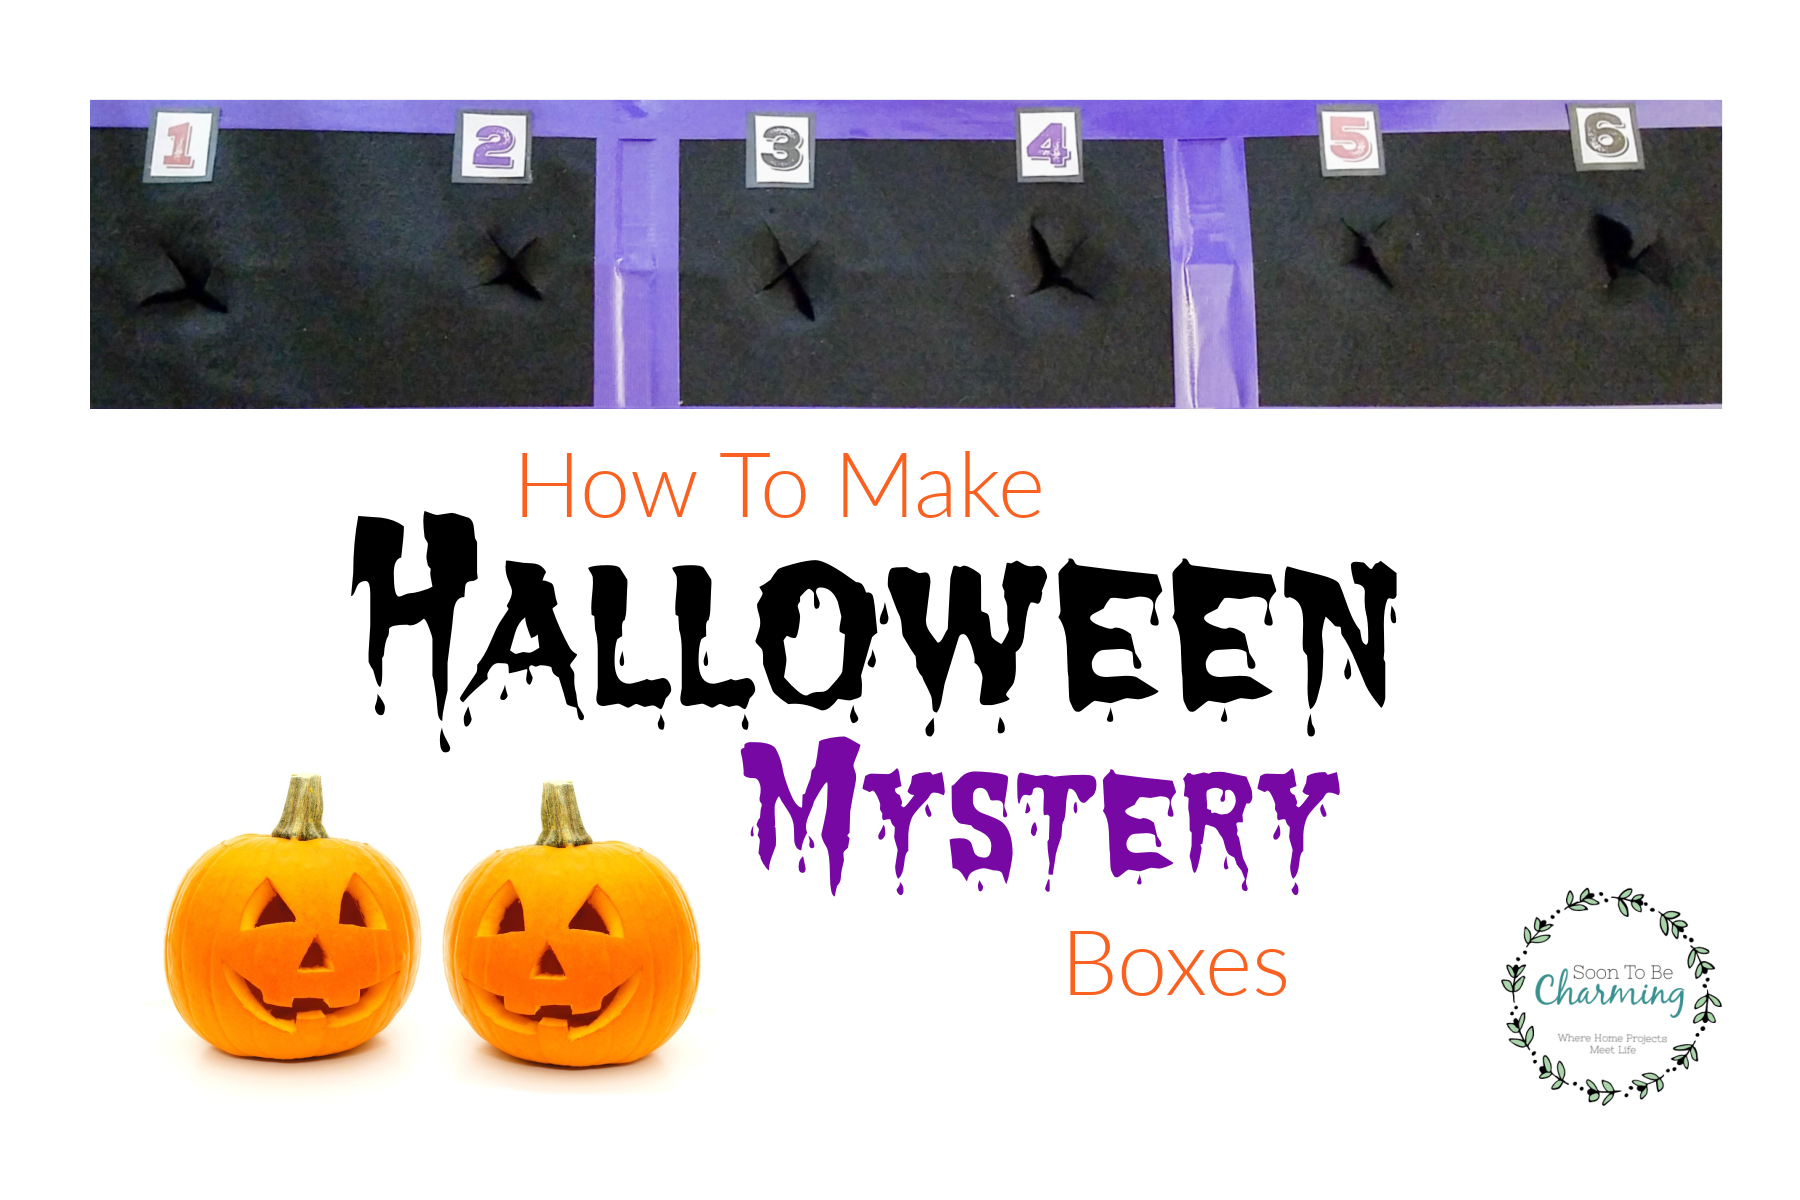
It was time to cut the felt. In order to keep the kids from looking into the holes, but allow them to still reach in, I cut X’s into the fabric.
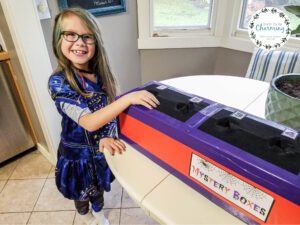
Lastly, I added numbers above each hole! The numbers coordinate with a sheet you will need to print off. The idea is for the kids to guess what they are feeling each time they reach in.
Here is the sheet that goes with the mystery box along with the Mystery Boxes Label and numbers. Print one of the worksheets for every child in the classroom.
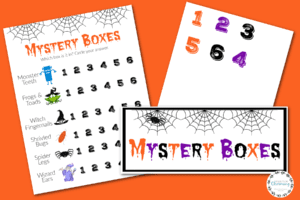
CLICK HERE TO DOWNLOAD YOUR MYSTERY BOX PRINTABLES
Food For Inside The Mystery Box
I found many different ideas for mystery boxes, but here are the 6 I used.
Popcorn Kernels = Monster Teeth
Pickles = Frogs and Toads
Almond Slices = Witches Nails
Raisins = Shriveled Bugs
Uncooked Spaghetti Noodles (broken up) = Spider Legs
Dried Apricots = Wizard Ears

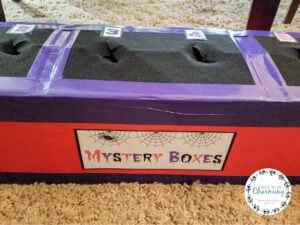
Once the food is in the containers and all lined up, simply set your box overtop. Just make sure to write down somewhere which number is what, for example, Monster teeth is hole number 3. When the kids circle all the numbers on their paper you can tell them if they are right.
Halloween Mystery Box
The kids had such a blast with the mystery boxes! The anticipation of reaching into something and having no idea what is inside, makes kids really excited.
A quick note: if you are setting this up in a classroom, it is always a good idea to be near a sink. The kids will need to wash their hands after they touch the pickles or anything else you decide to put in the mystery boxes.
Mystery boxes are a great idea for fun at home or in the classroom. Plus, there are so many options of what you can do with mystery boxes, so have fun with it! Thanks so much for checking out my post.

1 thought on “How To Make A Halloween Mystery Box”