How To Add Pinterest Board Covers
I love Pinterest! It’s amazing how it inspires you in so many ways. I love finding great blogs, new crafts ideas…..and don’t get me started on recipes! Whenever I begin pinning great exercise tips, somehow I end up pinning twice as many dessert recipes!! Oops!
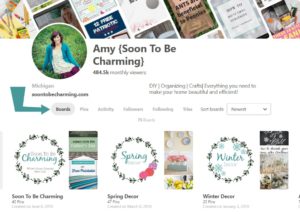
If you frequently browse through Pinterest, you probably have noticed Pinterest Board Covers. They are the cover image for each board on someone’s profile.
So why create board covers? It is a great way to label your boards with a visual picture or unique label. For bloggers, it is a great way to keep your brand consistent and have your style merge seamlessly from your blog into Pinterest.
Even though I knew I needed to add board covers, I actually put it off for a while! I have a lot of boards and thought it would take forever. To my surprise, it was not hard to create them in PicMonkey and adding them was really simple!
Pinterest Board Covers
How To Make Custom Board Covers
- Start by creating a square image in Photoshop, Canva or PicMonkey. I made all my pins in PicMonkey.
- Use a blank template 600 X 600 px
- Decide what overall look you want on your Pinterest Profile. If you have certain colors on your blog, pull those into your covers. I personally like simple board covers, I feel they stand out more.
Adding The Board Covers
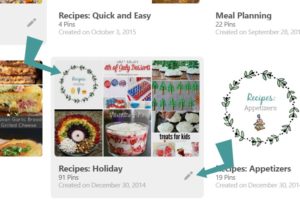
- Save your image to the board that you want to create the cover for. Just like a normal pin you would want to save to a board.
- Now go into your profile, and click on boards.
- Find the board with the pin you just saved. You should see the pin.
- Now click the pencil icon in the lower right.
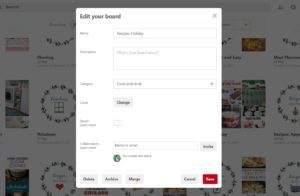
- Click the change button to pick a cover board. Don’t worry if it looks like the image is being cut off…if it is 600 x 600 px it won’t be cut off. If the image you want doesn’t immediately come up, just scroll through images until you find the image you want for your cover.
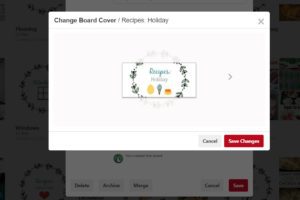
- Click save changes and then save again.
- Now your image should be the board cover (if it doesn’t appear right away, you may need to refresh your screen).
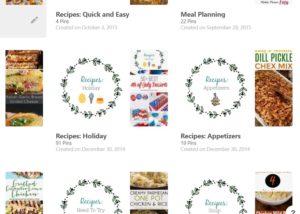
Use the same process to switch all your board covers and you are set! I found it quicker to upload all the images to the boards first, then go through and change the board covers.
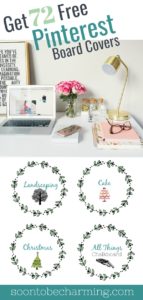
To help you get started, subscribe to Soon To Be Charming and get access to 72+ Board Covers! There is also a blank template to customize your own! You won’t want to miss out!!
CLICK HERE TO GET ACCESS TO ALL THE FREE PINTEREST BOARD COVERS AND FREE PRINTABLES!
Thanks for checking out my post!

Pin For Later!