Easy Lemon Cake With Lemon Buttercream Frosting
The scent of lemon is one of the most refreshing smells! This cake is perfect for any lemon lover, yet subtle enough for even the semi-lemon enthusiast. I myself enjoy a lemon dessert, but my husband is the true lemon lover of the family. I have even learned how to make a Lemon Meringue pie for my dear lemon loving hubby! So for his birthday, he requested a lemon cake and I was happy to oblige.
The cake is a simple box cake, but when you add a homemade lemon buttercream frosting it turns it into something special! Let’s get started on this delicious and easy lemon cake!
This post contains affiliate links, which means that if you click on or make a purchase I may receive a small commission. This comes at no cost to you.

WHAT YOU NEED:
Lemon Cake Mix
Frosting
Golden Yellow Coloring Gel
Cake Board or Cake Stand
Frosting Bag
Star Tip
THE CAKE
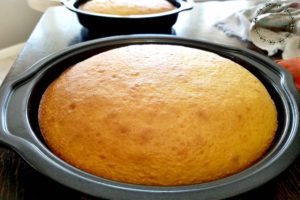
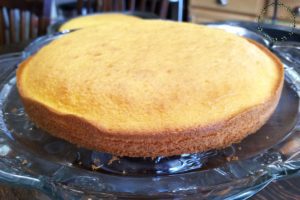
Bake the cake according to directions. Use a knife to check your cake, if it comes out clean….your cakes are done.
While Your cakes are cooling, you can make your frosting. CLICK HERE FOR THE LEMON BUTTERCREAM FROSTING RECIPE
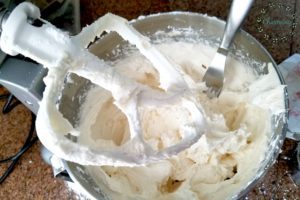
I took my normal buttercream recipe and added 3 tsp of lemon extract. With 3 tsp of lemon extract, the frosting has just a hint of lemon taste. If you love lemon, you could always add more extract or experiment by adding fresh lemon zest to the recipe.
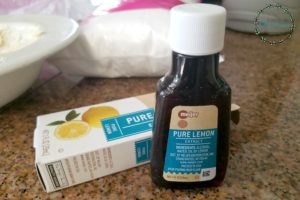
I also added a small amount of Golden Yellow coloring gel to make the frosting a light yellow color.
STACKING THE CAKES
Once the cakes are cooled, use a knife to gently lift the edges of the cake to free it from the pan. This will help keep the cake from sticking to the pan when you flip it. Place the cake pan in one hand and then place your other hand on top of the cake. When you are ready, flip the pan over so the cake lands on your hand. Gently shake and lift the pan so the cake is left upside down on your hand.

Quickly flip the cake back over on the cake stand or cake board. If you leave it too long on your hand it can crumble…especially a 9 X 13 cake. Unfortunately, I know this from experience!
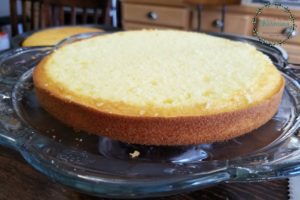
To level the cake, use a serrated knife and trim the top of the cake off.
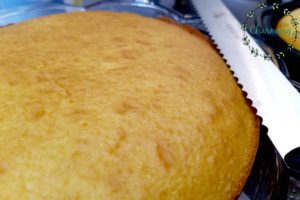
I know it feels weird to cut the top off, but if you want your cake to sit straight, it is important to do this.
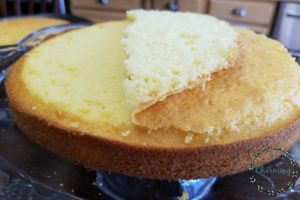
Your cake should now be level!
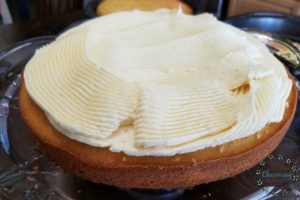
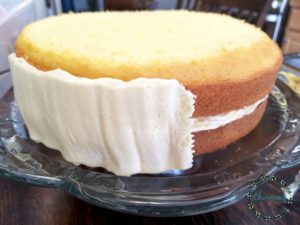
Now for the inside frosting! When using a frosting bag, once you fill it with frosting you will need to push all the air out.
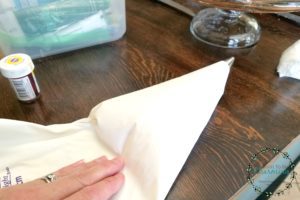
Once the air is out, add the frosting to the top of your cake layer.
Now add the second cake, flipping it the same as you did the first cake layer.
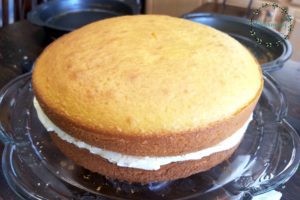
Then level the second cake layer as well. Once the top cake is level, you are ready to frost your entire cake.
THE OUTSIDE FROSTING
To frost the outside of the cake, I grab my 16″ frosting bag and large tip. In the past, I would spoon the frosting onto the cake and then spread with a knife. So if you don’t have a large frosting bag, no worries. However, just be careful not to spread the frosting too thin or you will stir up cake crumbs. If comparing the two methods, I do have to admit, it is much easier to frost cakes using a large frosting bag.
Once the sides are done, I add frosting to the top making sure to add a little extra. You will want extra frosting to smooth it out. When smoothing the cake, you will be skimming some of the frosting off and don’t want to get too thin.

Now grab a glass of warm water and a smooth knife.
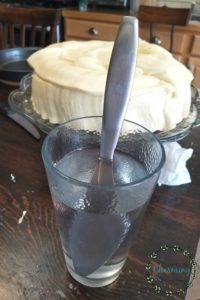
Use the knife to smooth the frosting. Shake the extra water off of the knife, so it doesn’t get too wet.
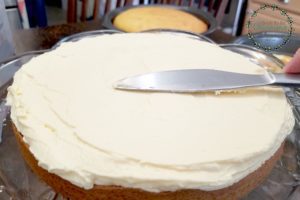
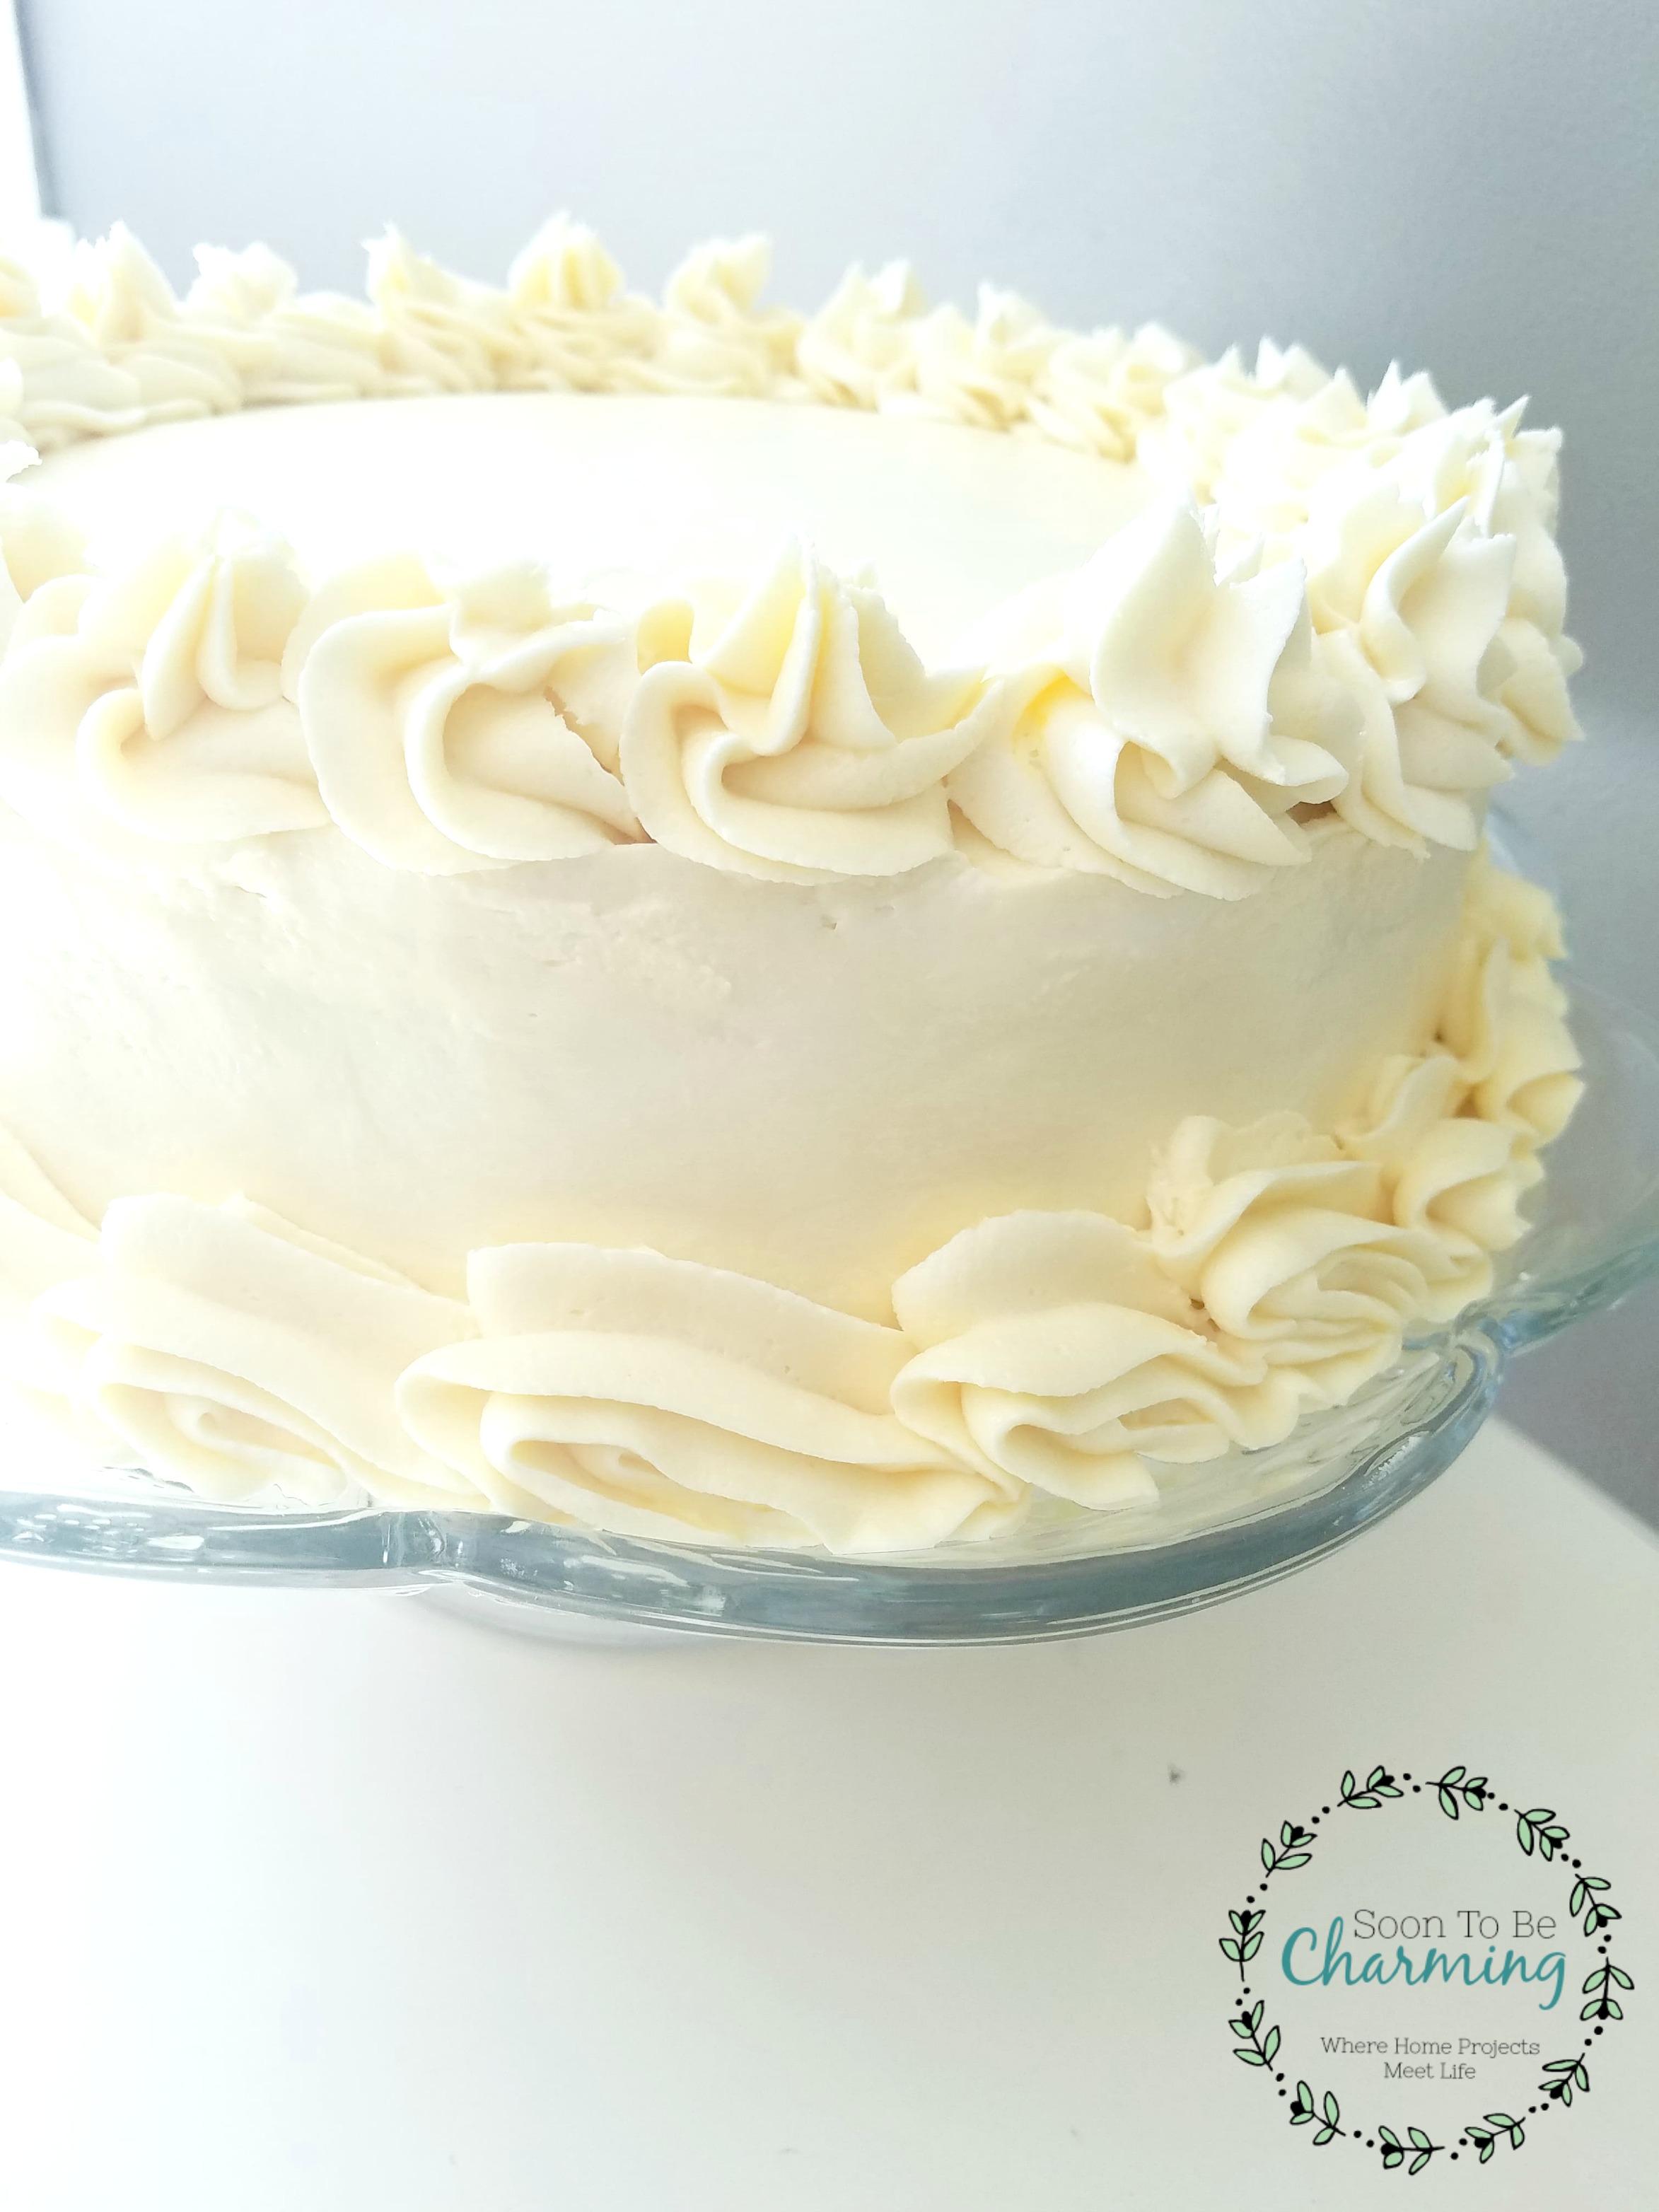
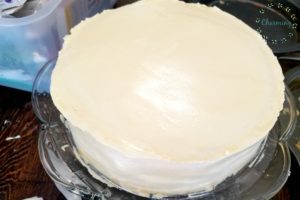
I smooth the top first and then smooth the sides. If you are adding a boarder, the edges don’t have to be perfect.
For the boarder, I grabbed a disposable frosting bag (which I normally don’t use, but it came free with the set of Large Frosting Tips I bought). You will also want a star tip. On the top, I did a rosette technique, but extended the end to make it a little more dramatic.
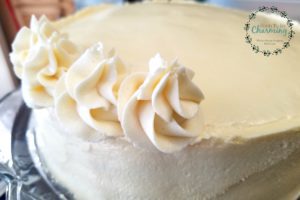
On the bottom, I used the same star tip to make the boarder using a shell technique.
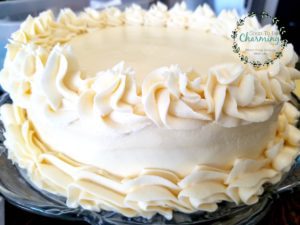
The cake looked beautiful and tasted delicious! Enough lemon for my hubby and subtle enough for me. The design is simple, it is the perfect cake for anyone to try!
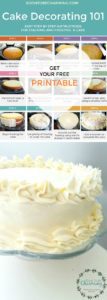
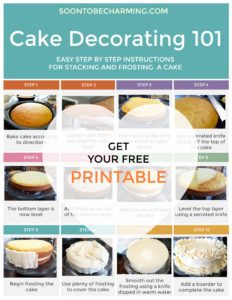
Check out this easy step by step printable! The perfect instructions to keep handy and walk you through the process.
CLICK HERE TO GET YOUR FREE PRINTABLE!
GET EVERYTHING YOU NEED!
Missed Cake Decorating For Beginners? Check it out here!
Hope you enjoy this delicious lemon cake! Thanks for checking out my post.

PIN IT FOR LATER!