Easy Christmas Centerpiece
I am in love with plaid! Especially around the Holiday’s. So any excuse to add more plaid…I’m in!
Every year I decorate a Christmas Table with my mother for our annual Christmas Tea at Church. We both love being creative and decorating…and doing those two things together, even better! This biggest step is coming up with an easy Christmas Centerpiece.
WANT TO SEE THE STEPS WE TAKE TO DECORATE OUR TABLES?…CLICK HERE!
To get inspired, we stroll down the aisles of Hobby Lobby! This year we came across these adorable fabric covered presents.
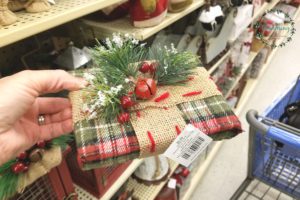
With the risk of sounding like my mother, yes, I said to myself…we could make those. If we made them ourselves, the presents would cost less and then we could choose exactly what colors we wanted.
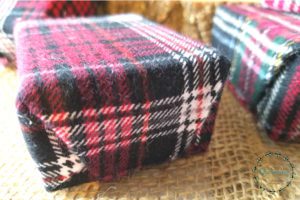
So off to the fabric store we went! We bought 1/4 yard of three different plaid fabrics to coordinate. On sale, I think it cost us about $6 total. JoAnn’s definitely had the best selection of plaid fabrics!
Choosing Boxes
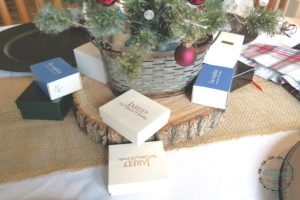
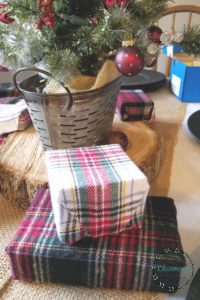
Begin by grabbing several boxes. The size of the box depends on what you would like to do with them. You could either have your presents be the main centerpiece and use larger boxes or choose smaller presents to go around something. We choose to pair our presents with a small Christmas tree. Therefore, we choose smaller boxes to go around the tree.
We continued moving the boxes around and changing the stacking combinations until we liked the way it looked. It is important to get your boxes set first…then it is easier to figure out which plaid fabric to put on each box. Make sure the plaids are spread out evenly. You don’t want to end up with all the same fabric on one side.
Wrapping The Presents
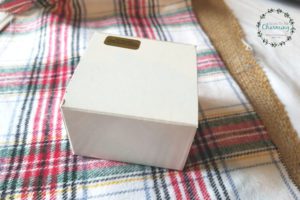
Wrapping fabric over boxes is very similar to wrapping normal presents. Start by choosing your fabric and box.
Use a hot glue gun to keep the fabric together when wrapping.
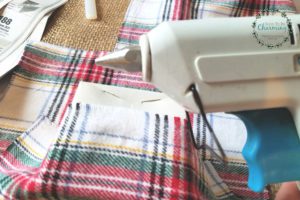
Once the sides are wrapped then move on to the ends. The fabric can get a little bulky on the ends, so I cut as much of the fabric out that wouldn’t be showing.
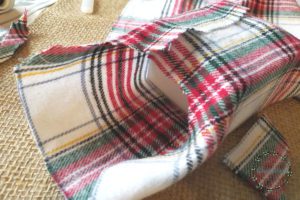
Then fold the ends down.
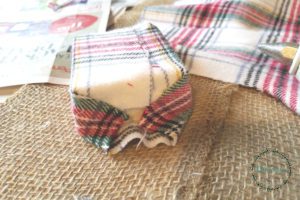
I put glue on the last flap to finish wrapping the present. You can either fold over the flap to have the seam in the middle of the present or wrap it underneath. We did a few presents each way.
Adding Embellishments
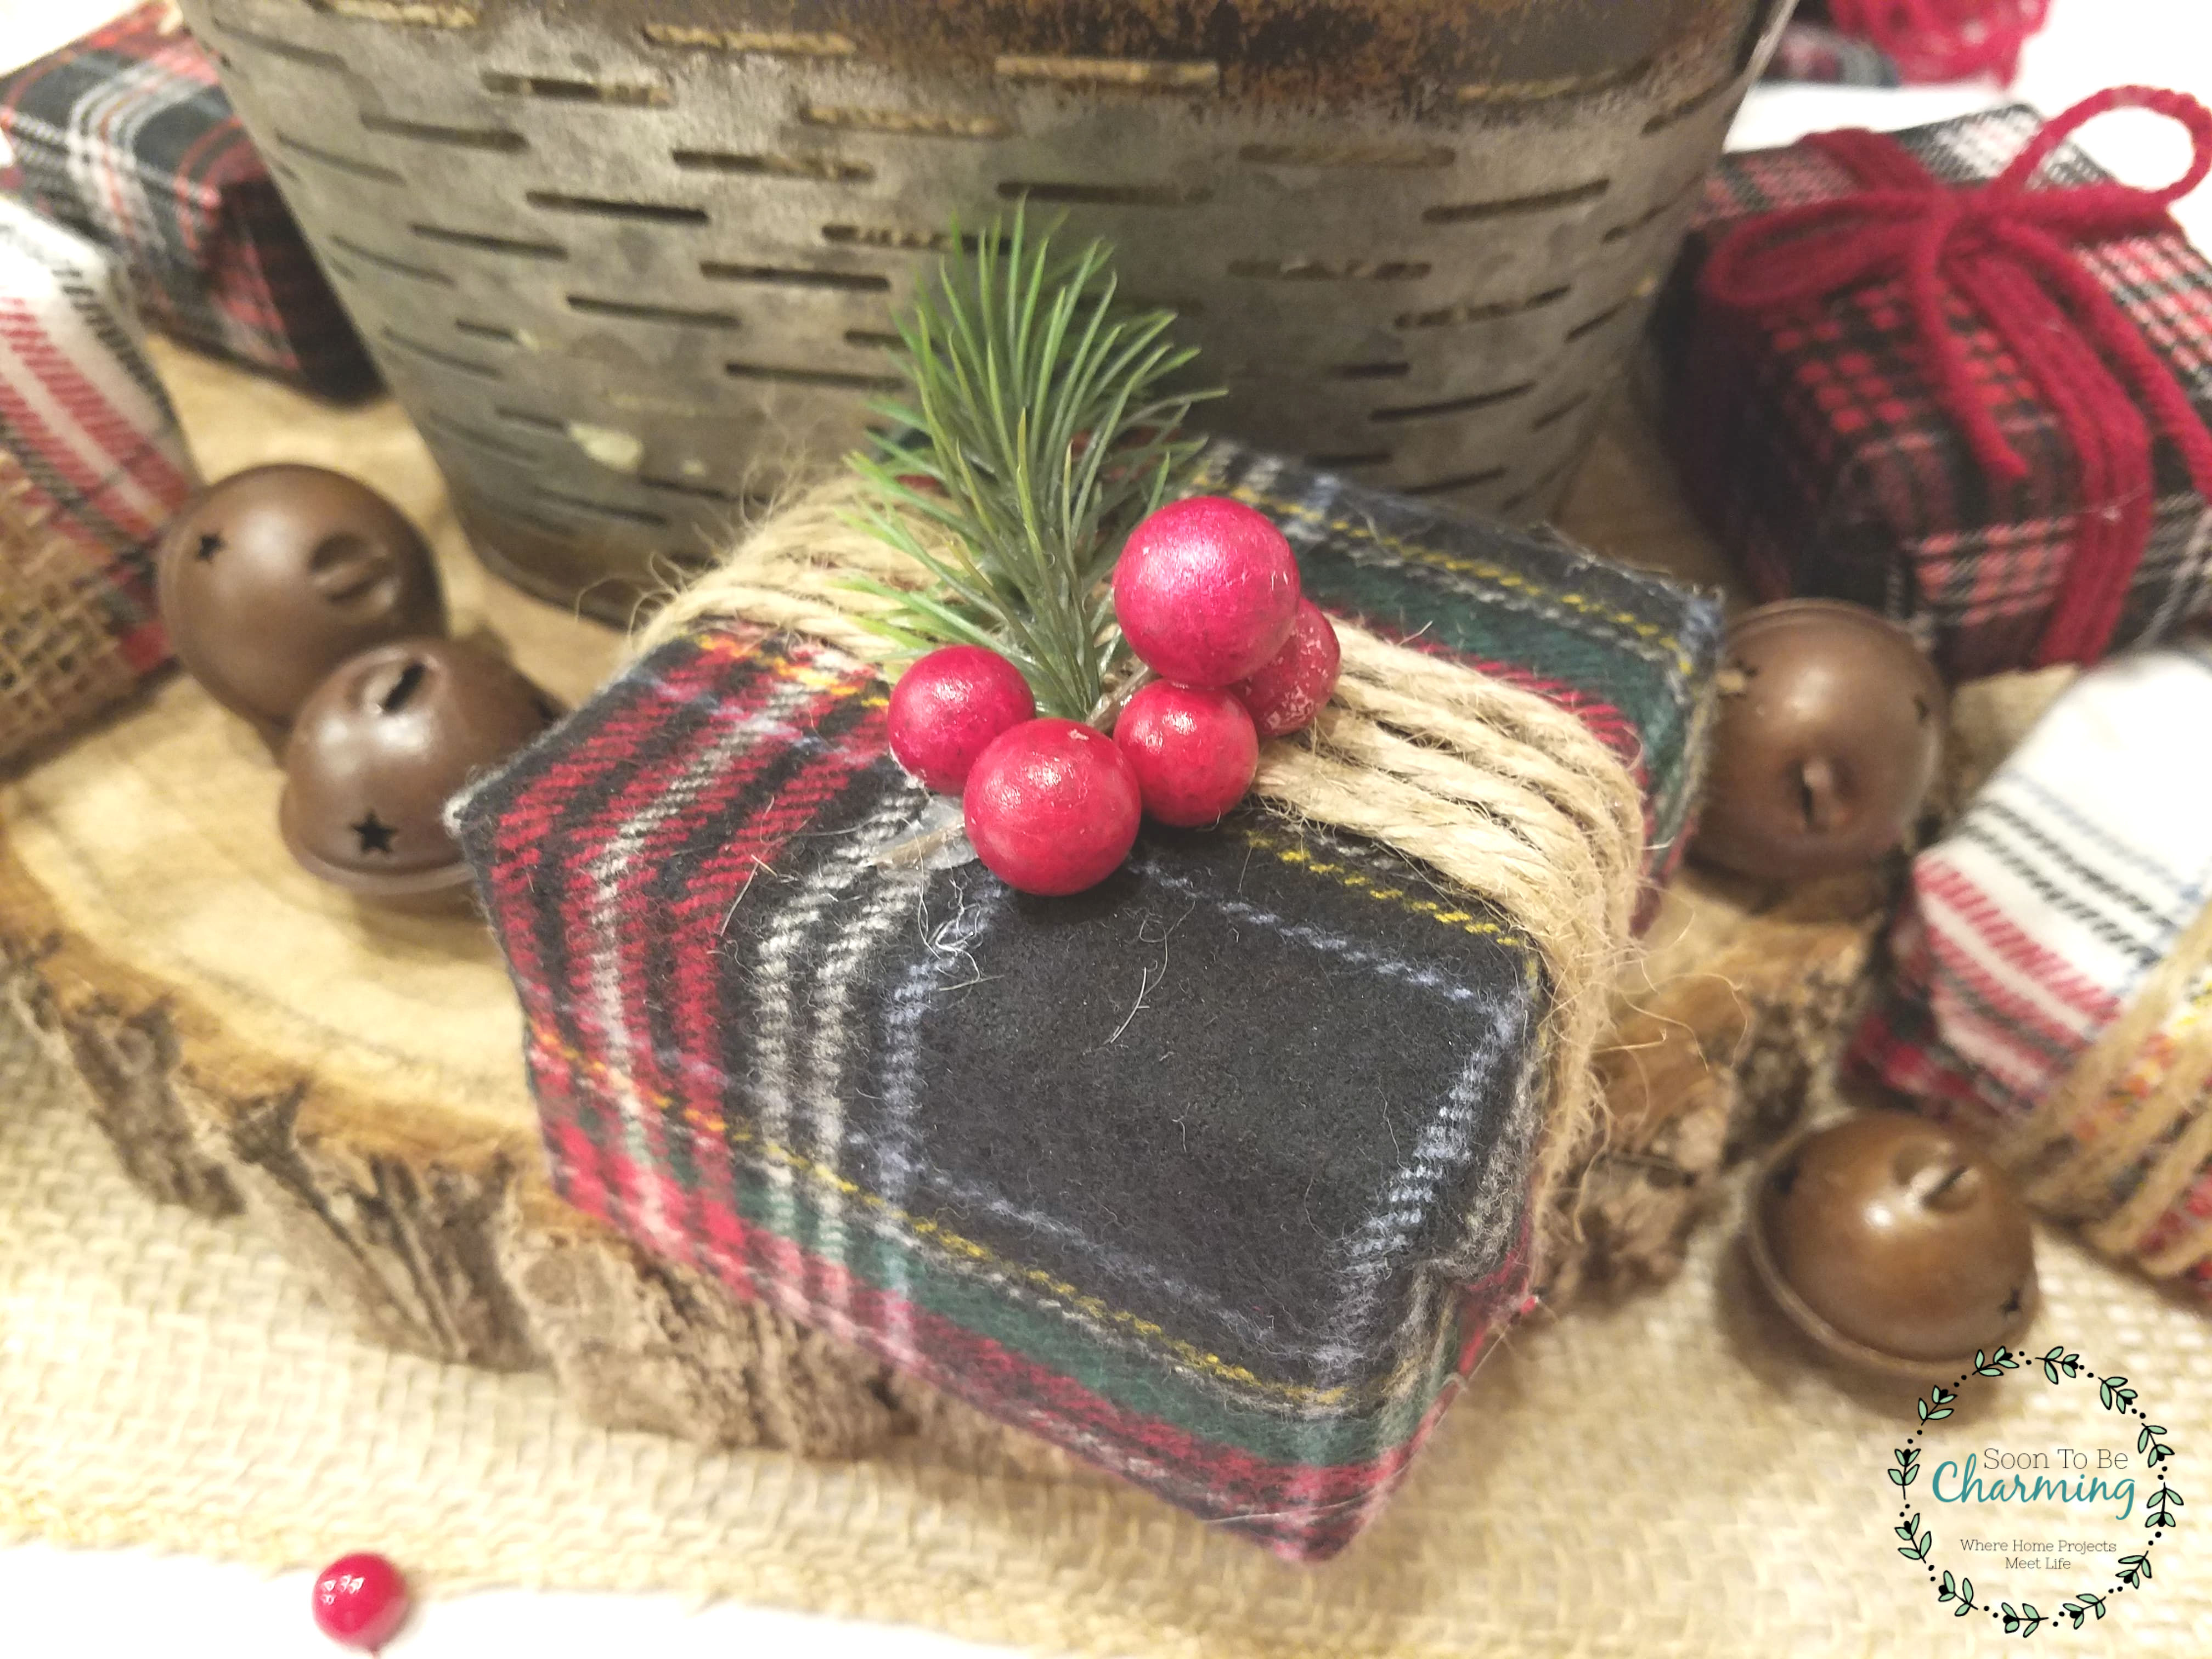
To complete them, we wanted to add some embellishment to the top off each present. We grabbed twine, yarn and burlap. Tip: keep the embellishments consistent with the look of the presents.
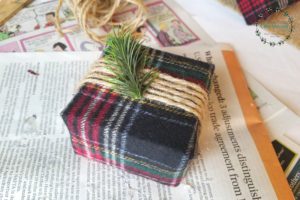
Wrapping twine in multiples will add dimension. Then add a little greenery and some berries for color. We also added buttons and burlap roses on top of some.
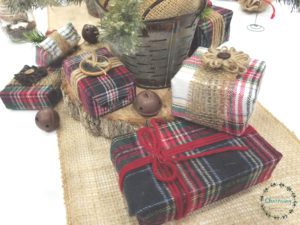
The presents turned out adorable…and what table doesn’t need more plaid?! Here is how we finished the rest of the table off.
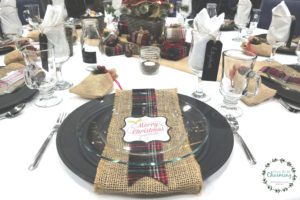
Our Christmas Table
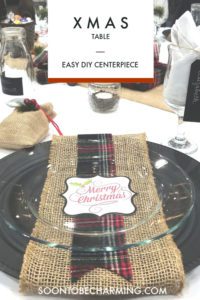
The plates were layered with burlap ribbon, plaid fabric (we cut strips from our leftover fabric), and a Merry Christmas Printable I created.
GET THE MERRY CHRISTMAS PRINTABLE HERE!
Our main centerpiece was a small Christmas tree placed in a rustic tin. Then the presents were placed around the tree (excuse the blue chairs, they were provided for us).
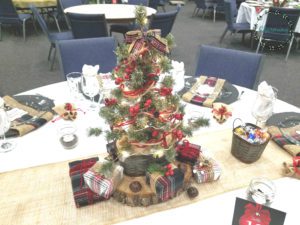
We made the tree garland from yarn and twine. Every few inches we tied a bow to keep the garland together. To add a little detail, we glued buttons onto every bow.

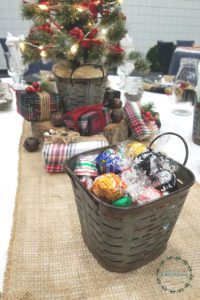
Rustic tins held a few munchies for the table also.
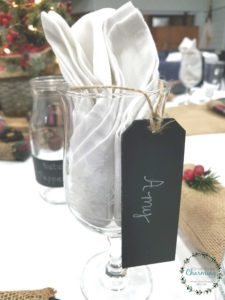
And lastly we hung chalkboard tags from the water glasses.
Creating a beautiful table can be simple and I hope this gives you a little inspiration. Thanks so much for checking out my post!

PIN FOR LATER!


Amy, great post as always! The table was beautiful. Loved the details on the tree and gifts. You cannot go wrong with plaid. I think you could also use your printable as a gift tag. It is SO beautiful! Thanks for sharing!!
Thanks so much Julie! I am glad you liked it, we definitely missed you at the tea this year!