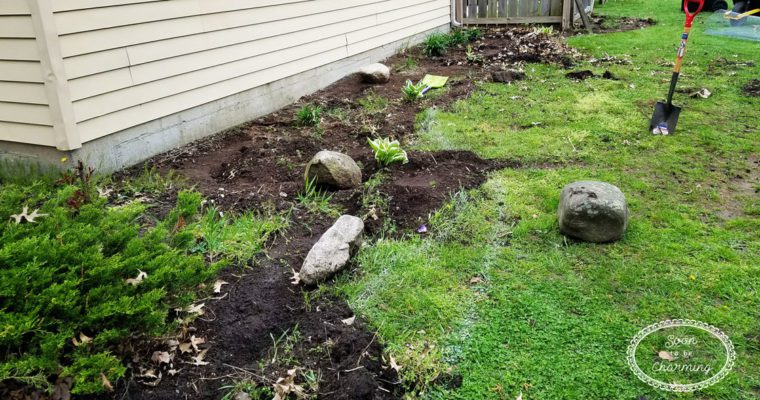
Removing all the unwanted plants and trimming all the overgrown landscape was a huge task. However, with everything removed and trimmed the flowerbeds looked so much better, even if now they were still filled with dirt, rocks and weeds. We knew we were heading in …
I stood there looking at the dirt, and what used to be landscaping…thinking oh just a little wood chips and it will look great. The thought process was correct, but three years later I was standing in the same spot and thinking the same thing. …
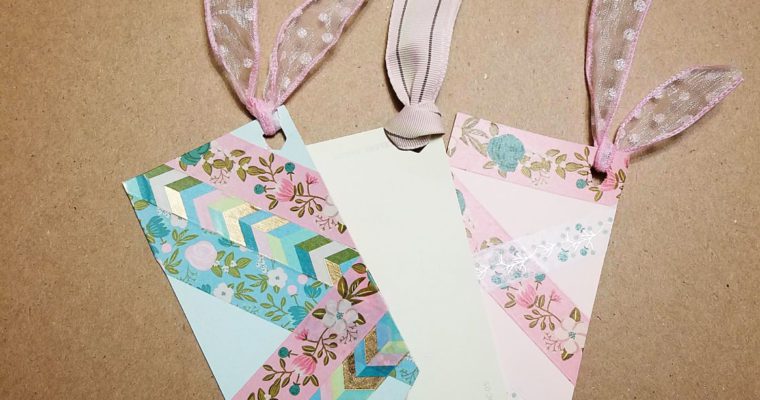
March is reading month and the school reading calendar’s have been flooding home. What better way to kick it off than to make some easy DIY bookmarks! I started by looking around my craft supplies and grabbed some paint samples. You can use paint samples …
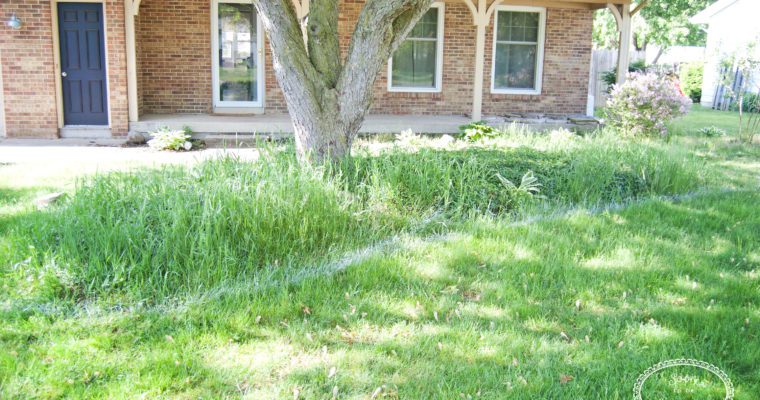
As soon as the warm weather hits, I am ready to get to work on summer projects. It is the perfect time to start planning now. The weather is not great and the thought of summer gives you that little extra boost to get through …
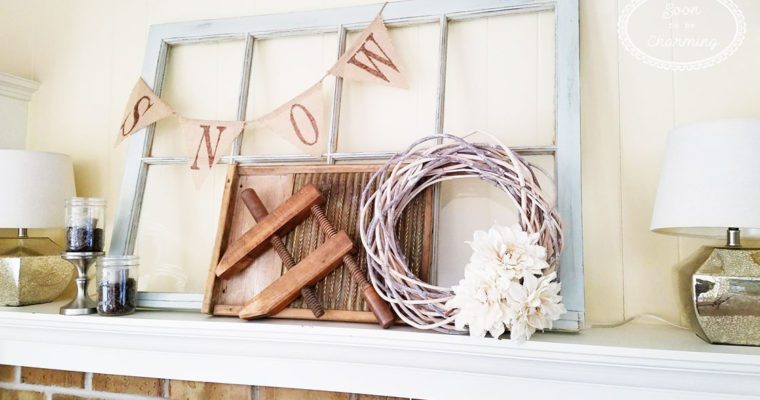
{This post may contain affiliate links, which means I may receive a commission if you click a link and/or purchase} January is a tough month to decorate. All the Christmas decorations come down and you are left wondering what to put in it’s place? …
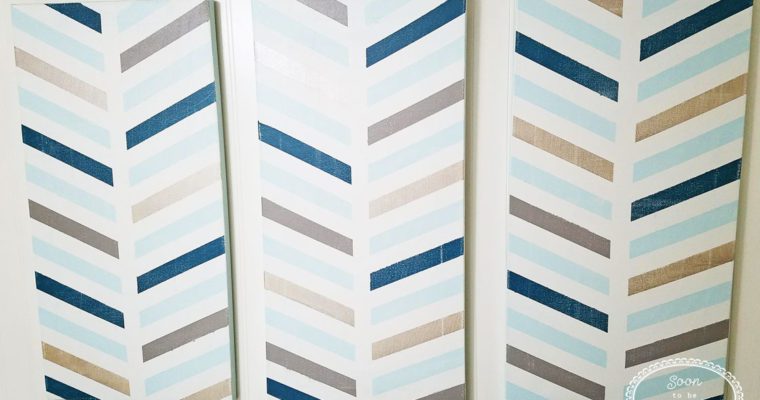
I am always on the hunt for easy DIY projects and budget friendly decor, this DIY canvas is the perfect combination of both. A few years ago, I came across this DIY Canvas idea on a blog called I Should Be Mopping The Floors. You …
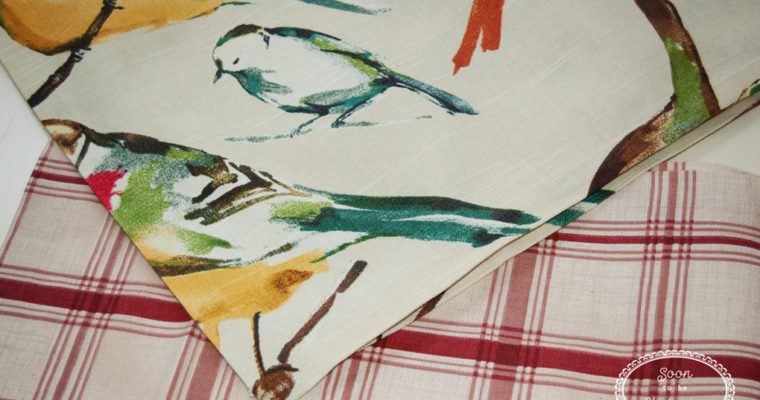
{This post may contain affiliate links, which means I may receive a commission if you click a link and/or purchase something} In our home, we have a beautiful little breakfast nook. It has a ton of potential. I am hoping next year that we can …
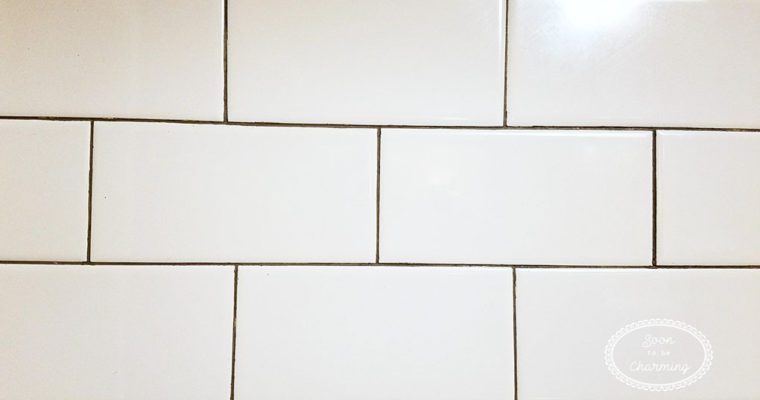
As the months went on, the discolored grout bothered me. Also, the subway tiles I loved so dearly, just looked blah. I needed to update my kitchen backsplash! What I did turned out amazing and cost less than $20! #kitchen #backsplash #update #grout #colorant #onabudget #DIY
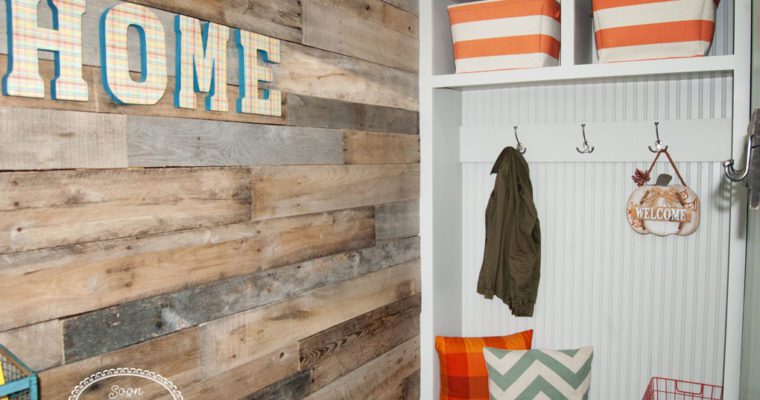
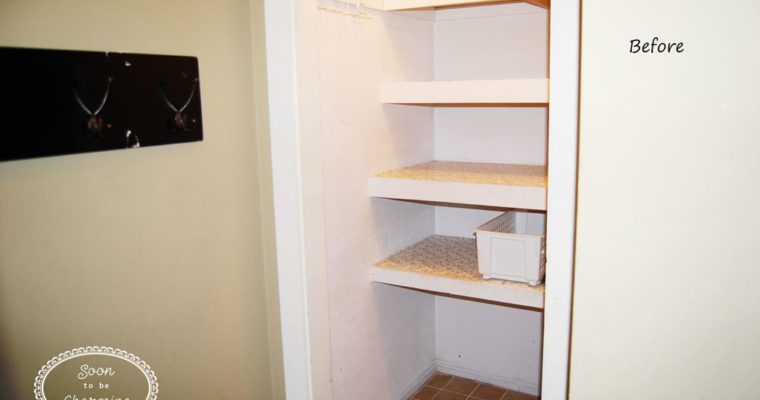
The process was amazing, taking an ugly closet with ivy contact paper and turning it into a beautiful and functional mudroom. It is hard to find a project more rewarding than that. To remind you what the mudroom looked like before, I have to give …
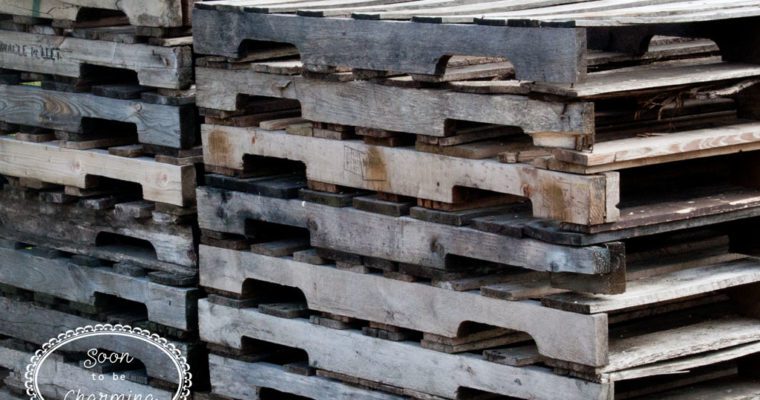
Pallet walls, I was hooked at first sight. I loved the rustic look and character that they add to a wall. I jumped at the chance to add one during our mudroom renovation. Besides loving the look, it would also be very durable. Step 1 …
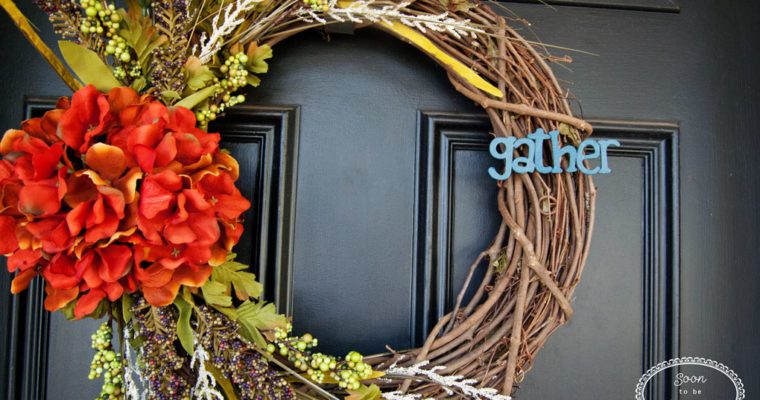
Recently I was wandering through a craft store, with a gift card, trying to narrow down what I was going to buy. While walking past the floral section, it finally clicked. I have always wanted to make a fall wreath. My mom is very crafty …
Creating the Space
Every year when fall rolls around, I am very thankful we have a mudroom. The kids have leaves on their shoes and the weather goes between warm and cold, so muddy boots are all around. Living in Michigan it is a definite necessity for winter also; we need a place to put all our snow gear.
It makes me think back to the first year in our house. I can still picture my husband trying to come in the back door. As he tried to open the door, it would get caught on the kids boots and coats stopping it in place so he couldn’t get in. He would holler at me and I would have to come move the boots out of the way. The look of complete displeasure on his face, to say it nicely, still makes me laugh.